
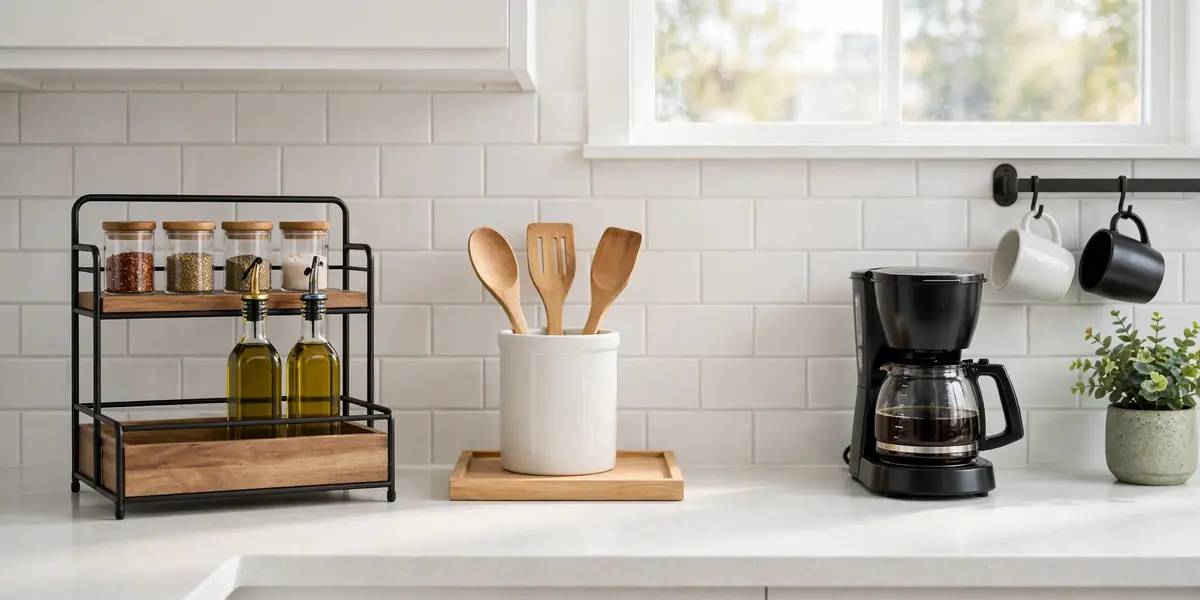

Kitchen counter organization comes down to three decisions: keep only what you use every day, give each item a zone, and run a five-minute reset each night. That is the whole system. You don’t need a bigger kitchen or a cart full of matching containers. Most counters hold twice what they should, which is why they never stay clear no matter how often you tidy them.
There is a health angle too. NSF International’s 2011 Household Germ Study swabbed 30 household items in 22 volunteer homes and found the kitchen carried more germs than the bathroom. Coliform bacteria turned up on 32 percent of countertops. The CDC estimates 48 million Americans (1 in 6) get sick from foodborne diseases each year, and a crowded counter makes safe food prep harder. A BBC experiment showed why daily wiping matters: microbes began to recolonize freshly wiped worktops almost immediately, and after 12 hours there were “lots of different types of fungi” growing. A clear counter is a workable counter.
This guide gives you the full method: what stays, what goes, which organizers are worth buying, renter-friendly fixes, budget tiers, and the nightly reset that keeps it all working. If past searches for how to organize kitchen counters left you with gadgets you never used, this takes the opposite approach.
The short version: pull everything off the counter, keep only what you use daily, group the survivors into zones for prep, cooking, cleaning, and landing, and move the rest into cabinets or a donation box. Corral small loose items on a tray. Run a five-minute reset every night. That is the entire method, and the sections below walk you through each part.
TL;DR
- Clear first, organize second. No organizer fixes a crowded counter.
- Only daily-use items earn counter space. Weekly-or-less goes in a cabinet, the pantry, or a donation box.
- Zones beat gadgets: prep, cooking, cleaning, and one landing zone for mail and keys.
- Renters and tight budgets are covered. No-drill fixes and under-$25 wins have their own sections below.
- A five-minute nightly reset keeps it clear. Skip the reset and the clutter creeps back within a week.
Best counter organizers at a glance
| Organizer | Counter footprint | Budget tier | Best for | Skip it if |
|---|---|---|---|---|
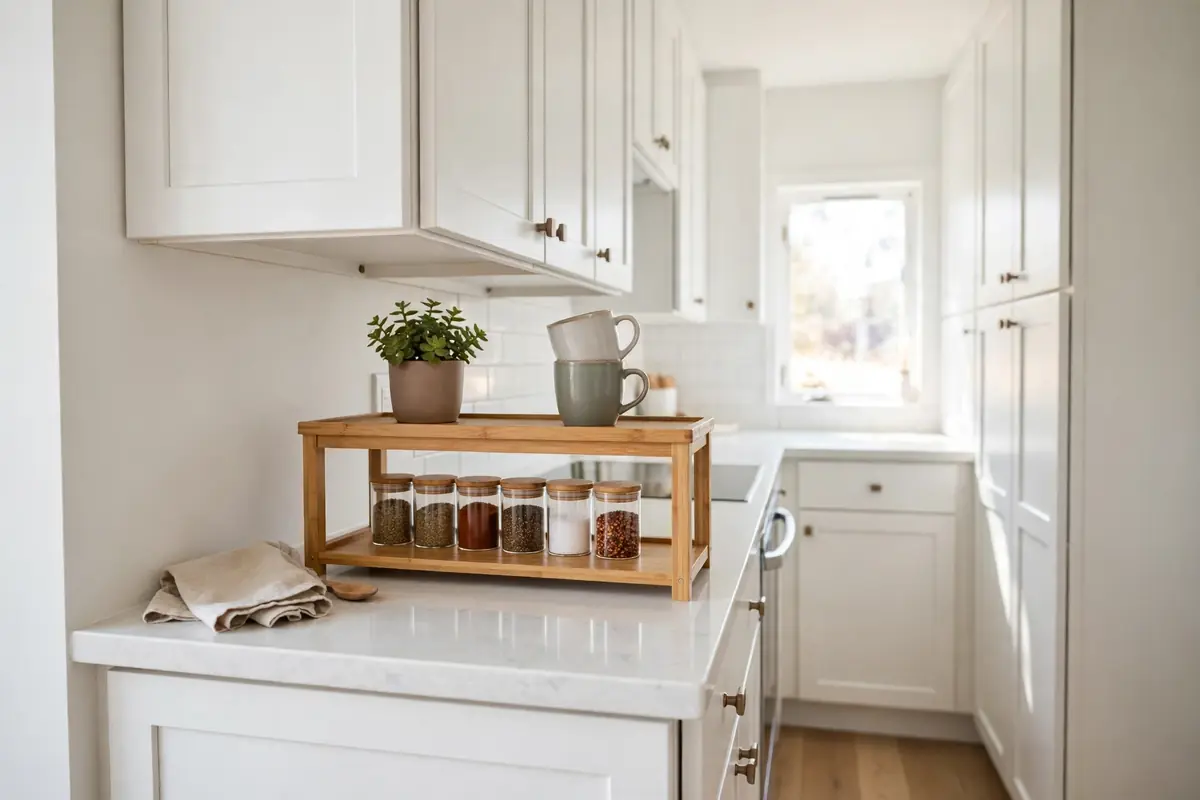
| Tiered organizer | About 10 by 8 inches | Under $25 | Spices, oils, vitamins in one spot | Your open counter is under 4 feet long |
| Lazy Susan turntable | 10 to 12 inches round | Under $25 | Corner counters and under-cabinet spots | Your counter is narrow and rectangular |
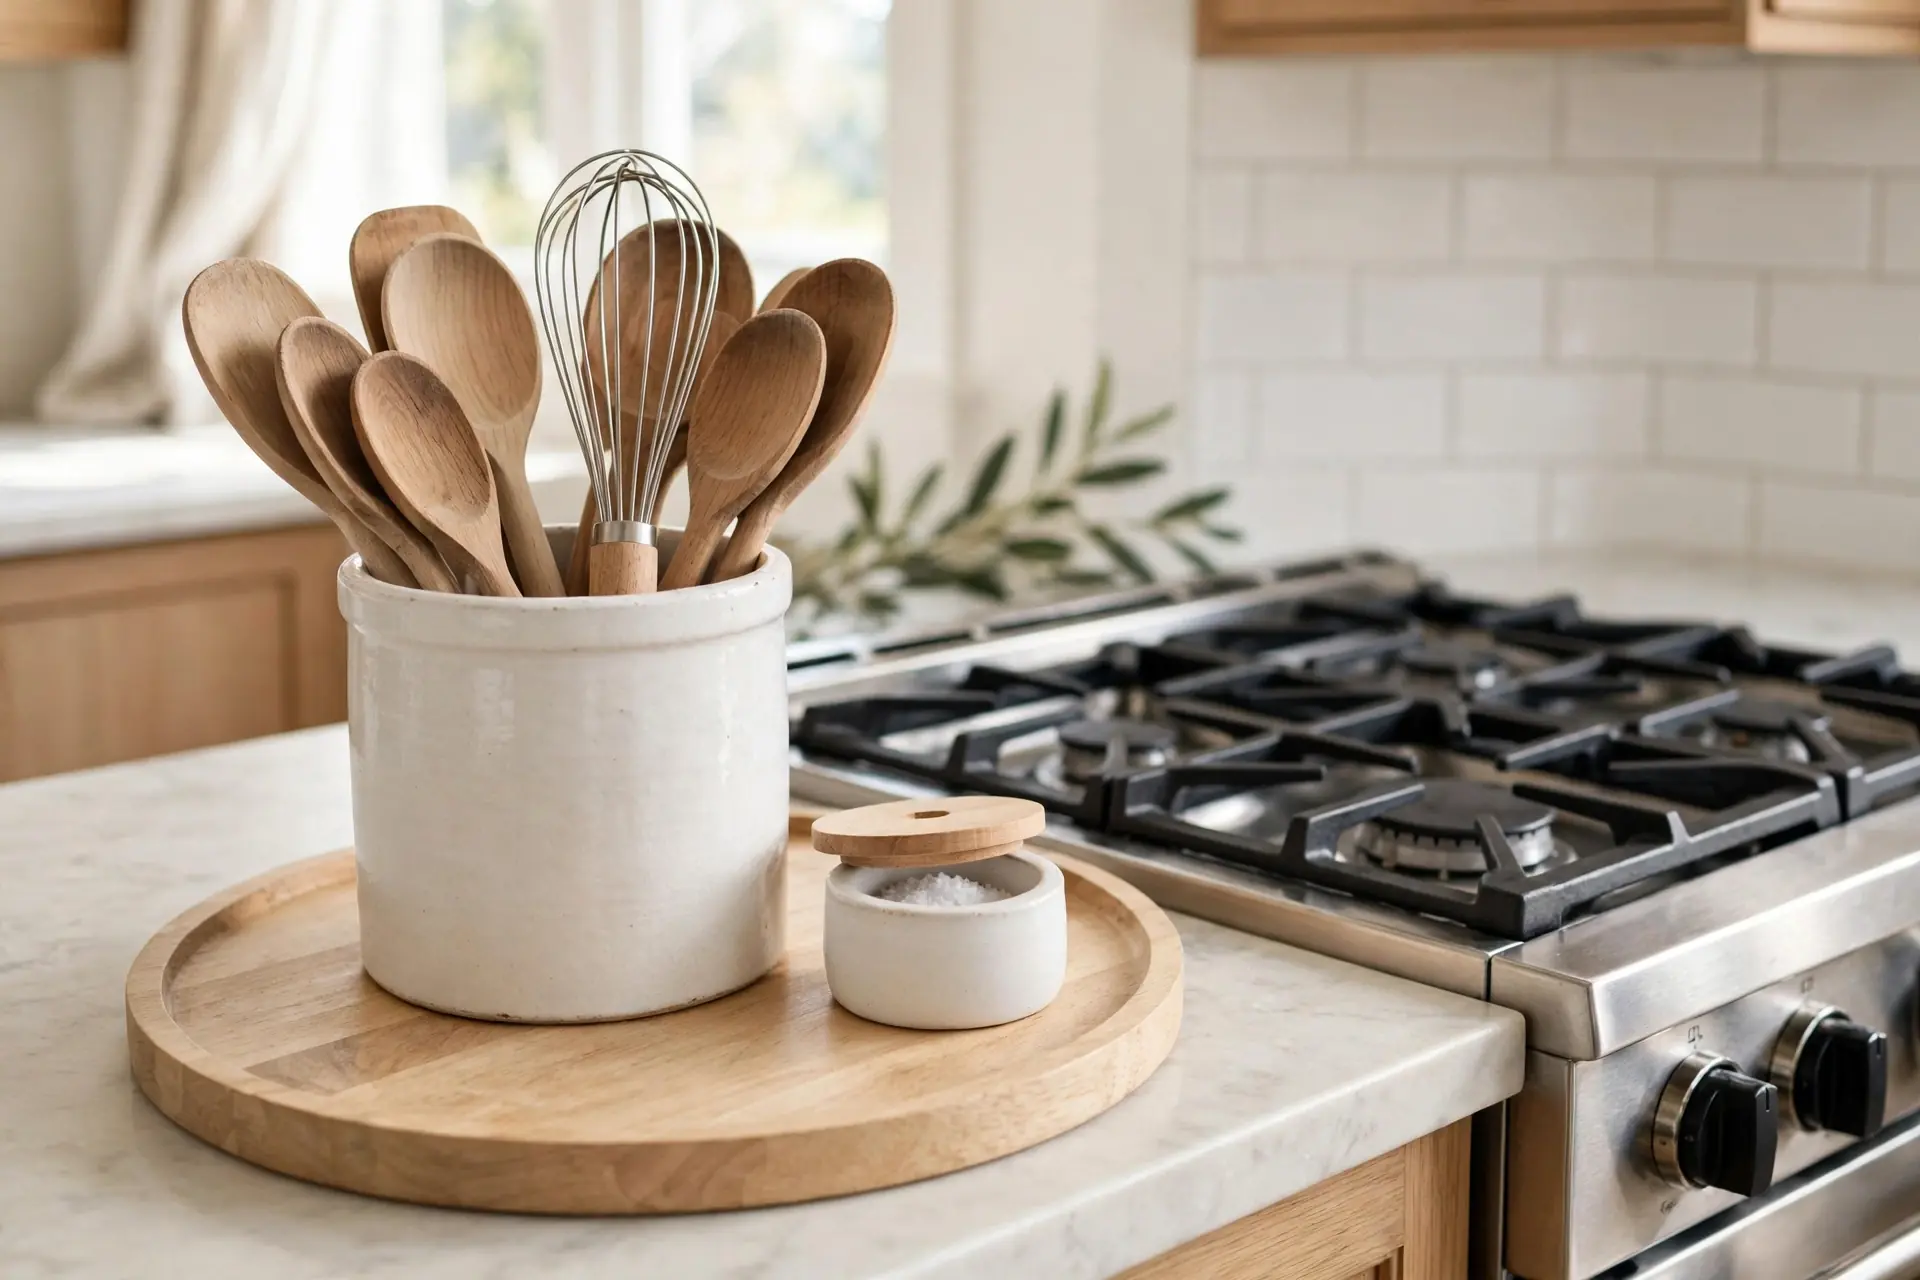
| Utensil crock on a tray | About 6 inches round | Under $25 | Daily cooking tools by the stove | You cook fewer than two nights a week |
| Appliance garage | 16 to 20 inches wide | $75 and up | Hiding the coffee maker and toaster | You have under 6 feet of total counter |
| Magnetic knife strip | 12 to 18 inches of wall | Under $25 | Freeing the knife block’s footprint | You rent and can’t mount anything |
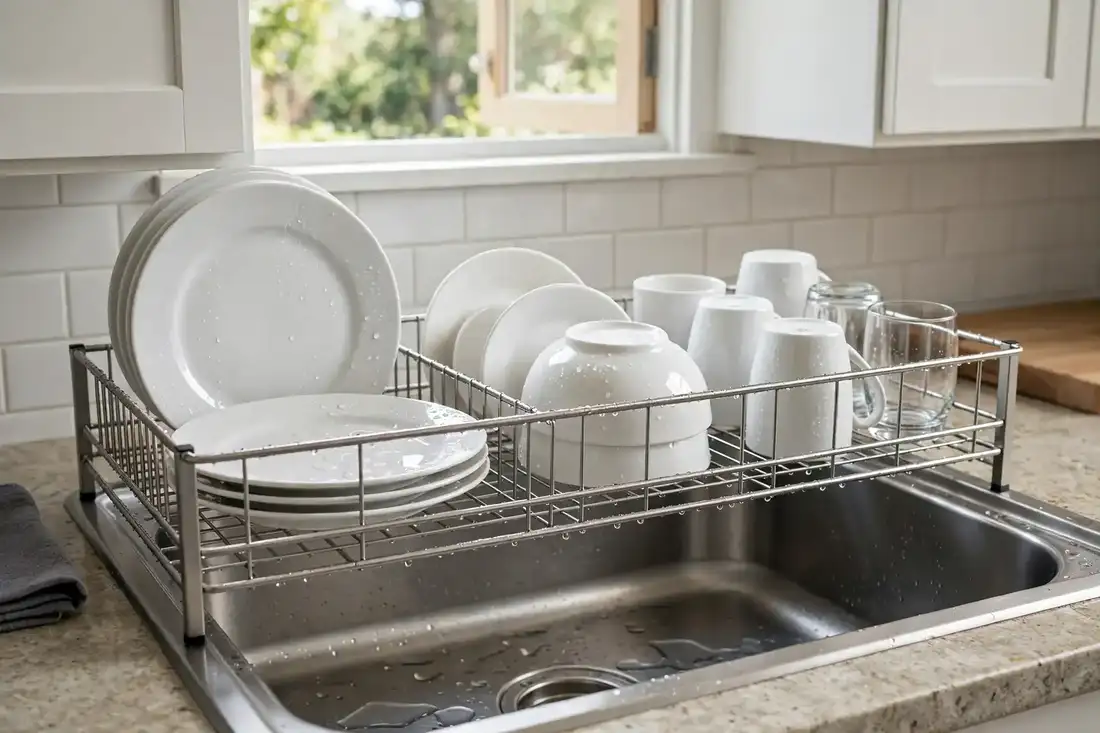
| Over-sink dish rack | Fits a standard sink | $25 to $75 | Drying dishes with no counter rack | You have a deep farmhouse sink |
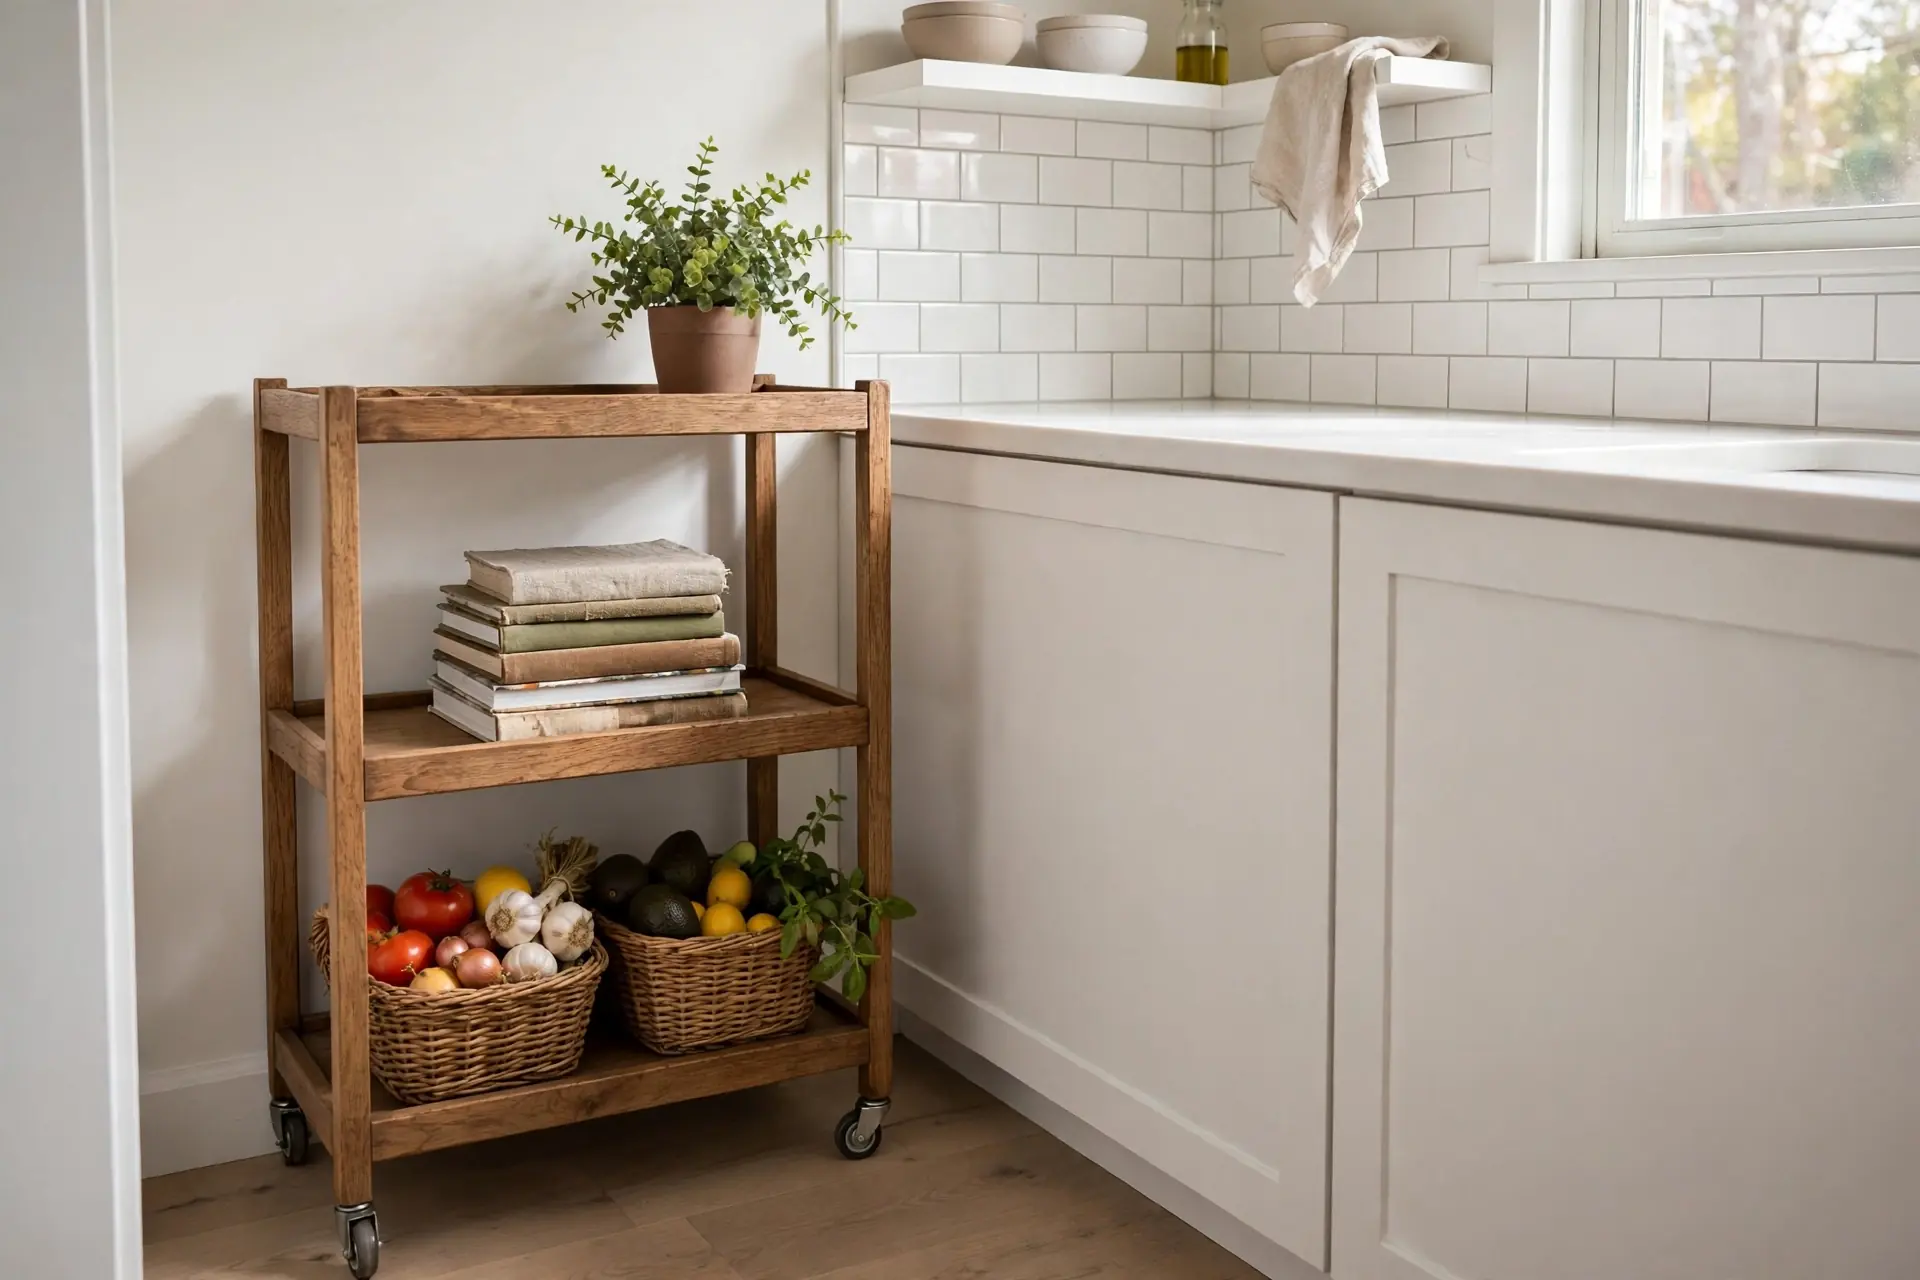
| Rolling cart | About 15 by 24 inches of floor | $25 to $75 | Adding a whole extra surface | Your kitchen aisle is under 36 inches wide |
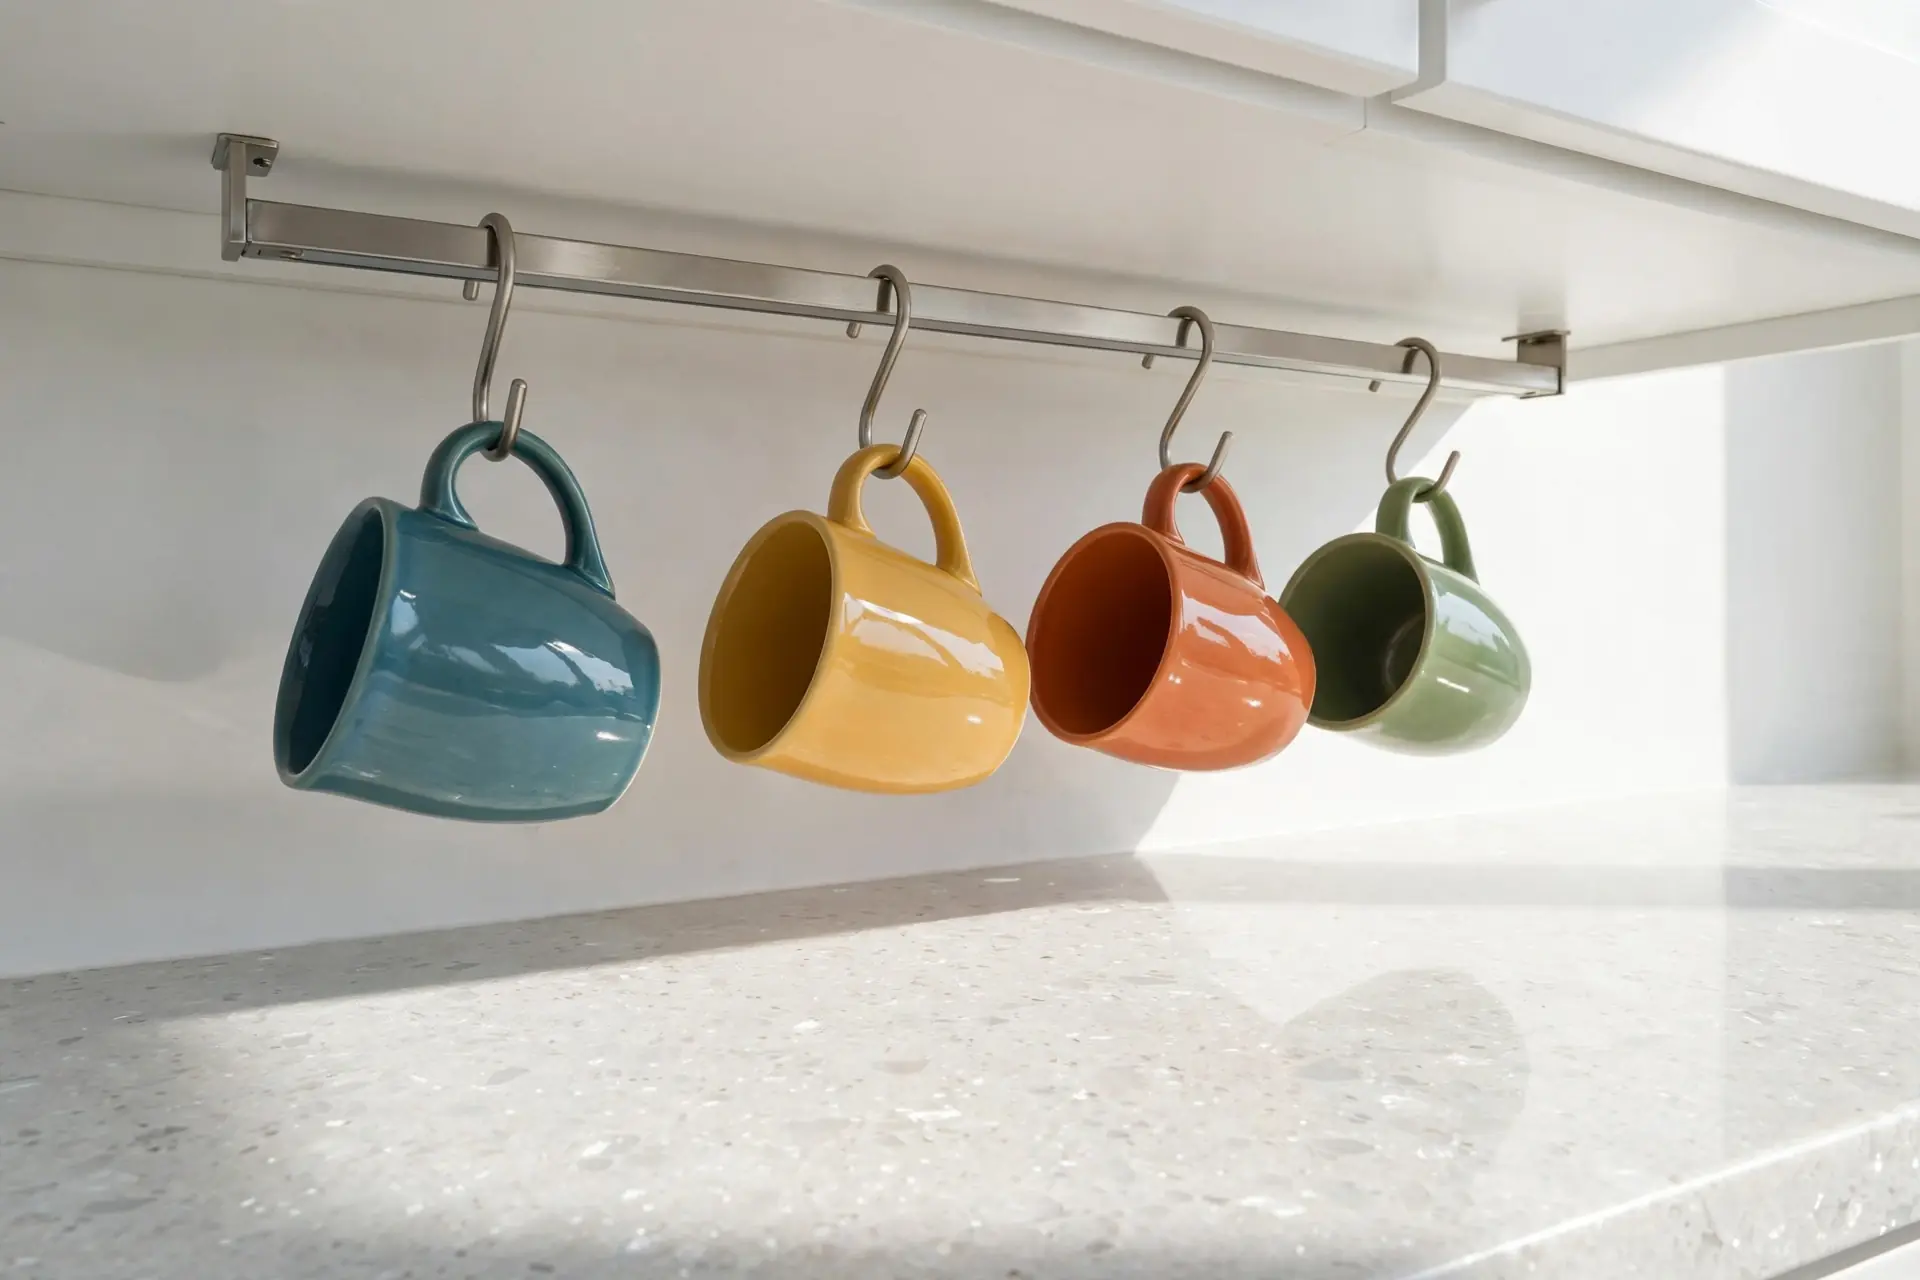
| Wall rail with hooks | 24 inches of wall | Under $25 | Mugs, utensils, small tools | You can’t drill the backsplash |
| Over-sink cutting board | Fits a standard sink | Under $25 | Instant extra prep space | You have a deep farmhouse sink |
| Weighted paper towel holder | About 7 inches round | Under $25 | One-hand tear with no mounting | You already switched to cloth towels |
| Sink caddy | About 8 inches wide | Under $25 | Keeps soap and sponge off the wet edge | Your sink has a built-in ledge |
How do you organize kitchen counters that always seem cluttered?
Clear the entire counter, decide what earns a spot using the daily-use test, and group the survivors into zones: prep near the sink, cooking near the stove, cleaning at the sink, and one landing zone for mail and keys. Every item gets a home. Anything without a home leaves the counter. The sections below fill in the details.
Tidying fails because it skips the decision step. You shuffle the same jars and gadgets around, and by Thursday the counter looks exactly like it did on Monday. The fix is unglamorous. Take everything off, wipe the bare counter, and only put back what you actually use each day. Be ruthless on the first pass. You can always rescue one thing from the donation box later. You will almost never need to.
Then assign zones. A zone is just a job description for one stretch of counter. When every item has a zone, putting things away takes seconds because the decision is already made.
| Zone | Where it sits | What lives there |
|---|---|---|
| Prep | Between the sink and the stove | Cutting board, knives, mixing bowls |
| Cooking | Beside the stove | Oils, salt, pepper, utensil crock |
| Cleaning | At the sink | Dish soap, sponge, dish rack, hand towel |
| Landing | Near the kitchen entry | Tray for mail, keys, sunglasses |
| Baking | Near the mixer’s parking spot | Bowls, measuring cups, sheet pans |
My take: if I had to keep one step and drop the rest, I would keep the zones. Products are optional. Zones are not. A $12 tray in a defined landing zone beats a $80 organizer set with no plan behind it.
What should I keep on my kitchen counters?
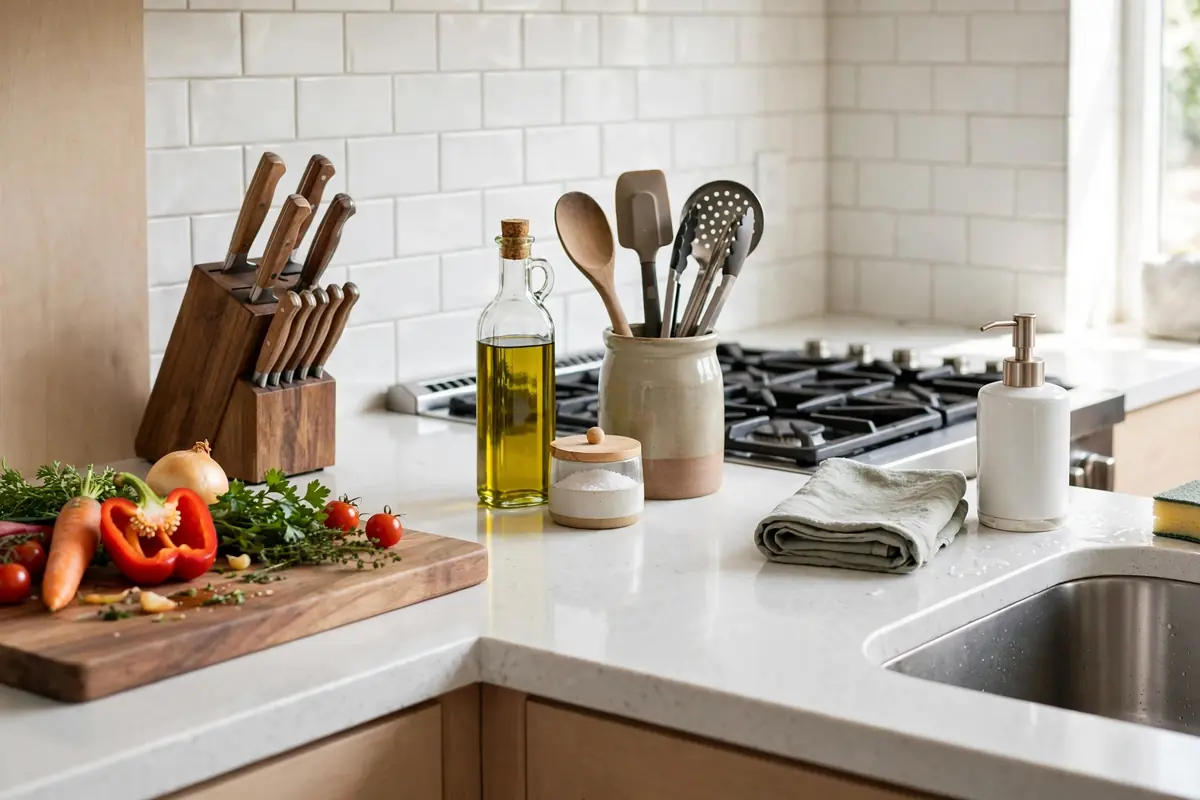
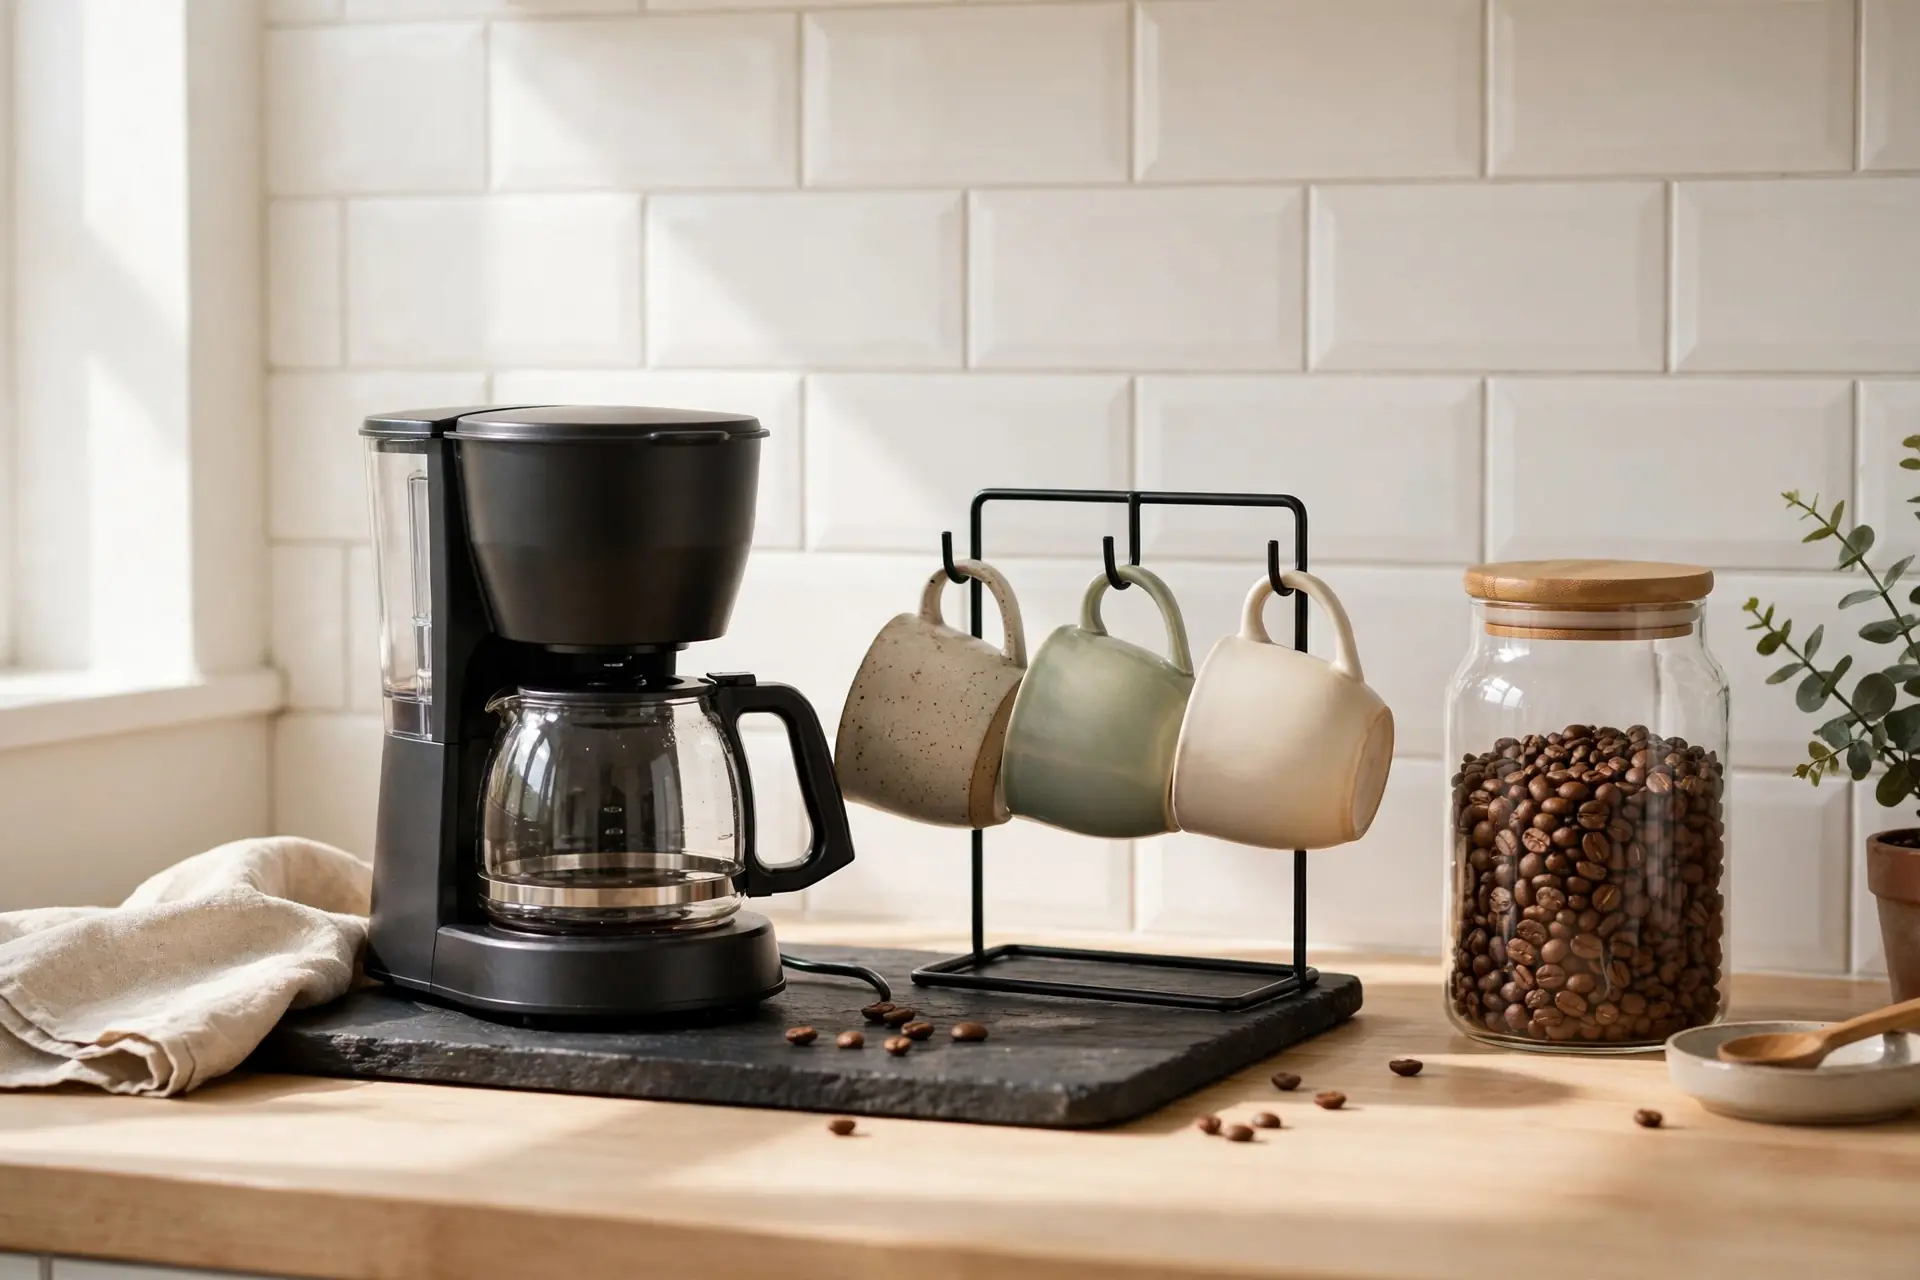
Keep what you touch daily: the coffee setup, cooking oils and salt, knives, a utensil crock, dish soap, and a fruit bowl. Six to eight items is the sweet spot for most kitchens. Everything used weekly or less belongs in a cabinet. Appliances follow the same rule. Daily drivers stay. The rest get parked.
The daily-use test is the only filter you need: did I use this yesterday, and will I use it tomorrow?
| Item | Stays on the counter if | Goes in a cabinet if |
|---|---|---|
| Coffee maker | You brew every morning | You reach for it twice a week or less |
| Toaster or toaster oven | Daily toast or reheating | Weekend-only use |
| Stand mixer | You bake weekly and have the space | It has sat untouched for a month |
| Blender | Daily smoothies or shakes | Occasional soups and sauces |
| Knives | You cook most nights | Keep them on a wall strip regardless; safer than a drawer |
| Utensil crock | You cook most nights | Takeout is your main food group |
| Cooking oils, salt, pepper | Daily cooking | You eat out most nights |
| Fruit bowl | The household grabs fruit daily | Fruit keeps rotting there uneaten |
| Paper towels | Daily cleanups | You switched to cloth towels |
| Mail, keys, sunglasses | Never loose; they get a landing tray | Always relocate them to the tray |
| Cutting boards | One daily driver by the prep zone | The full set of six |
| Vitamins and daily meds | A small tray if you take them daily | Bottles scattered across the counter |
The USDA advises cooking or freezing fresh poultry, ground meats, and fish within 1 to 2 days, and using or freezing leftovers after 4 days, all at 40°F or below. Move overflow dry goods to a small pantry, and see the USDA’s cold storage chart.
My take: if your bread maker has dust on it, that dust is your answer.
How do you declutter kitchen counters without losing a whole weekend?
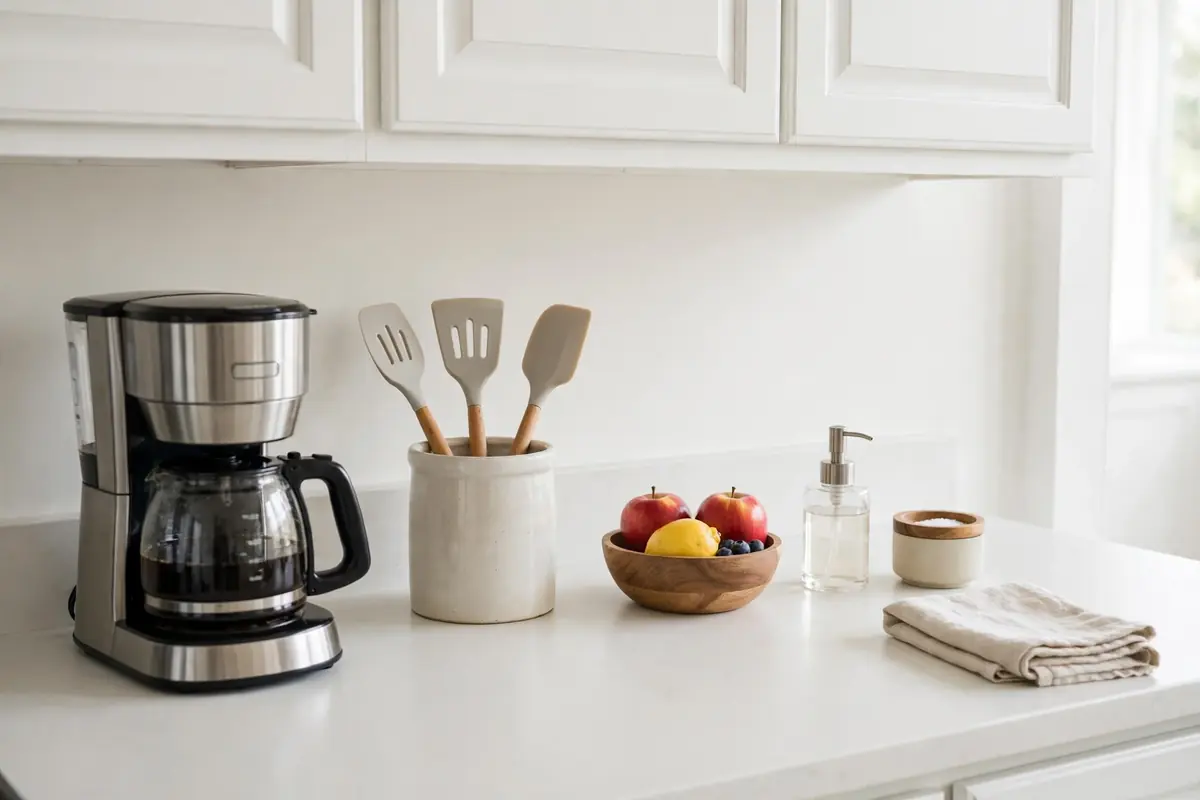
Work in 45-minute rounds with three boxes: keep, relocate, and donate or trash. Do one counter section per round and finish it completely before moving on. Most kitchens clear in two to three rounds. The trick is deciding fast and never re-sorting the same pile twice.
Start with visible junk for quick wins: expired coupons, dead batteries, old takeout menus, mystery cables. Gone in minutes. Then toss expired food. The USDA’s Economic Research Service found each American wastes more than 20 pounds of food monthly, worth about $115 billion a year.
Next, run the relocate box: weekly appliances, the fondue set, extra water bottles, the reusable-bag stack. They move to cabinets, the pantry, or a closet.
Two rules keep it clear. First, one-in-one-out: a new gadget means an old one leaves. Second, give the junk drawer the same treatment with small drawer organizers.
My take: set a timer. Knowing how to declutter kitchen counters is mostly about deciding fast. Forty-five minutes of quick calls beats four hours of fondling every spatula while you reminisce.
Which counter organizers are actually worth buying?
A tiered organizer, a utensil crock on a tray, and a small lazy Susan cover most kitchens. A magnetic knife strip frees real space if you can mount it. Skip the rest until your zones are set. Organizers hold a system together. They never create one. The same thinking applies inside your drawers: our kitchen drawer organization guide lays out the full drawer-by-drawer system.
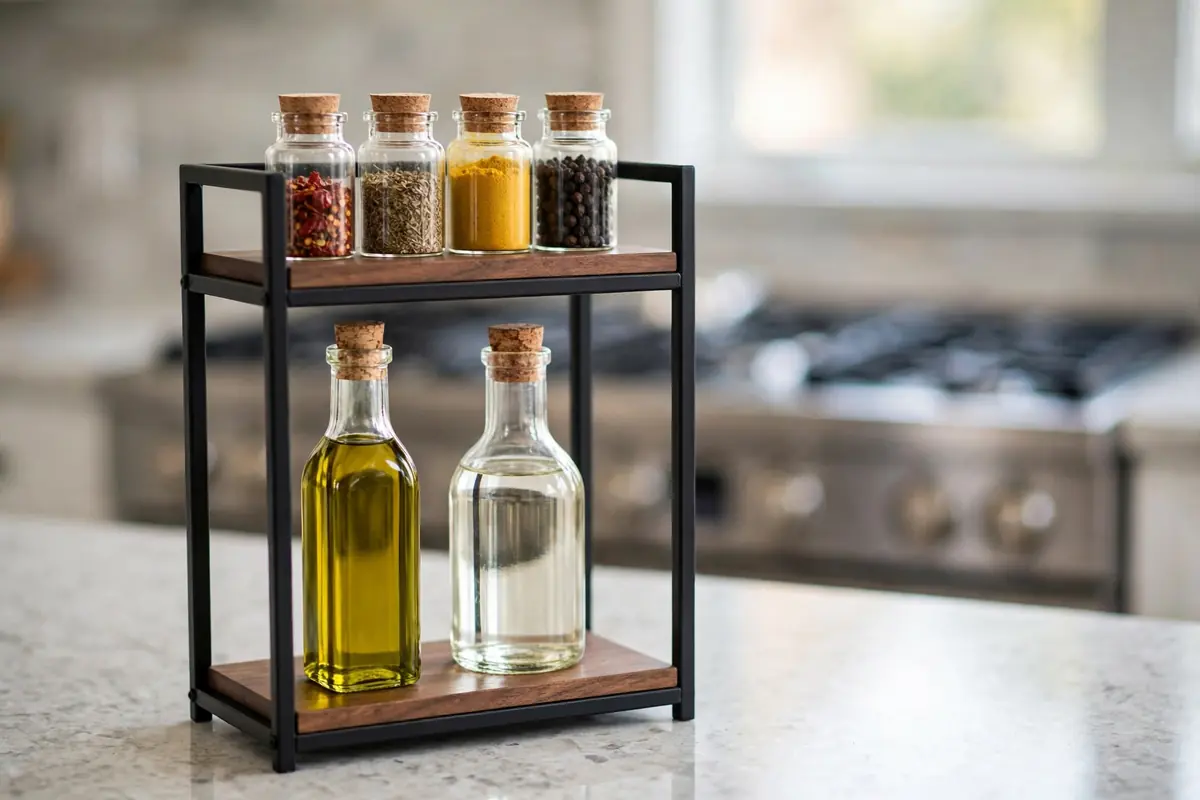
A tiered organizer earns its keep for spices and oils, using vertical space your counter already has. Pick one with a lip on each shelf so bottles don’t slide off. A utensil crock needs a tray underneath to catch drips. A lazy Susan shines in corners where you can’t see the back row.
Knife blocks are not for everyone. A block eats a full square foot and dulls blades every time you drag them through the slots. A $15 magnetic strip on the wall does the same job in zero counter space. Lazy Susans are not for narrow rectangular counters either. A 12-inch round tray on a 10-inch-deep stretch just hangs over the edge and annoys you daily.
My take: buy the tray first. A simple rectangular tray under $15 groups your oils, salt, and pepper into one movable unit and makes the cooking zone look intentional. Fancy organizers can wait.
Where should small appliances live?
Daily-use appliances earn counter space near their zone: the coffee station by the mugs, toaster by the bread. Weekly appliances like the stand mixer and food processor belong in a cabinet or pantry. If lifting a heavy mixer stops you from using it, fix the storage with a rolling cart or a lower shelf.
The test is frequency plus friction. A juicer you use twice a year but drag from a high shelf will never get used, yet it costs counter space every day it sits out. Park it somewhere reachable but off the counter, like a pantry shelf at waist height. Daily appliances get the prime spots by their zone. Everything else is a guest, and guests don’t get permanent rooms.
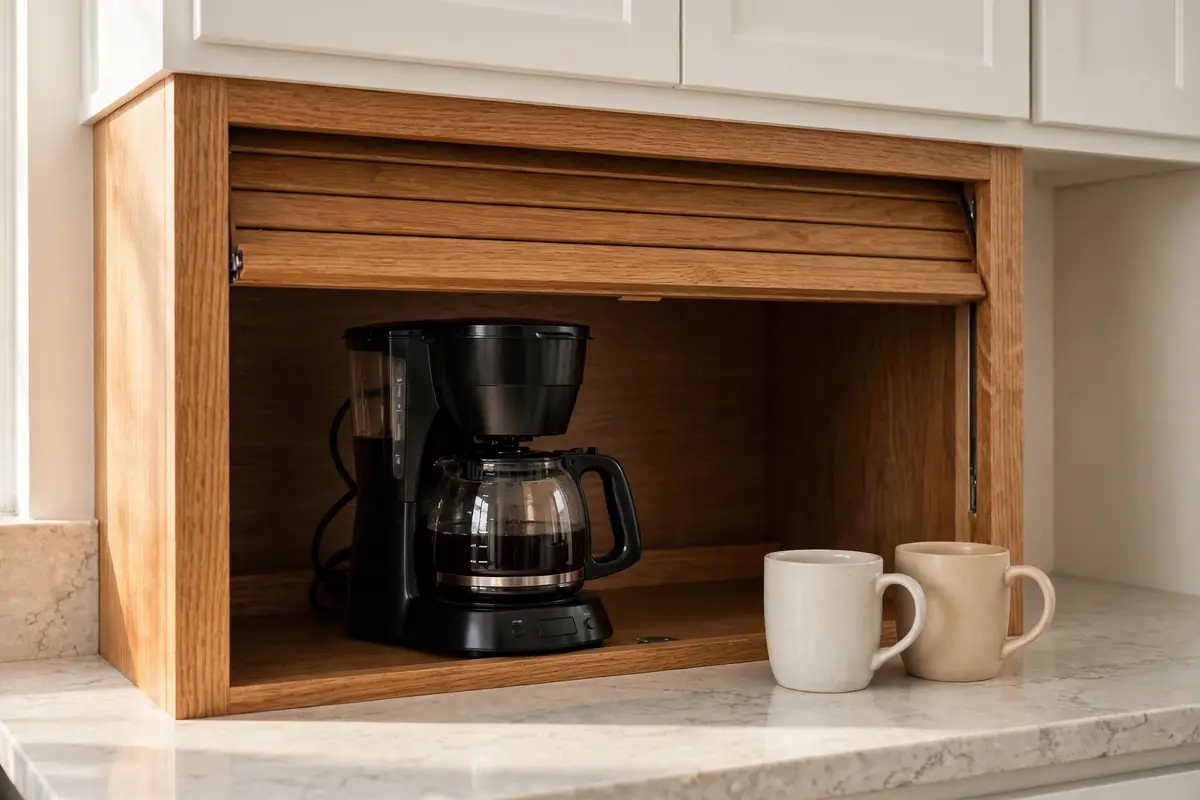
Appliance garages deserve a warning. They look tidy in photos, but they are not for tiny counters. A garage needs 16 to 20 inches of width plus door clearance, which can eat a third of a small kitchen’s workspace. In a galley kitchen, an open shelf or a simple cover does the same visual job for a tenth of the footprint.
My take: count your plugged-in appliances right now. If the number is over four, at least one of them is a guest pretending to be family.
How do you keep kitchen counters clutter-free every day?
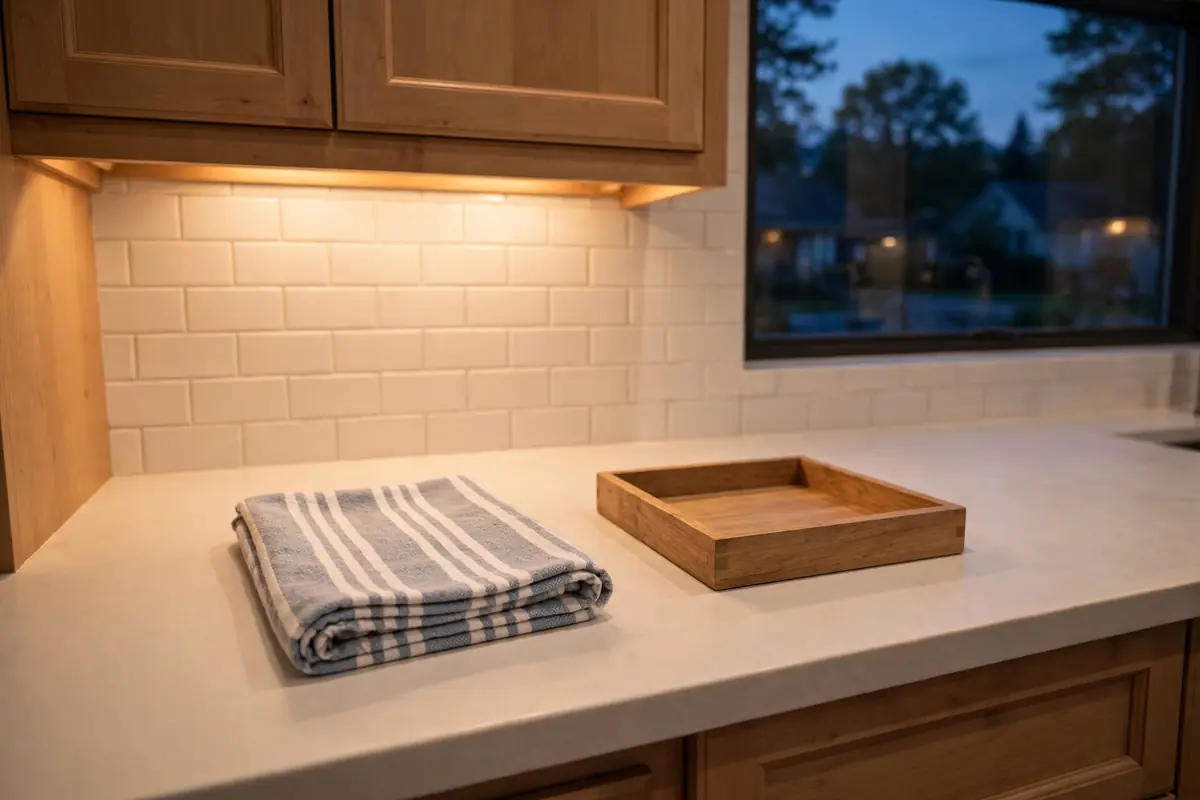
Run a five-minute reset every night: dishes into the dishwasher, a quick wipe of the counters, strays returned to their zones, and anything homeless goes in a bin by the door for sorting later. Do it before bed, not tomorrow morning. Five minutes nightly beats a two-hour weekend rescue every single time.
The reset works because it is small enough to survive bad days. Tie it to something you already do, like starting the dishwasher.
Your nightly checklist:
- Dishes into the dishwasher. No strays in the sink.
- Wipe the counters, stove to sink.
- Return each item to its zone.
- Toss trash and recycling.
- Anything without a home goes in a small bin by the door. Sort the bin on Sunday.
My take: the bin in step 5 is the secret. It lets you finish in five minutes on the nights you have zero patience for decisions.
What are the best kitchen counter organization ideas for small kitchens?
Go vertical and borrow space. A riser shelf doubles one stretch of counter, an over-sink shelf adds a whole new surface, and a rolling cart parks beside the counter as overflow. Keep only five to seven items out. In a small kitchen, every item on the counter pays rent.
Standard US counters run about 25.5 inches deep (a 24-inch cabinet box plus a 1.5-inch overhang, per NKBA planning guidelines). That back 6 inches against the backsplash fits a riser shelf, a narrow spice rack, or a rail with hooks, and it costs zero prep space.
The daily-use test gets stricter here: with 4 feet of counter, six items is crowded. Move the knife block to a wall strip. A permanent dish drying rack is a luxury small kitchens can’t afford.
For the room-by-room plan beyond the counters, our small kitchen storage ideas guide covers cabinets, pantry corners, and dead space too.
My take: small kitchens don’t need more organizers. They need fewer residents.
How can you create more counter space without remodeling?
Add surfaces instead of finding them. A fold-down shelf on a blank wall doubles as a breakfast bar. A cutting board over the sink adds prep space. An over-sink rack turns dead air into drying space. A rolling cart adds a work surface for under $75. Most kitchens gain 4 to 6 square feet with no remodel.
Look up before you look around. The space between your counter and the upper cabinets holds a mounted rail, a paper towel holder, and hanging baskets. A cabinet door inside holds a cutting board or spice rack on adhesive mounts. The wall beside the fridge fits a narrow fold-down table.
One caution: over-sink racks are not for deep farmhouse sinks. On a standard sink they sit neatly across the basin. On a deep apron-front sink the rack sits too high to reach comfortably and drips down the front of your cabinets. Measure your sink depth before you buy.
My take: the rolling cart is the best square footage per dollar in a kitchen. It stores, it serves, and it rolls out of the way when guests come.
What kitchen counter organization works when you rent and can’t drill?
Use no-drill gear and freestanding pieces. Adhesive hooks and strips hold rails, paper towel holders, and small shelves on tile and painted walls. Tension rods inside cabinets create instant dividers. Freestanding riser shelves and carts add storage that moves with you. You can get 90 percent of the result with zero holes in the wall.
The trick is choosing mounts your landlord will never notice. Modern adhesive strips (Command strips are the classic example) hold several pounds each and remove cleanly with a pull tab. Suction-cup hooks work on glossy tile and glass. A clamp-on shelf grips a thick counter edge with no screws. None of this damages anything, and all of it packs into a box on moving day.
If your backsplash is glossy tile, suction-cup hooks hold soap dispensers and small shelves with surprising grip. On painted drywall, adhesive strips are the safer bet. Either way, clean the surface with rubbing alcohol first and wait the full cure time on the package. Most failures come from skipping that step, not from the product.
| Problem | No-drill fix | Why it works |
|---|---|---|
| Knives eat counter space | Countertop knife dock or in-drawer tray | Zero wall holes, blades stay protected |
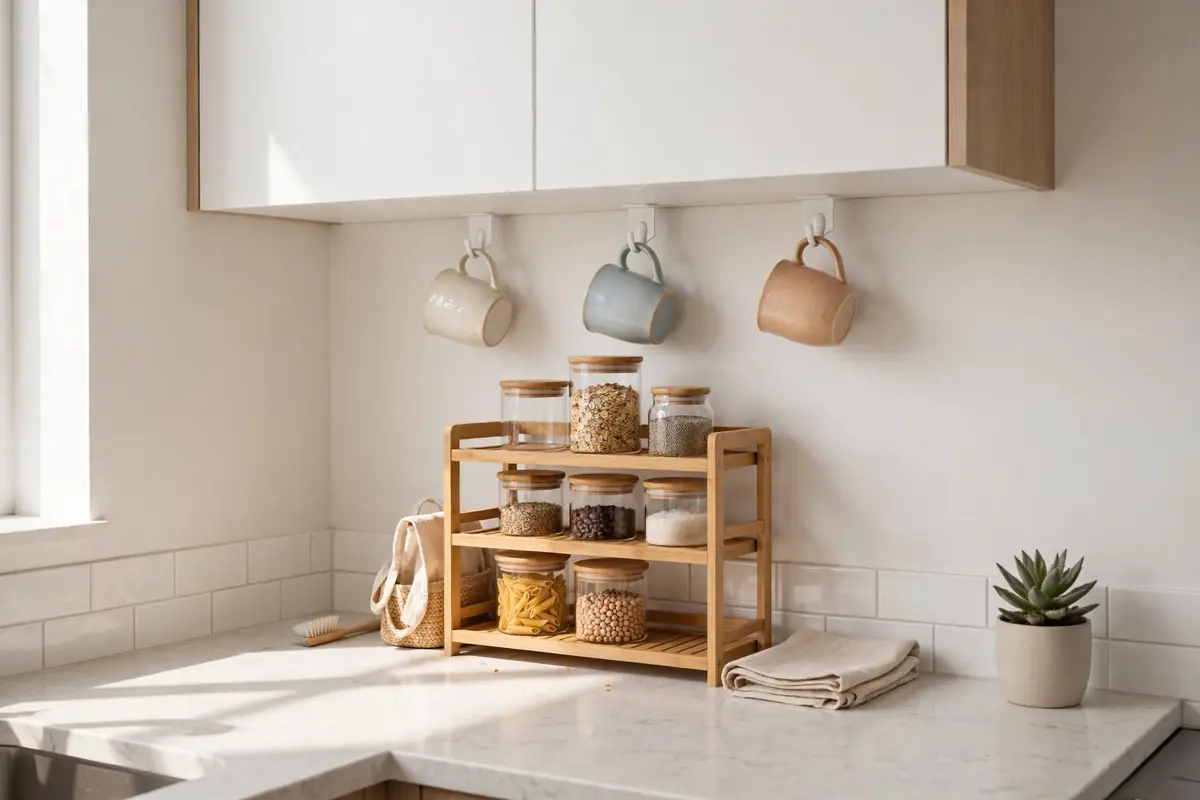
| Mugs crowd the counter | Freestanding mug tree or adhesive hooks | Holds 6 mugs in a 6-inch footprint |
| Spices pile up | Tiered freestanding spice rack | Uses vertical space, moves with you |
| Paper towels unroll everywhere | Clamp-on or weighted paper towel holder | No mounting, stays put while you tear |
| Cookbooks and tablets | Cookbook stand or tablet holder | Keeps recipes upright and splatter-free |
| Sponges and brushes | Small caddy or suction-cup holder | Keeps them upright and dry between uses |
| Under-cabinet dead space | Adhesive hooks under the cabinet | Mugs hang below, counter stays clear |
My take: renters should spend first on freestanding pieces, not adhesives. A good cart or shelf survives three apartments. Adhesive hooks are great, but they are the supporting cast.
How do you organize kitchen counters on a budget?
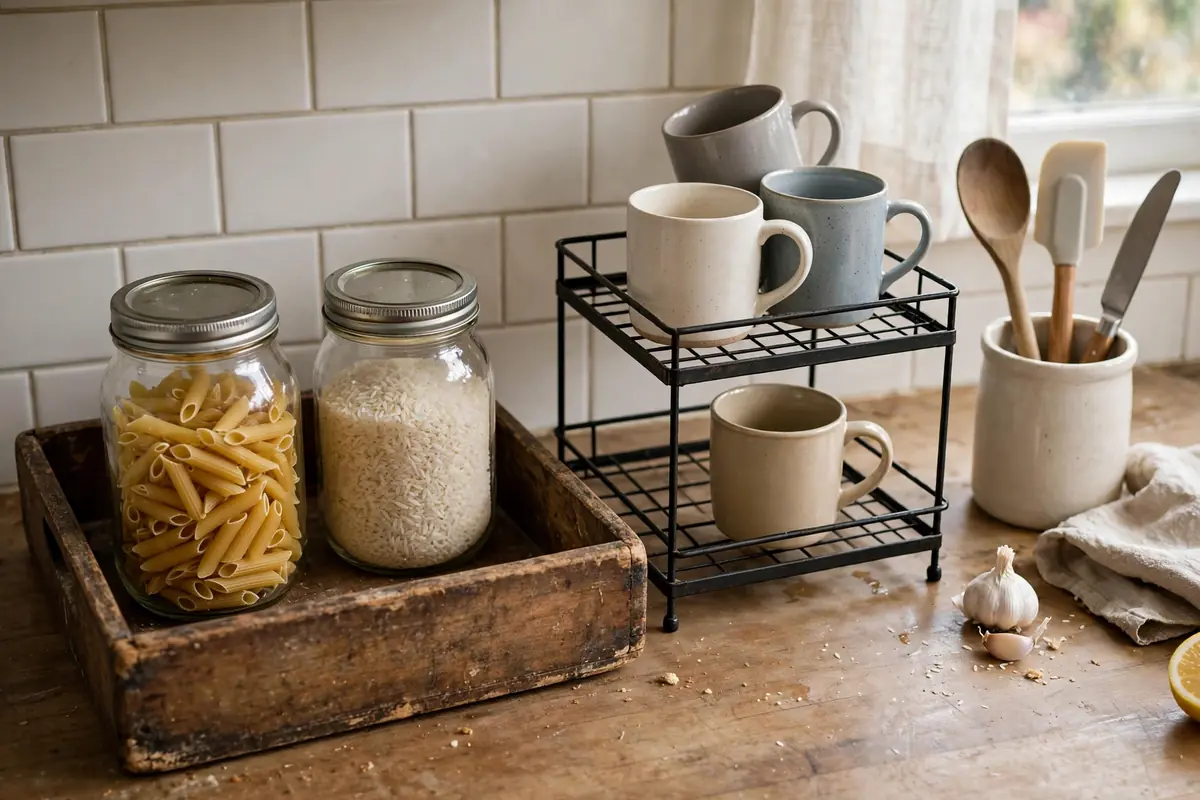
Start with what you own. A baking tray becomes a catch-all tray and glass jars become canisters. A sturdy cutting board over the sink adds free prep space. Then buy only two or three pieces, each under $25: a tray, a riser shelf, and a utensil crock. Skip matching sets until you know what you reach for daily.
| Tier | What to buy | What it fixes |
|---|---|---|
| Under $25 total | Tray from a thrift store, jars you own, one riser shelf | Corrals loose items, adds one shelf of vertical space |
| $25 to $75 total | Add a utensil crock, a lazy Susan, adhesive hooks | Cooking tools organized, corners usable, walls working |
| $75 and up | Rolling cart or a quality two-tier organizer | Adds real square footage or serious vertical storage |
Notice what is missing: the $200 matching container set. Pretty sets photograph well and organize nothing.
Thrift stores deserve a real mention here. Trays, baskets, crocks, and risers show up constantly for a few dollars, and you can wash everything in hot soapy water. Check the kitchen aisle before you buy anything new.
Spend real money only on the piece that carries weight. A loaded organizer from the dollar aisle will bow within months.
My take: a $4 thrift-store tray that you actually use beats a $60 organizer set still in the box. Every time.
How do you stop the counter from becoming a dumping ground?
Give the clutter a better home. Put one tray or wall pocket by the door for mail, keys, and sunglasses, and empty it on a schedule, say every Sunday. If paper still lands on the kitchen counter, the real problem is the entryway, not the kitchen. A drop zone works only if you clear it regularly.
Watch where the junk comes from for one week. School papers, takeout menus, receipts, and random gadgets each need a decision, not a pile. Papers get a wall file or one inbox tray you sort weekly. Menus get photographed and recycled. The counter is never the inbox. It is the workspace.
Backpacks get a hook by the door. Craft supplies get a caddy on a shelf. When everything has a spot closer to the door than the kitchen counter, the counter stops being the default drop point.
If the entryway itself is the bottleneck, fix it there with proper entryway storage ideas. A small bench with hooks near the door can absorb the whole dumping habit before it reaches the kitchen.
My take: the landing tray is a valve, not a vault. If you never empty it, you just built a prettier junk pile.
How do you keep counters clean and germ-free?
Wipe food-contact surfaces daily with hot soapy water and sanitize after raw meat. The USDA’s food safety guidance says to wash hands and surfaces for 20 seconds and refrigerate perishables within 2 hours. NSF International found coliform on 32 percent of kitchen countertops.
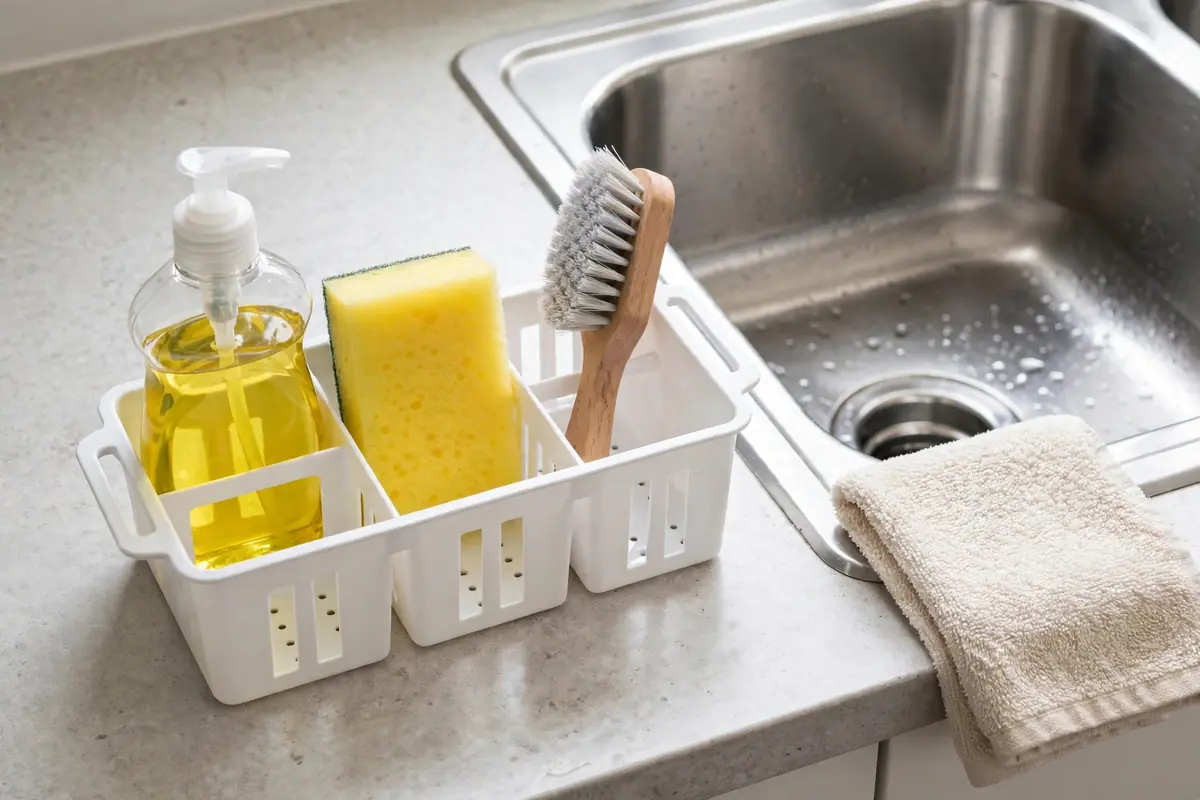
Keep dish soap, a sponge, and a hand towel in a small caddy at the sink. Swap the sponge every one to two weeks, or sooner. Smell means bacteria won. Our under-sink kitchen organization ideas show how to fit a full cleaning kit in that cabinet.
The stakes are real. The CDC estimates that 48 million Americans (1 in 6) get sick from foodborne diseases each year, and cross-contamination often starts on a crowded counter. Separate cutting boards for meat and produce, plus 20-second handwashing, are the boring habits that protect you.
My take: the sponge is the dirtiest thing in your kitchen, not the trash can. Treat it like it expires, because it does.
How do you keep counters clear when kids use the kitchen too?
Give kids their own low zone. A small tray or basket at their height holds snacks, cups, and the current school papers, placed away from your prep area. Keep knives, cleaners, and hot appliances pushed back and up high. Kid clutter drops fast when kids have a spot that is actually theirs instead of a blanket “don’t touch anything” rule.
Make the kid zone self-serve. A low shelf or a rolling cart corner with spill-proof cups, pre-portioned snacks, and their own placemats means they stop raiding your zones. Put a small trash bowl in their zone for wrappers and peels. It sounds silly. It cuts counter mess in half.
School papers need a triage rule or they will bury the counter by October. One inbox tray, sorted every Sunday: action items on the fridge, keepsakes in a file box, the rest recycled. Kids learn the system in a week if you hold the line for two.
My take: childproofing a counter is mostly about height. Their stuff goes low, dangerous stuff goes high, and the middle stays yours.
What is the first thing you should do tonight?
Do the 15-minute version. Clear one counter section completely, wipe it down, and put back only what you used today. Tomorrow, do the next section. By the weekend you will have a clear counter without a single marathon session. Start small, finish fully, repeat.
That is the whole kitchen counter organization philosophy in one habit. Zones give everything a home. The daily-use test decides what earns a spot. The five-minute reset keeps it that way. None of it requires a big budget, a drill, or a new kitchen. It requires fifteen minutes tonight and five minutes tomorrow.
My take: pick your first section now, not later. The stretch by the coffee maker is the easiest win because you already touch it daily. Clear it, wipe it, zone it, and set a timer so you stop at fifteen minutes. When you see one clean section tomorrow morning, the rest of the kitchen will feel possible instead of overwhelming.
If the cabinet under the sink looks as chaotic as the counter did, tackle it next with our under-sink kitchen organization ideas. One clear space tends to spread.
How do I arrange my kitchen counter?
Group items into zones: prep near the sink, cooking near the stove, cleaning at the sink, and one landing zone for mail and keys. Keep only daily-use items out, six to eight pieces for most kitchens. Corral small items on a tray so each zone reads as one intentional unit.
How do you keep kitchen counters clutter-free?
Run a five-minute reset every night: dishes away, counters wiped, strays returned to their zones, homeless items into a bin by the door. Pair it with the one-in-one-out rule for new purchases. The reset is the maintenance contract that keeps the whole system working.
What should I keep on my kitchen counters?
Keep what you touch daily: coffee setup, cooking oils and salt, knives, a utensil crock, dish soap, and a fruit bowl. Appliances follow the same test. The coffee maker that runs every morning stays. The bread maker you used twice last year goes in a cabinet.
How do I keep counters clear in a small kitchen?
Keep five to seven items out, go vertical with a riser shelf or wall rail, and borrow space with an over-sink rack or rolling cart. Use the back 6 inches against the backsplash for narrow storage. In a small kitchen the daily-use test gets stricter, not looser. These small kitchen countertop organization ideas work in rentals too, since nothing here needs drilling.
How do I organize my kitchen counter without spending much money?
Start with what you own: a baking tray becomes a catch-all, jars become canisters. Then buy two or three pieces under $25 each: a tray, a riser shelf, and a utensil crock. Check thrift stores first. Kitchen trays, baskets, and crocks show up there constantly for a few dollars.
What is the best way to organize small kitchen appliances on the counter?
Give counter space only to appliances you use daily, parked near their zone. Weekly appliances belong in a cabinet or pantry at a reachable height. If your plugged-in count is over four, at least one appliance is a guest. Appliance garages look tidy but need 16 to 20 inches of width, so skip them in tiny kitchens.
How do I prevent my kitchen counter from becoming a dumping ground?
Put a tray or wall pocket by the door for mail, keys, and sunglasses, and empty it weekly. Give backpacks a hook and school papers an inbox tray with a Sunday sort. The counter stops being the default drop point once everything has a spot closer to the door.
How can I make my kitchen counters look less cluttered?
Group small items on trays so five objects read as one. Hide cords behind appliances. Match your containers loosely in one or two materials. Clear the backsplash line so the eye sees one clean horizontal band. Visual calm comes from grouping and breathing room, not from buying matching sets.
How do I create more counter space in a small kitchen?
Add surfaces: a fold-down wall shelf, a cutting board over the sink, an over-sink rack, or a rolling cart. Mount a rail in the 18 inches between counter and cabinets for mugs and utensils. Most kitchens gain 4 to 6 square feet without moving a single cabinet.
How often should I wipe down kitchen counters?
Wipe food-contact surfaces daily with hot soapy water, and sanitize after raw meat. The USDA advises washing hands and surfaces for 20 seconds. A BBC experiment found microbes recolonized wiped counters within 12 hours, so a weekly wipe does not carry you. Daily takes two minutes.
