
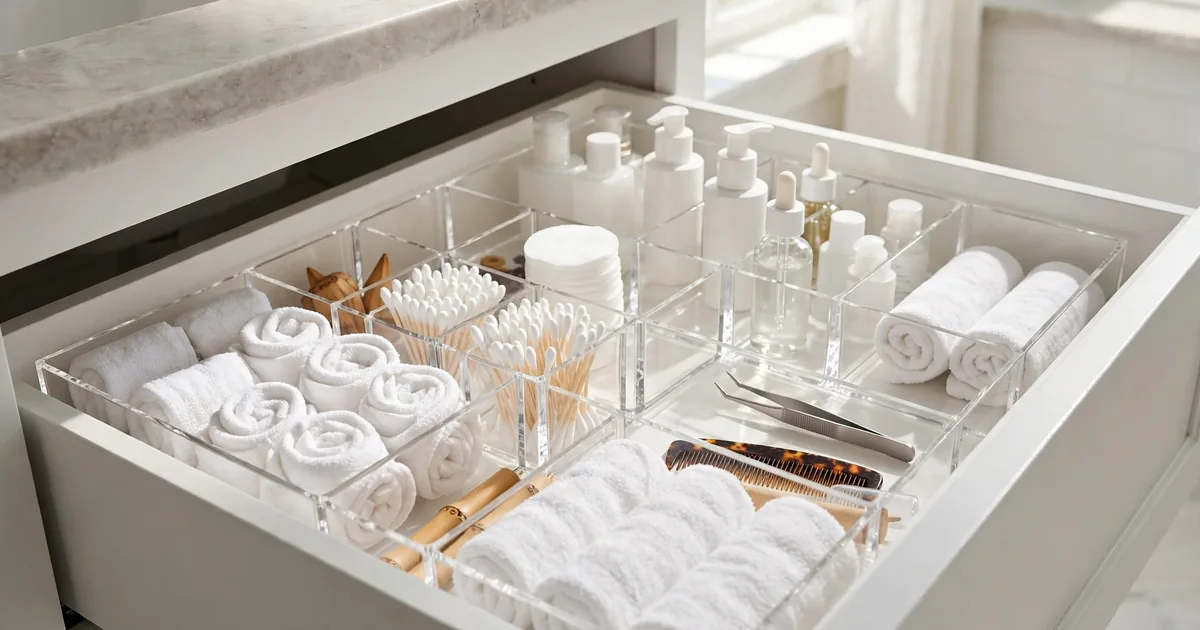

Yes, bathroom drawer organization works, but only when you match the organizer to the drawer itself. Shallow drawers need flat trays, deep drawers need upright systems, and every drawer needs a purge before you buy anything. Measure the inside of your drawers first, toss what is expired, then assign each item a zone by how often you use it. That is the whole method, and it takes less time than one load of laundry.
The short answer: Empty the drawer, toss expired products, measure the inside depth, then buy organizers to fit. Shallow drawers (2 to 3 inches) take flat trays and dividers. Deep drawers (8 to 12 inches) need stackable bins and upright cups. Wipe the drawer, line it, label your zones, and give it a 10-minute reset once a month.
TL;DR
- Measure drawer depth before buying anything: shallow, standard, and deep drawers need different systems.
- Purge first, organize second. Buying trays before tossing expired products just organizes your trash.
- Store by routine frequency, not by product type: daily items on top, backstock down low.
- One big adjustable tray beats five tiny cups for most people.
- Check the open-jar symbol on every product and toss what is past its months-after-opening date.
- Run the bathroom exhaust fan when you shower. Humidity ruins drawers faster than clutter does.
Organizer types at a glance
| Organizer type | Best for | Drawer depth fit | Cost tier | Watch out |
|---|---|---|---|---|
| Adjustable dividers | Custom layouts that change | Shallow to standard (2 to 6 in) | Low to mid | Weak spring types drift over time |
| Spring-loaded dividers | Odd widths without cutting | Shallow to standard | Low | Less grip on slick drawer walls |
| Stackable trays | Deep drawers with layers | Deep (8 to 12 in) | Low to mid | Bottom layer is hard to reach daily |
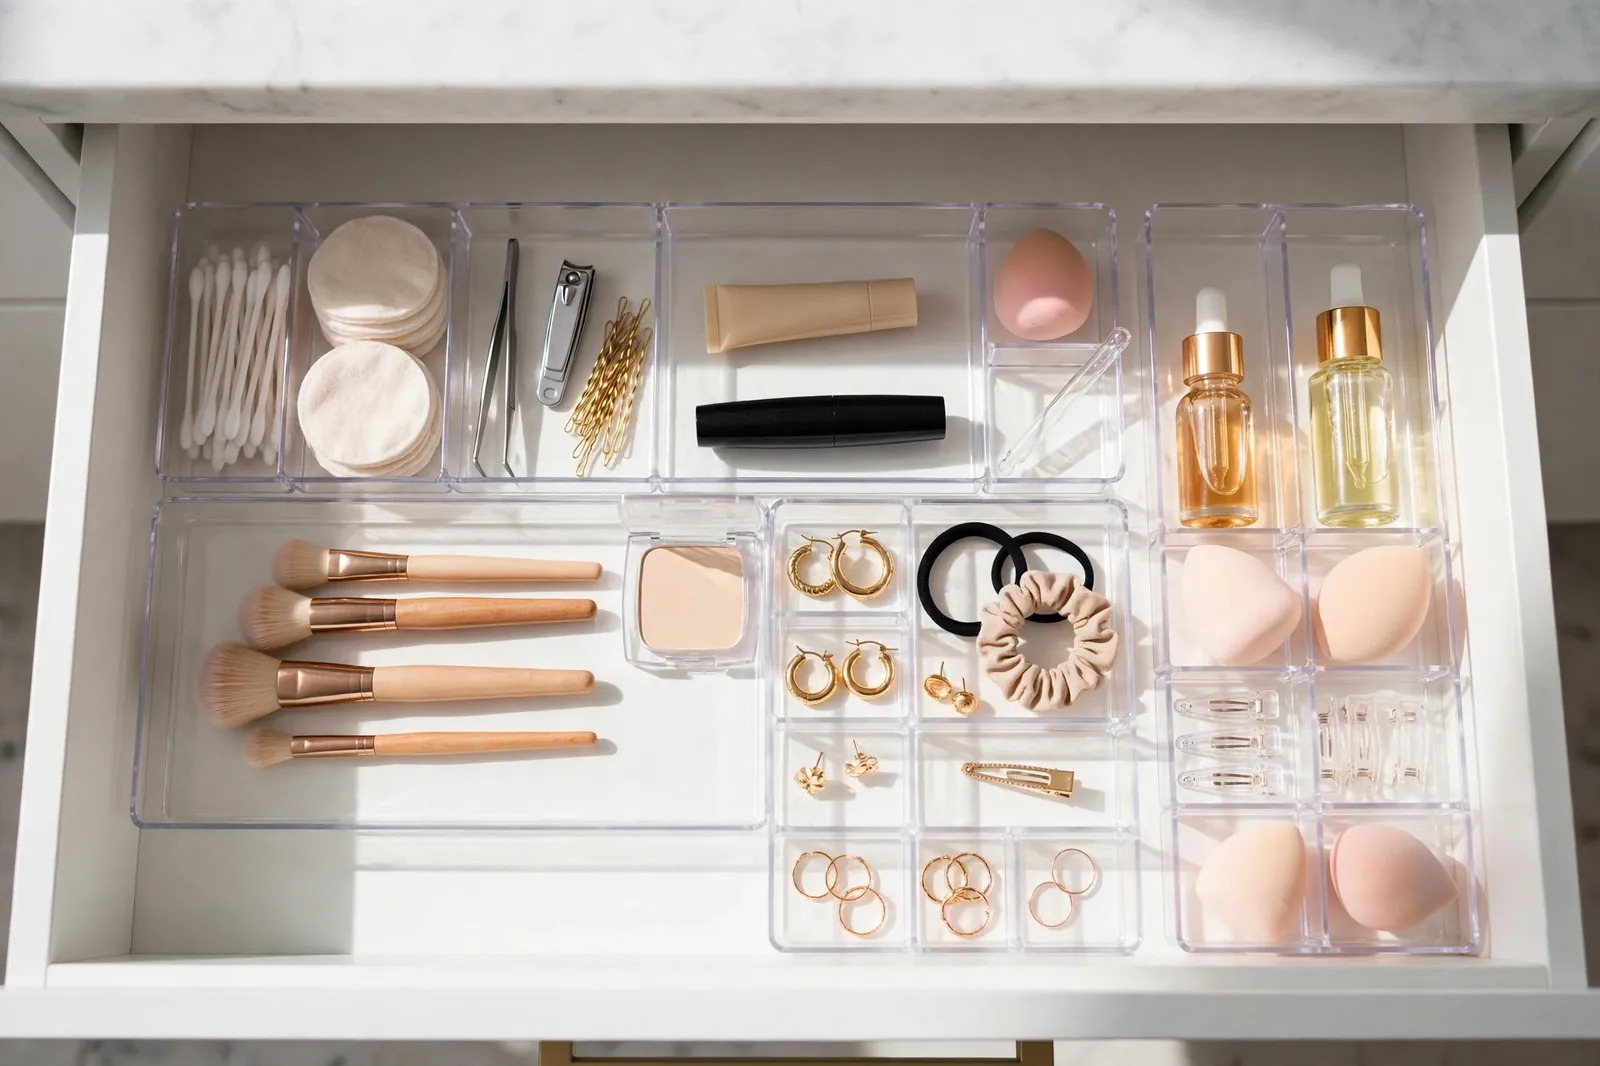
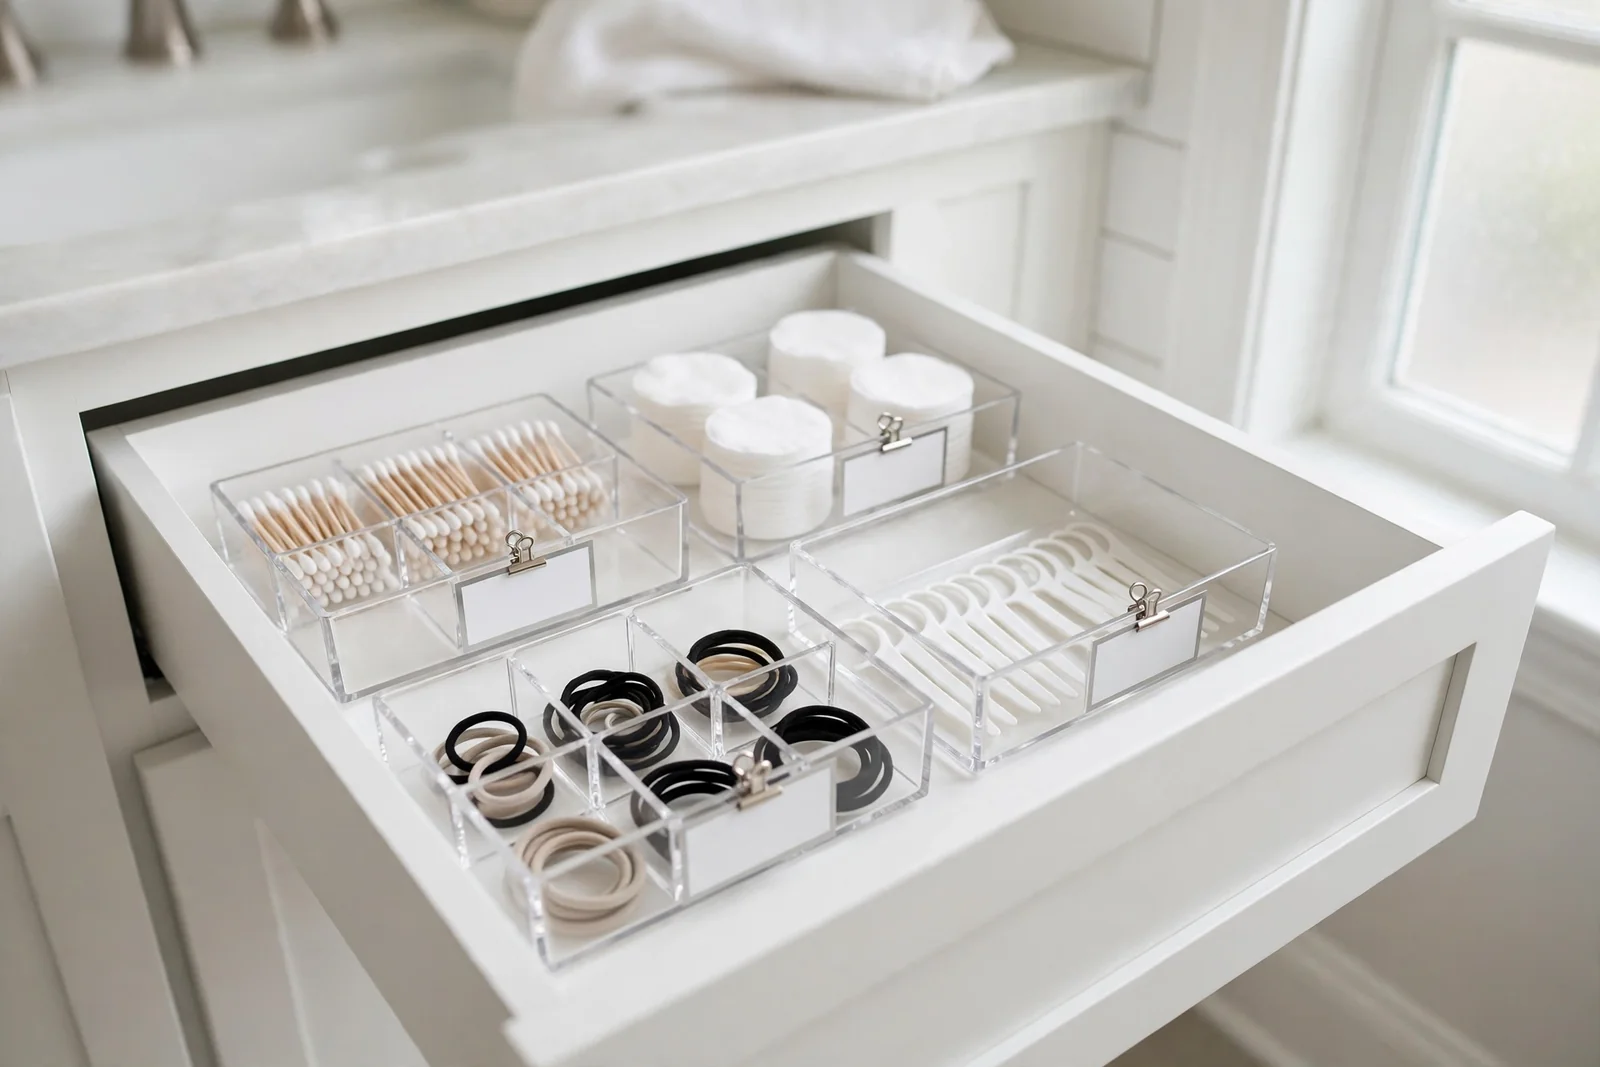
| Clear acrylic organizers | Seeing everything at a glance | Standard (4 to 6 in) | Mid | Shows every smudge, needs wiping |
| Bamboo dividers | A warm, finished look | Standard | Mid to high | Can warp in a very steamy bathroom |
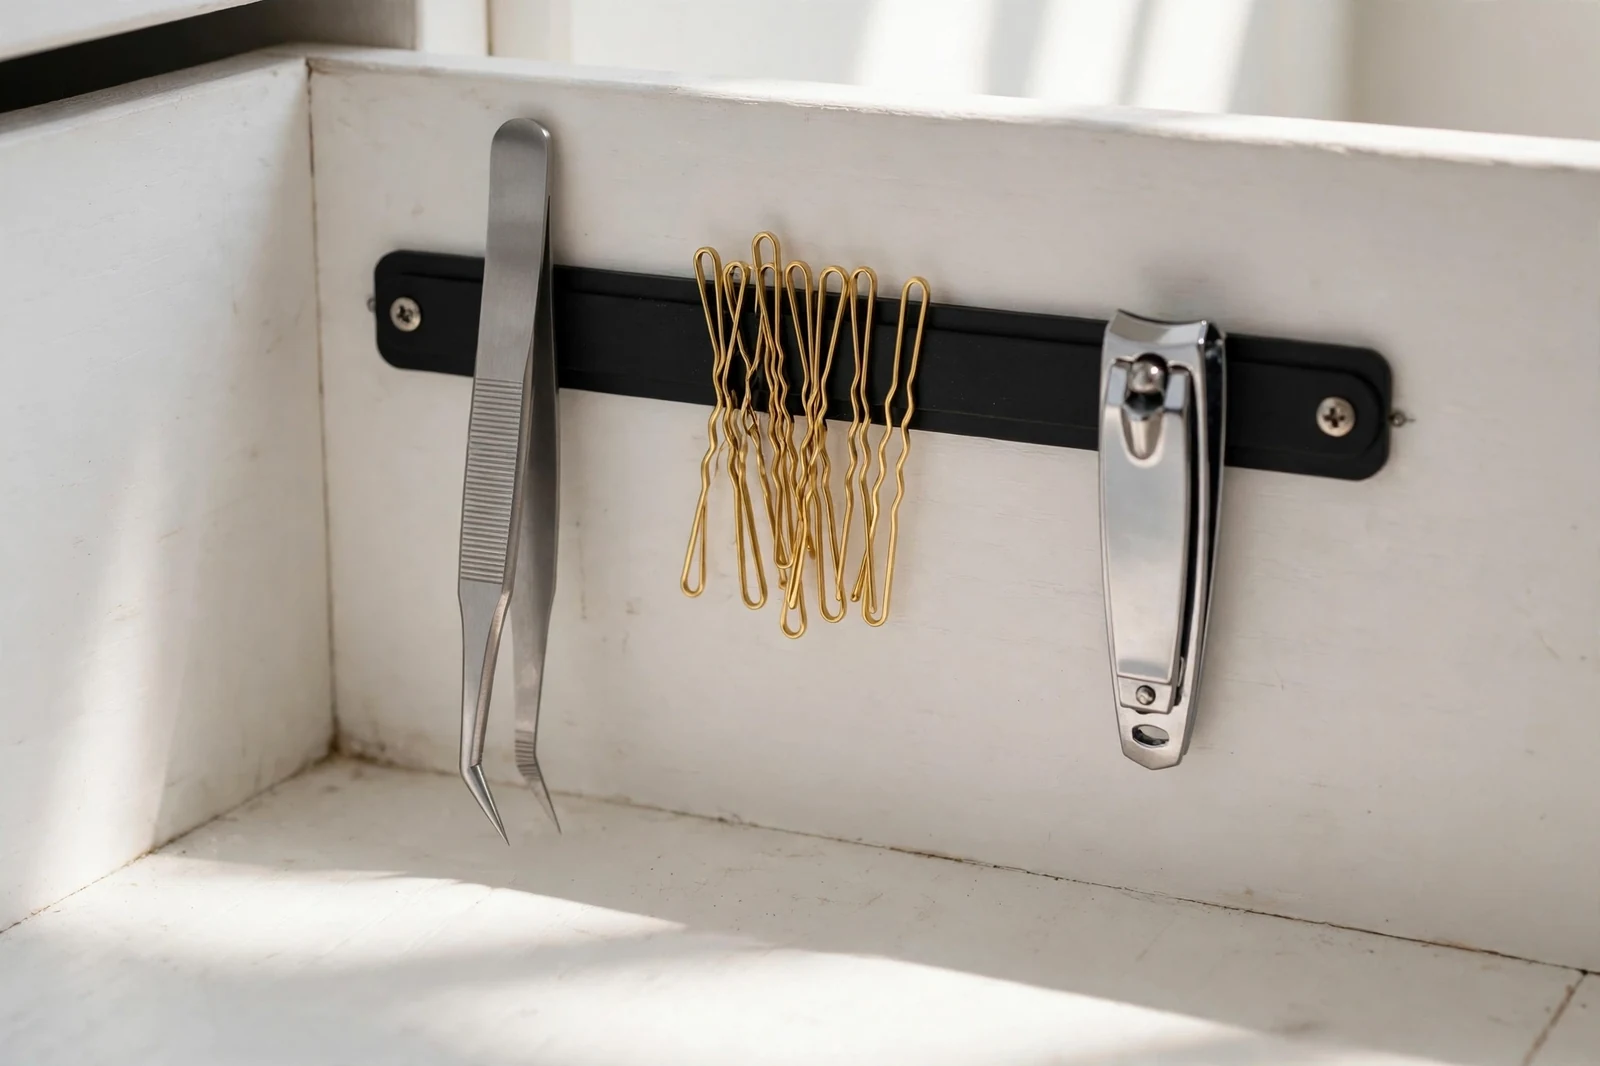
| Magnetic strips | Tweezers, bobby pins, nail clippers | Any, on the drawer wall | Low | Needs a clean, flat mounting surface |
| Small open bins | Backstock and bulky items | Deep | Low | Become junk bins without labels |
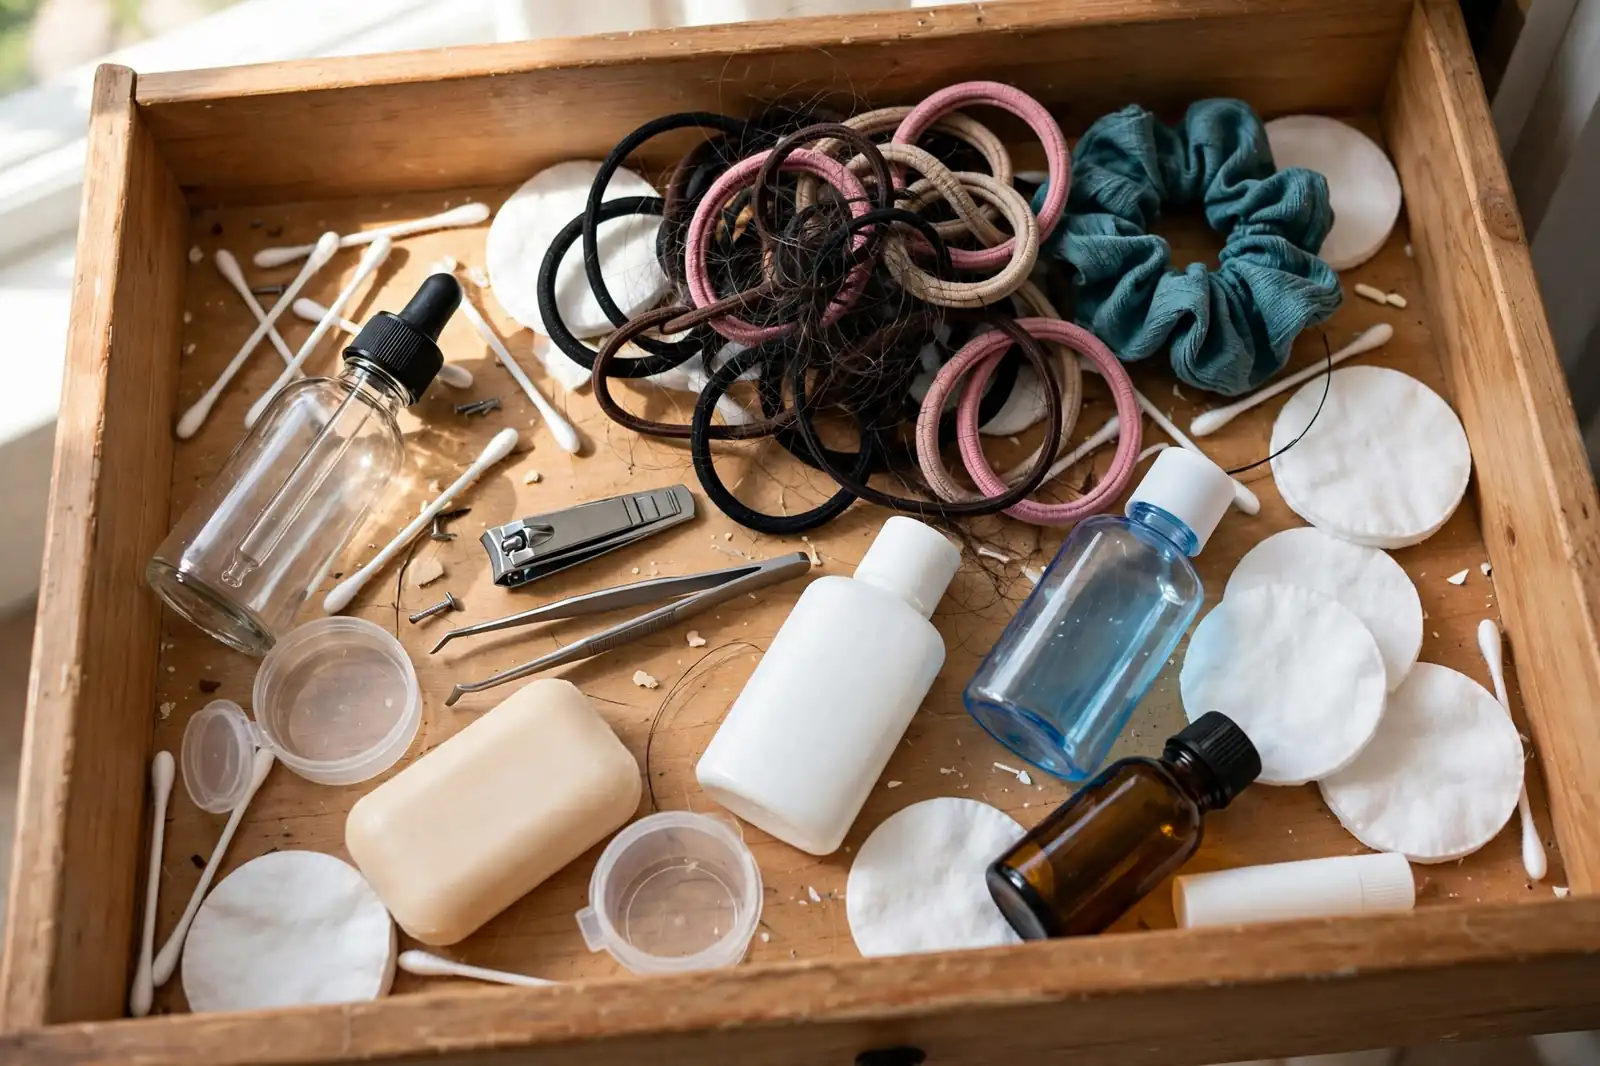
How do you start organizing a bathroom drawer?
Start by taking everything out. Not half of it, all of it, spread on a towel on the counter. Then sort into three piles: keep, toss, and relocate to a better home. The toss pile gets every expired product, every empty, and every duplicate you forgot you bought. Wipe the drawer clean, and only then decide what to buy.
Buying organizers before you purge expired products is the number one mistake people make. You end up with pretty trays full of expired mascara and dried-up samples. A purge first usually shrinks what you own by a third, which means you buy fewer organizers and spend less money. One honest hour on a Saturday morning is enough for most vanities.
Work one drawer at a time, not all of them at once. Empty drawers spread across the counter turn a one-hour job into an all-day mess, and that is where most people quit. Finish the top drawer completely, close it, then move down. That is how to organize bathroom drawers so the project actually survives a real weekend.
What are the best types of organizers for bathroom drawers?
The best bathroom drawer organizers match your drawer’s depth: adjustable dividers, drop-in drawer inserts, and flat trays for shallow drawers, stackable trays and tall bins for deep ones. Acrylic wipes clean and shows everything; bamboo looks warmer but hates steamy bathrooms; dollar store bins hold up fine for backstock.
One big adjustable tray beats five tiny cups for most people. Tiny cups tip over, slide around, and eat time because you are re-sorting. A single tray with movable dividers holds its shape, survives a drawer yanked open in a hurry, and lifts out to clean under it.
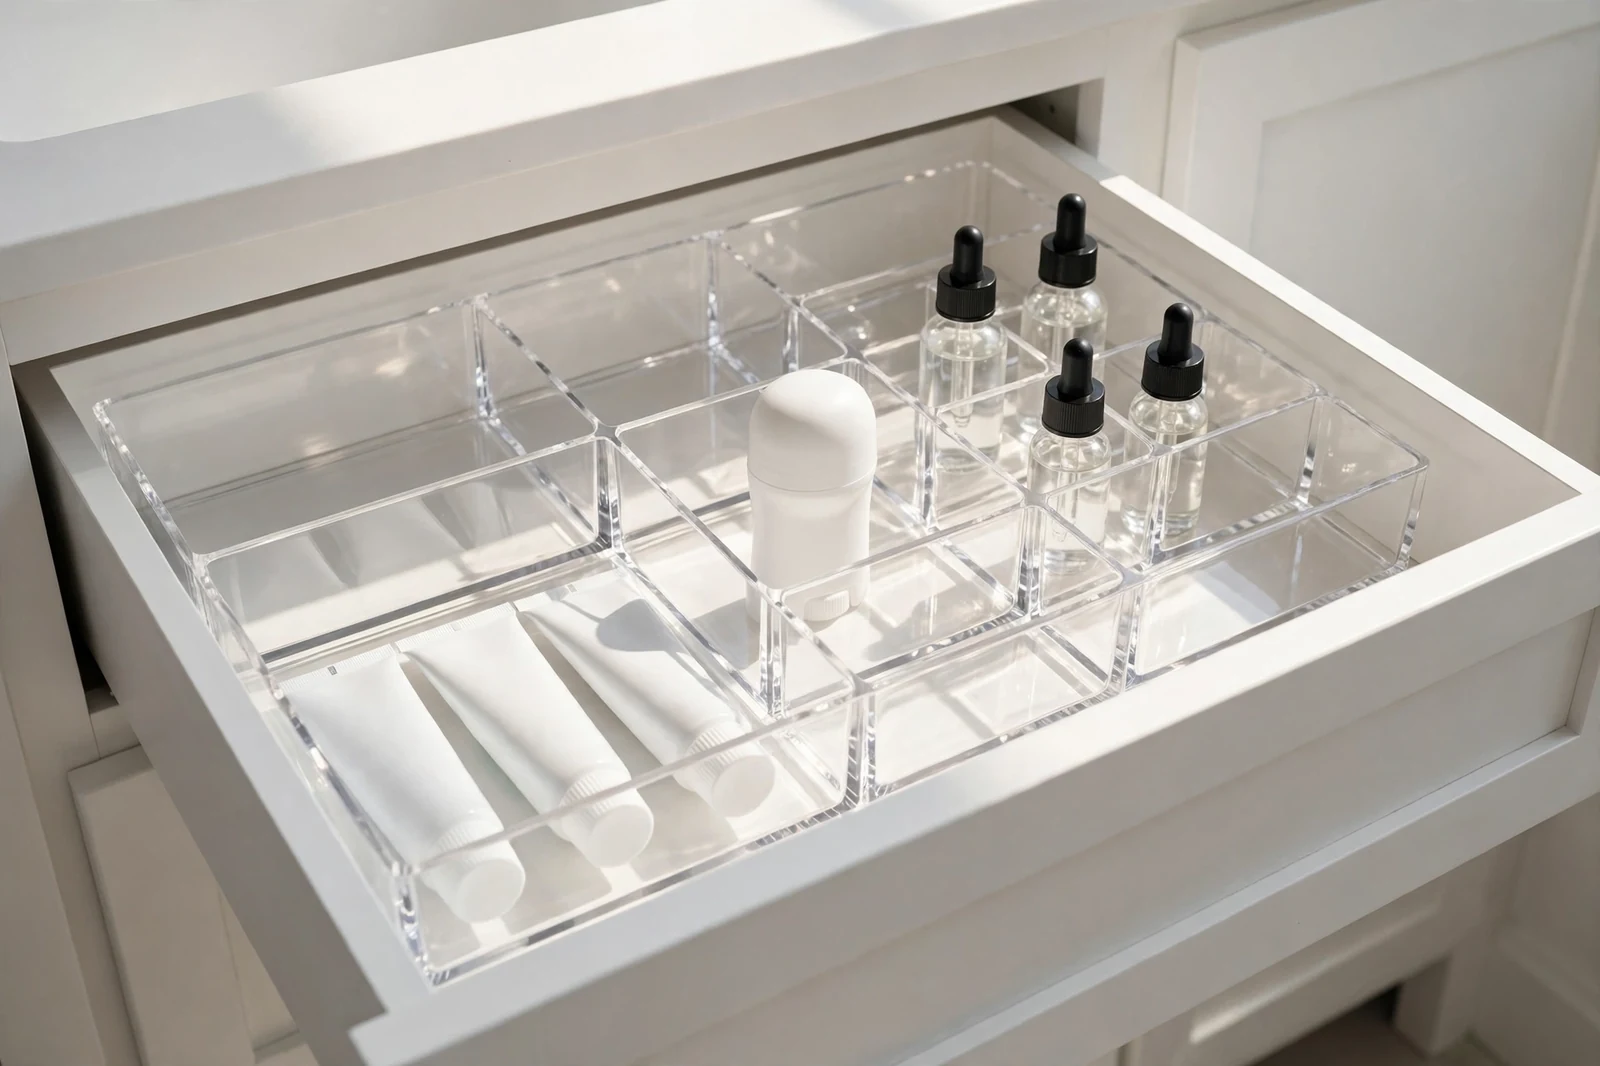
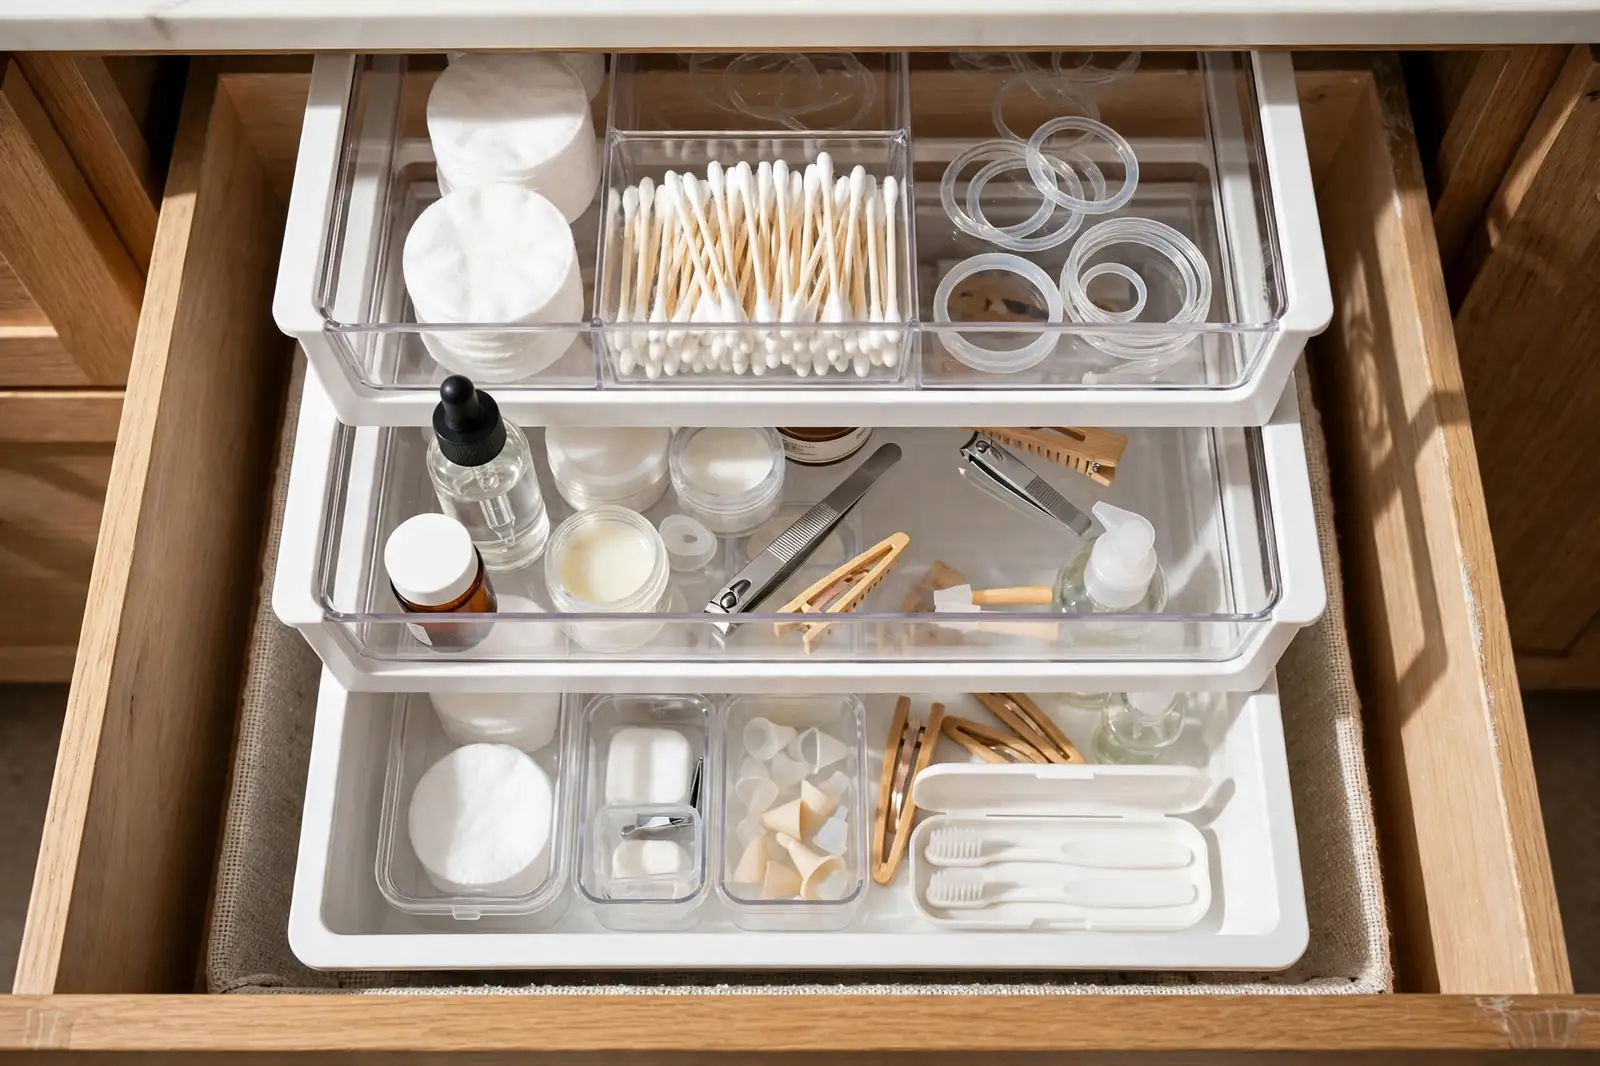
For deep drawers, think in layers: stackable bins use the full 8 to 12 inches, and upright cups hold tubes and bottles with labels facing up. In shallow drawers, dividers beat cups every time. Cups slide and tip in 2 inches of height; a low divider grid locks sections in place.
Magnetic strips earn their spot on the inside wall of the drawer for metal smalls: tweezers, bobby pins, nail clippers. They take zero drawer-bottom space, which is gold in a shallow drawer. Stick one to a clean, flat section of wall and press firmly for thirty seconds, and small stuff stops disappearing under bottles.
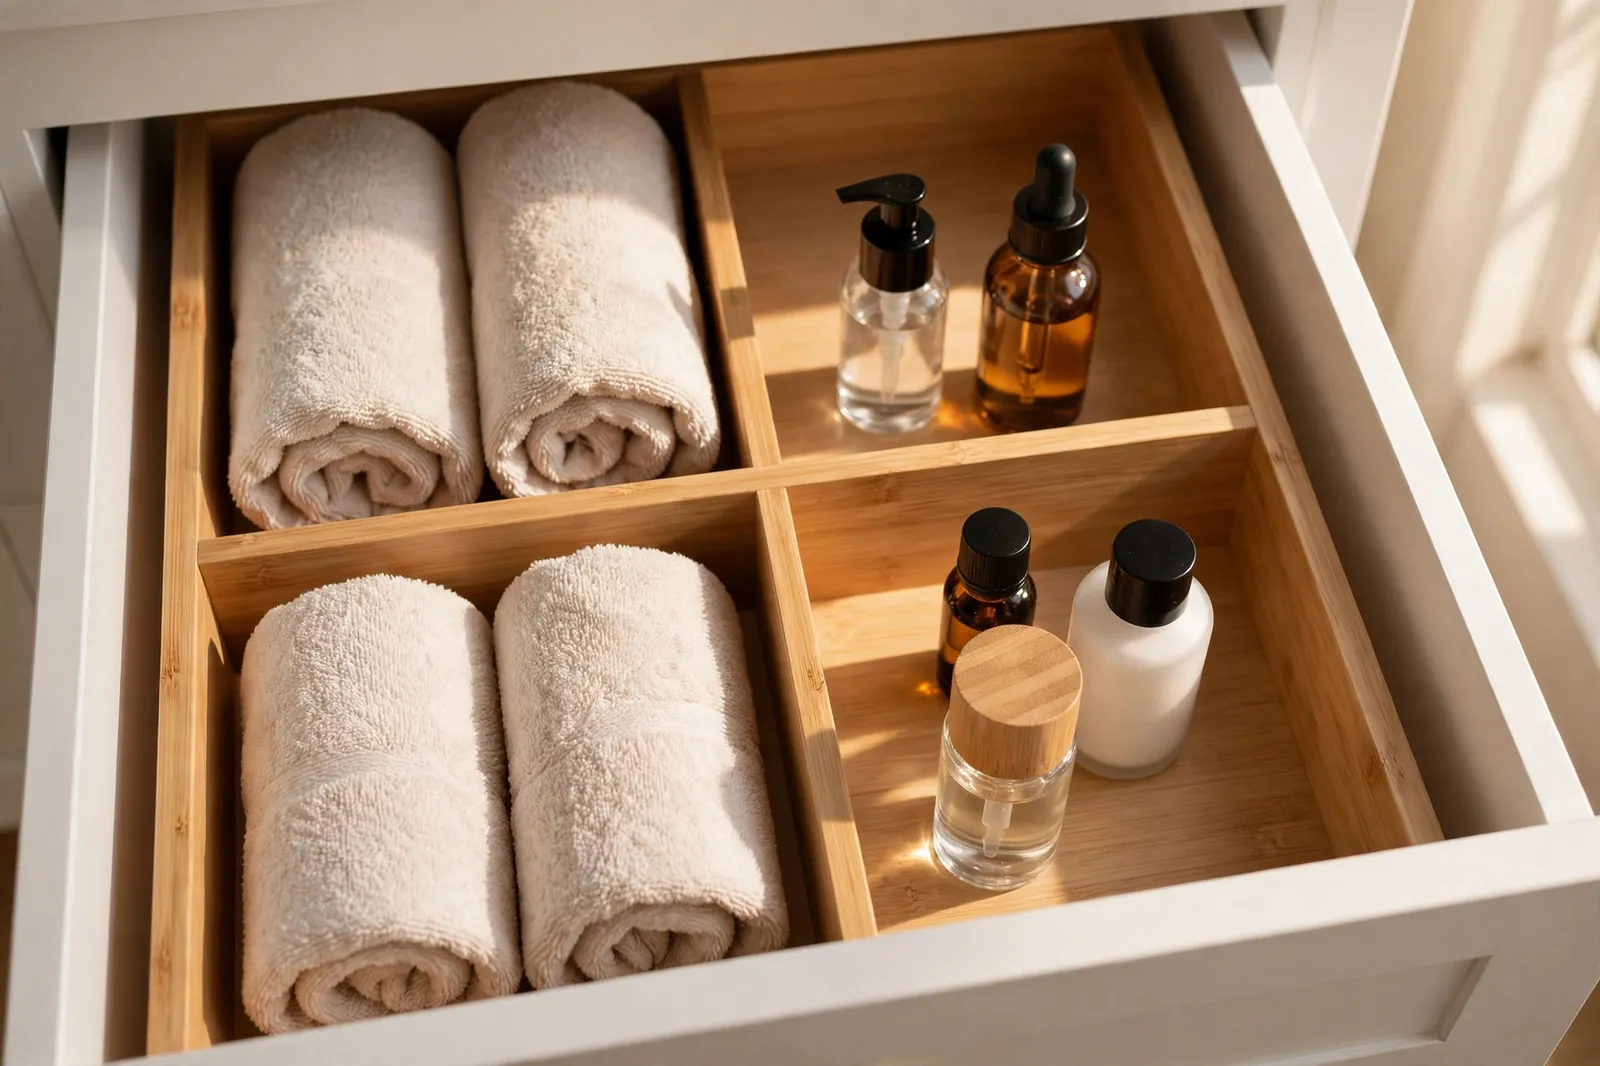
Organizer comparison
| Organizer type | Best for | Depth fit | Cost tier | Watch out |
|---|---|---|---|---|
| Adjustable dividers | Custom, changing layouts | 2 to 6 in | Low to mid | Springs drift on slick walls |
| Spring-loaded dividers | Odd widths, no cutting | 2 to 6 in | Low | Light grip, can pop loose |
| Stackable trays | Deep-drawer layers | 8 to 12 in | Low to mid | Bottom layer is a reach |
| Clear acrylic organizers | Visibility, easy cleaning | 4 to 6 in | Mid | Smudges show, wipe weekly |
| Bamboo dividers | Finished look | 4 to 6 in | Mid to high | Can warp in steamy bathrooms |
| Magnetic strips | Metal smalls on the wall | Any | Low | Needs a flat, clean surface |
| Small open bins | Bulky backstock | 8 to 12 in | Low | Turn into junk bins unlabeled |
How do you use drawer dividers for maximum space?
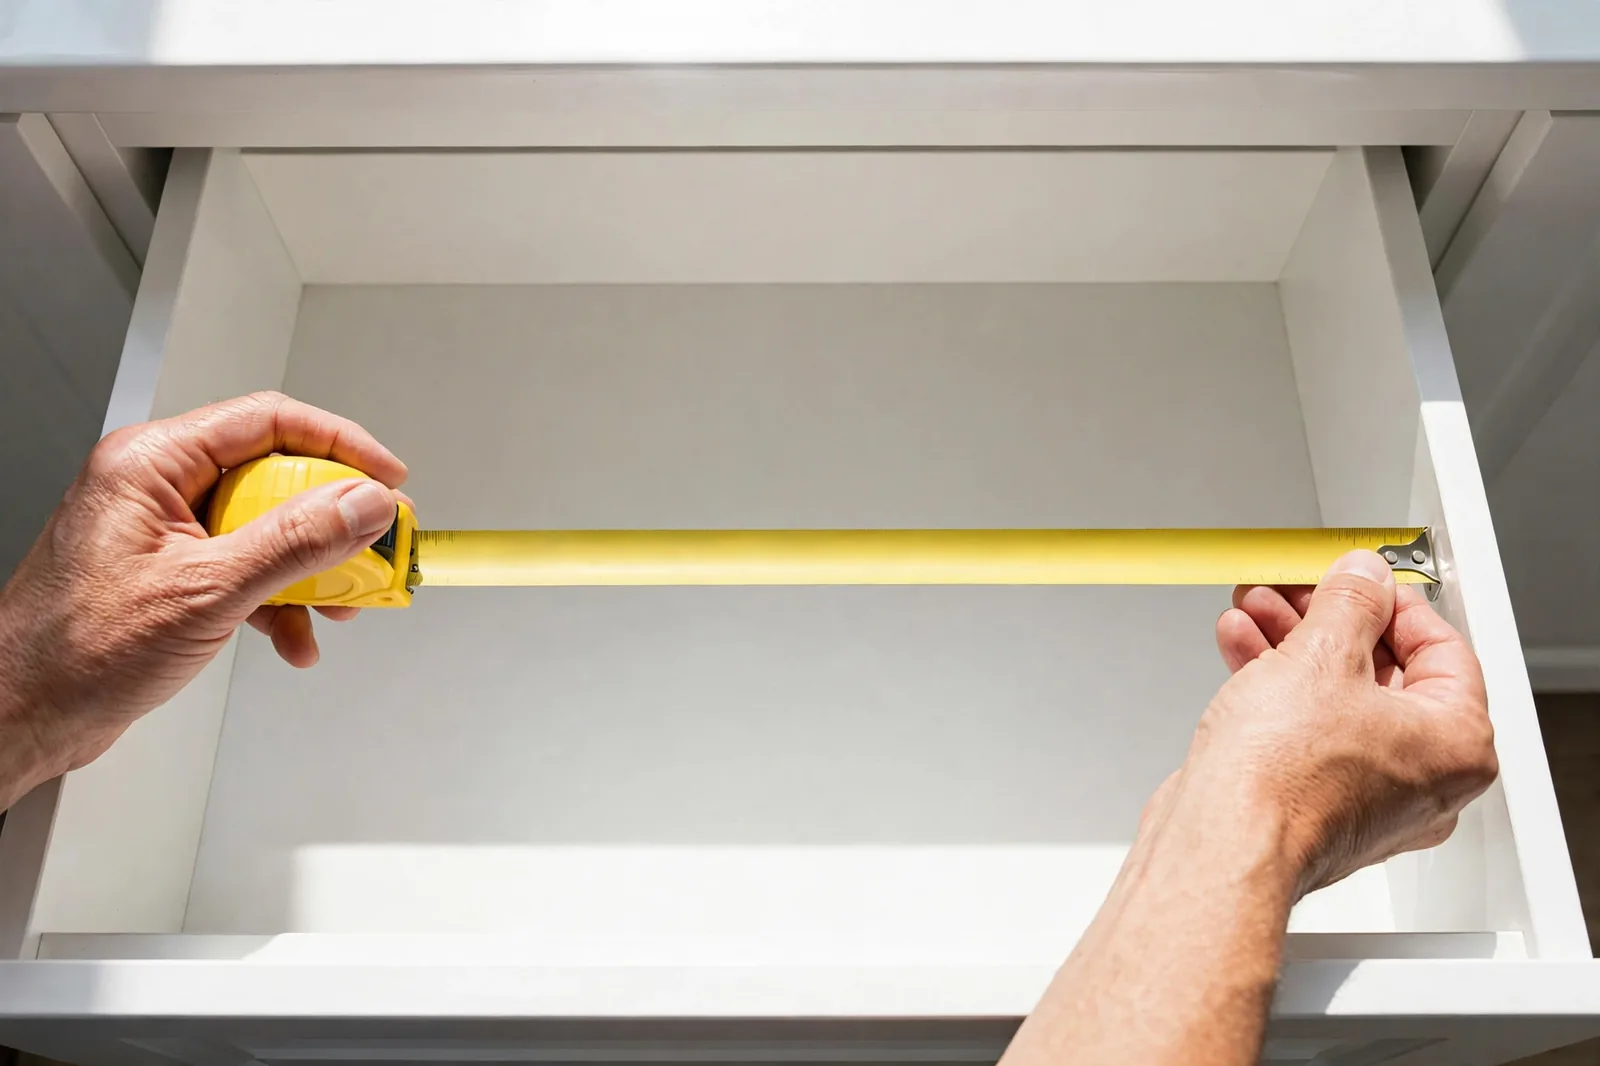
Start with bathroom drawer dividers matched to your drawer: adjustable and spring-loaded types cover odd widths without cutting, while cut-to-fit types give a cleaner look but need measuring twice and trimming once. Measure the inside width and depth first, and leave about 2 inches of clearance at the back so the drawer closes without the divider pressing against the cabinet.
Dividers beat cups in shallow drawers every time. In a 2 to 3 inch drawer, cups tip and slide, but a low grid of dividers locks sections in place and lets you see everything in one glance. Pair them with a non-slip drawer liner underneath, and the whole layout survives being opened half-asleep at 6 in the morning.
Put the labels on after one week, not on day one. You will find two zones need merging and one needs splitting, and early labels lock in guesses. A cheap label maker is the difference between a system that holds and one that drifts back to chaos in a shared bathroom. We use the same drawer-zone method for nightstand drawers.
What do you put in each bathroom vanity drawer?
Store by routine frequency, not by product type. The top drawer holds your daily routine: dental care, deodorant, the skincare and makeup you use every morning. The middle drawer gets weekly items: hair tools, nail care, tweezers. The bottom or deep drawer is for backstock: cotton balls, first aid supplies, extra shampoo.
Most people sort by category, which is where bathroom vanity drawer organization usually breaks down. All the skincare together sounds logical until the morning routine is split across three drawers. Your body does not care about categories; it cares about what you need at 7 AM. Grouping by how often you use things means the drawer you open most holds what you reach for most, and the backstock drawer stays closed until you actually need to restock.
The top drawer deserves the best organizers because it takes the most abuse. Use the adjustable dividers here, and keep one small empty zone on purpose. That landing pad is where tonight’s new purchase or tomorrow’s sample goes, so it never starts a clutter pile in the wrong drawer. A drawer with zero breathing room is a drawer that is already failing.
What is the best way to organize very deep bathroom drawers?
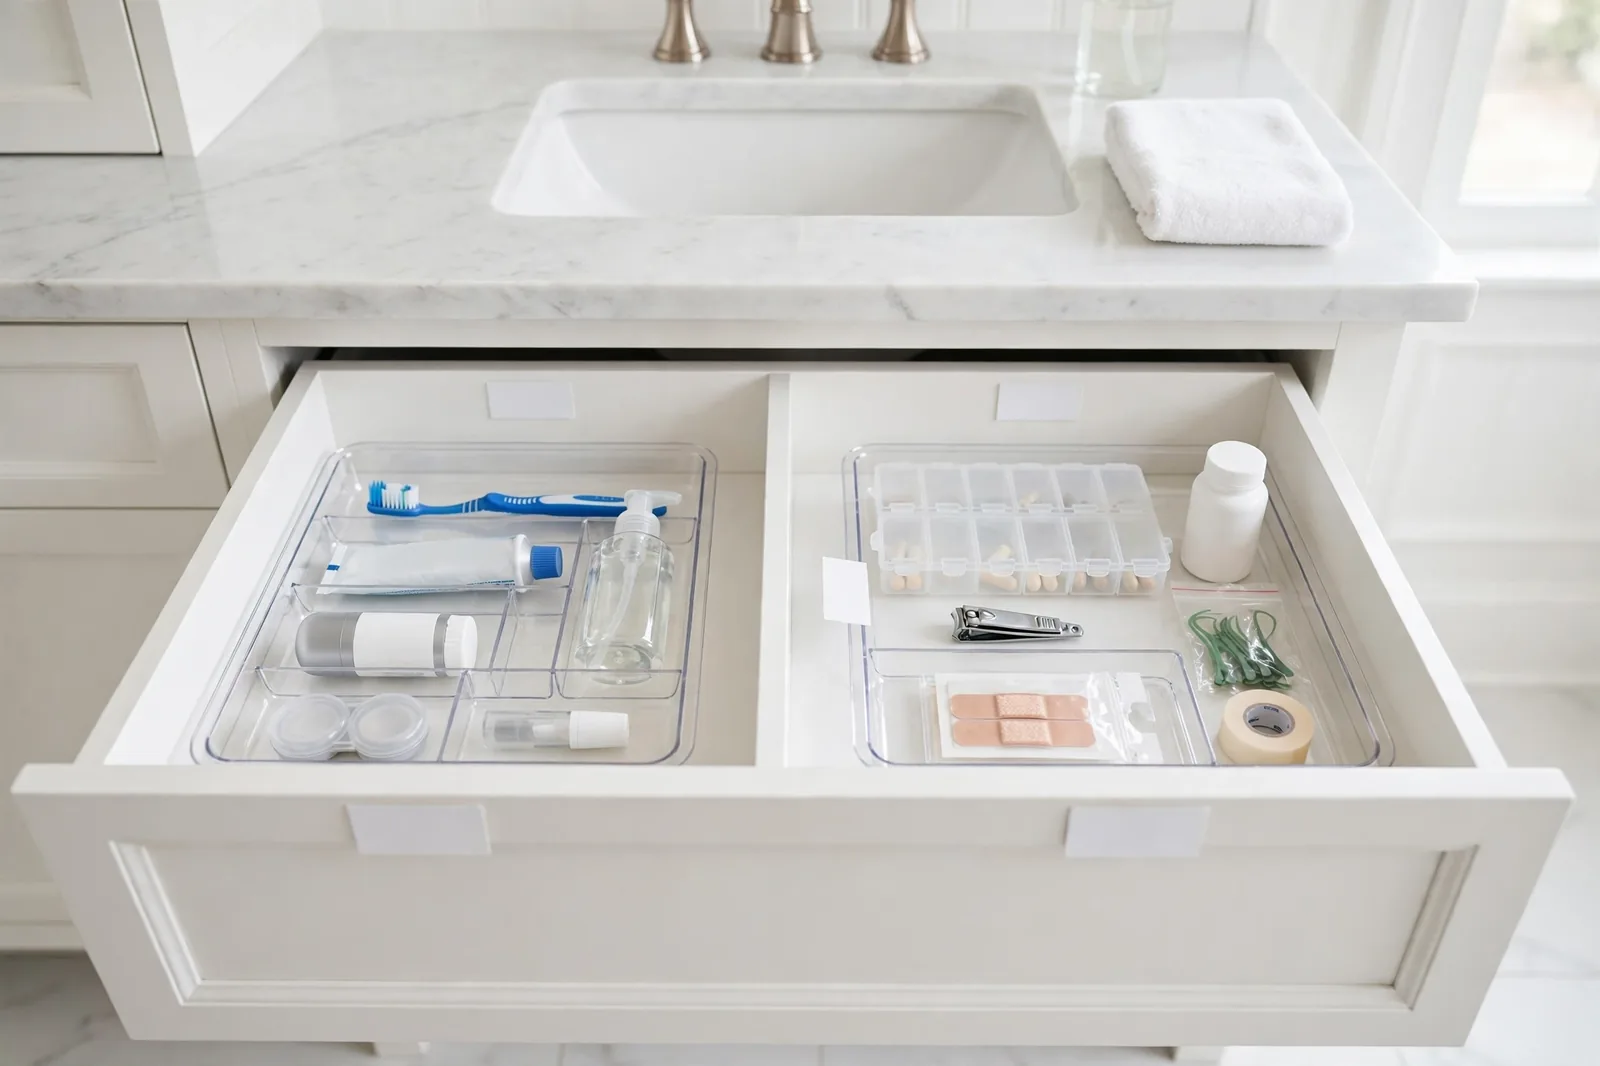
Go vertical. Deep drawers of 8 to 12 inches waste half their volume on flat trays, so treat this as a vertical storage problem: stackable bins build layers and upright cups hold tubes and tall bottles. The rule is simple: if you can only see the top inch, you are using half the drawer.
Tubes are the classic deep-drawer casualty. Laid flat, they slide under everything and you rebuy what you already own. Stand tubes and skincare bottles upright in a cup and every label faces up. Styling tools go the same way: upright in a heat-safe cup with cords clipped.
Keep daily items in the top layer or a removable caddy, and leave the heavy backstock on the drawer bottom. If your most-used items live at the bottom, you will stop putting them back, and that is how the mess returns. A removable tray that lifts out onto the counter makes a deep drawer behave like a shallow one.
If you are still short on storage after this, our small bathroom storage ideas guide continues the story for countertops and vanities that have to hold even more.
How do you make a shallow bathroom drawer hold more?
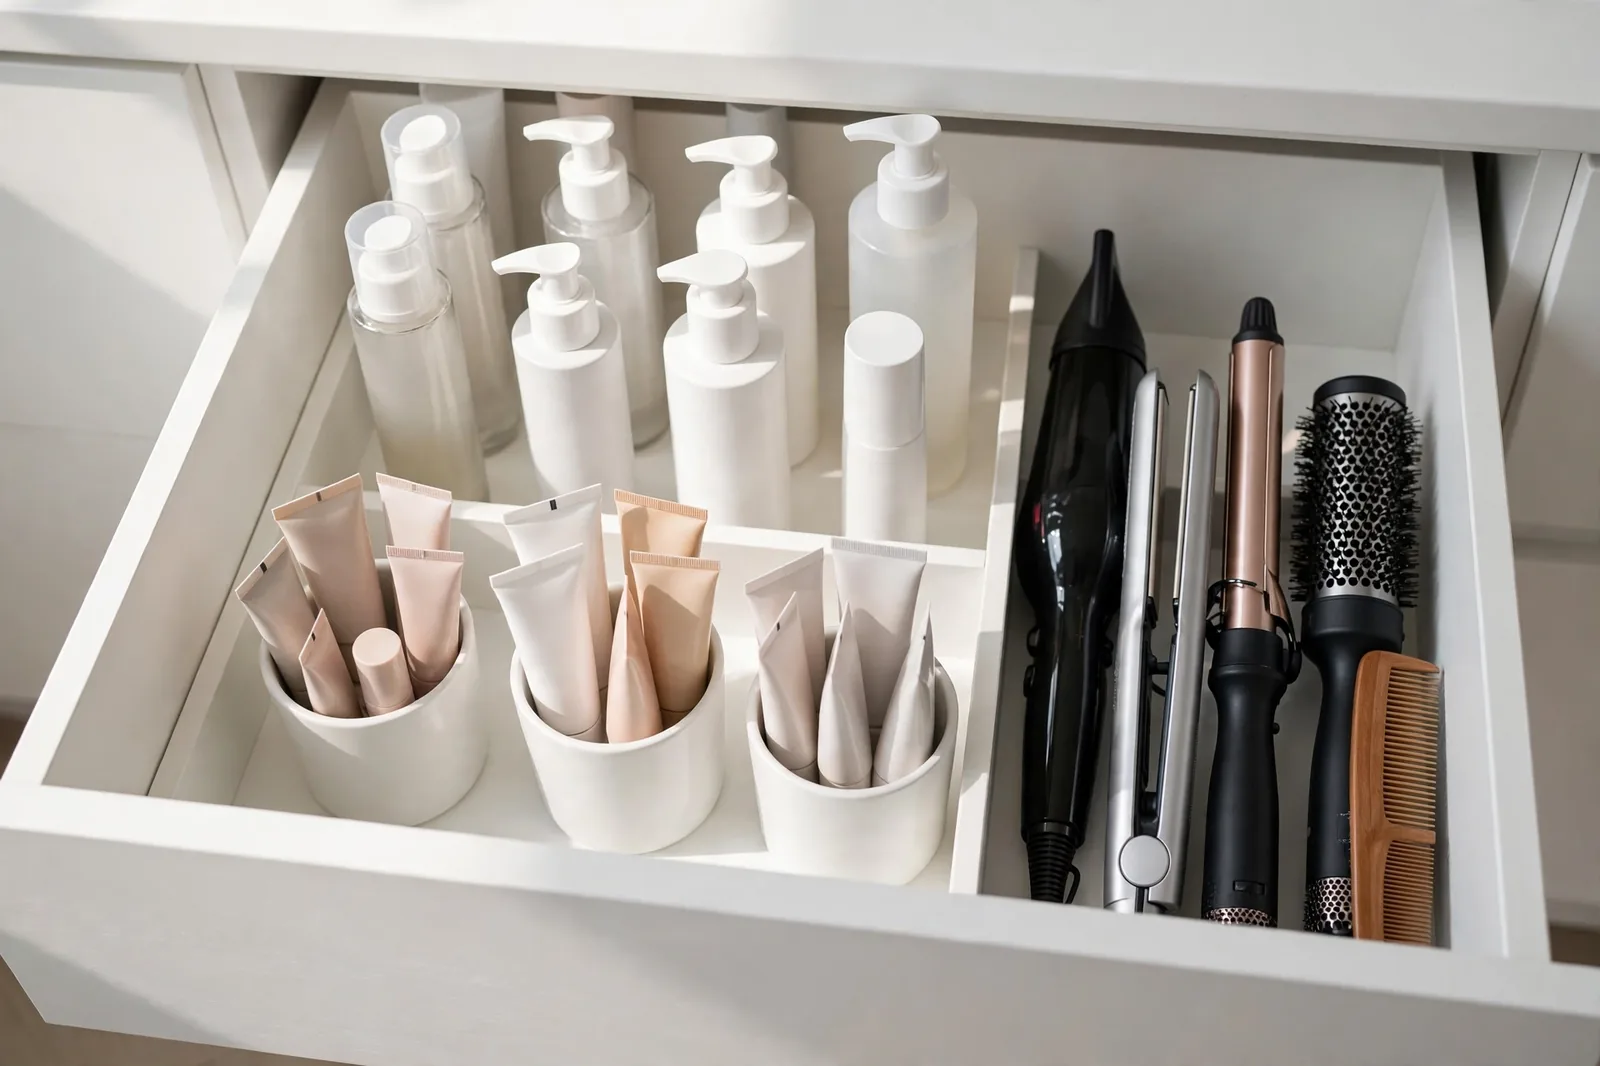
Stop stacking. Shallow drawers of 2 to 3 inches punish stacking, so switch to slim flat trays in a single layer, magnetic strips on the drawer walls for metal smalls, and drawer liners to stop everything sliding. Stack flat items like makeup palettes vertically in a narrow slot instead of piling them. Label each zone so small things do not drift.
This is the core lesson of small bathroom drawer storage: shallow drawers are the easiest to keep tidy once you stop trying to stack in them. One visible layer means you can see everything without moving anything, and that single fact does more for your morning routine than any organizer money can buy. The mistake is treating a 2-inch drawer like a 6-inch one and piling bottles three deep. It looks organized for a day and then it isn’t.
Magnetic strips are the shallow drawer’s secret weapon. Tweezers, bobby pins, and nail clippers live on the strip mounted to the drawer wall, which frees the whole drawer floor. Press it onto a clean, flat surface for thirty seconds or it will pop off in month two.
What are budget-friendly bathroom drawer organizer ideas?
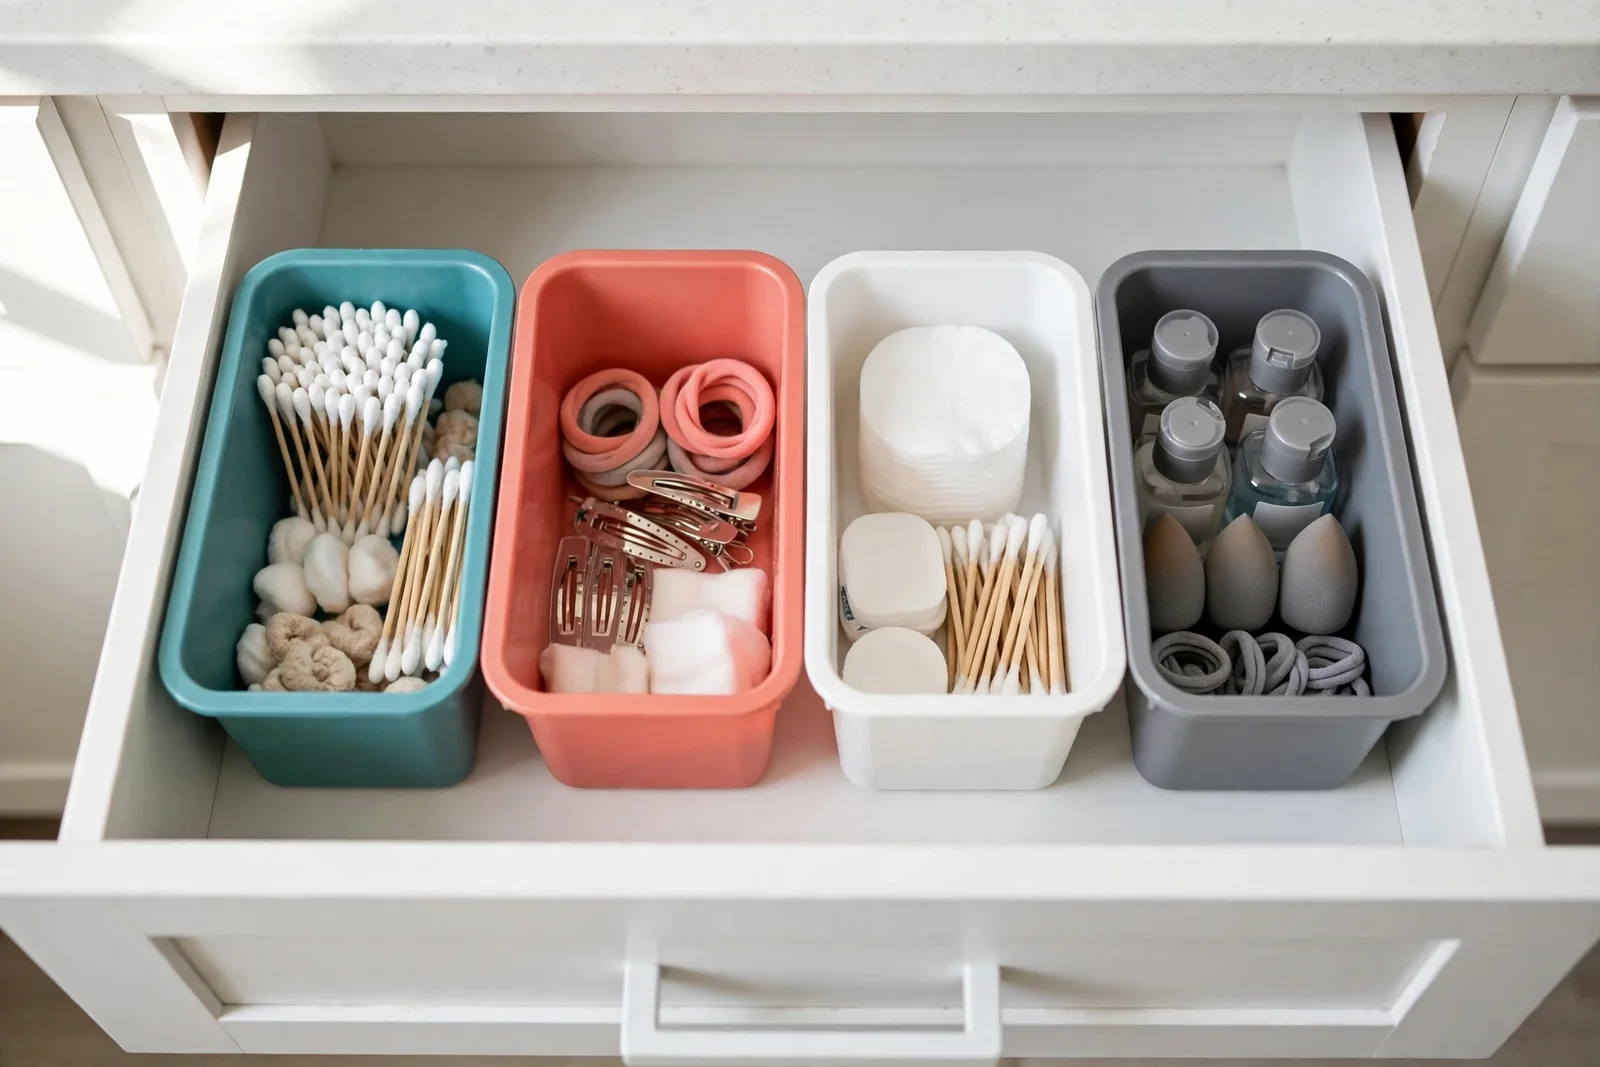
You do not need an expensive matching set. Dollar store bins at about 1.25 to 3 dollars a piece plus one good adjustable divider will out-organize a 60-dollar matching set in most real bathrooms. No-cost options work too: clean jars for cotton balls and cotton swabs, a cut-down shoebox, an ice cube tray, or the silverware tray your kitchen never loved.
Dollar store bins are the value winner for backstock and deep drawers, where looks matter less and wipeable plastic matters more. Big-box trays sit in the middle with nicer finishes and dividers that actually hold. Premium bamboo looks great in a guest bathroom, but think twice in a steamy main bathroom, since wood and daily humidity are a slow bad marriage. Spend the money where your hands go every day, not where guests glance.
The honest cost for one drawer runs about 12 dollars at the dollar store, 25 to 35 dollars at a big-box store, and 50 to 75 dollars for premium bamboo or acrylic. Start cheap on the bottom drawers and spend the premium money on the top daily drawer only.
Budget tiers for one drawer
| Tier | What you buy | Typical total | Best use |
|---|---|---|---|
| No-cost repurposed | Jars, ice cube tray, cut-down shoebox, kitchen silverware tray | 0 dollars | Testing a layout before spending |
| Dollar store | 4 to 6 small bins, non-slip liner | About 12 dollars | Backstock, deep drawers, rentals |
| Big-box mid-range | Adjustable divider set, 3 trays, liner, labels | 25 to 35 dollars | Daily top drawer |
| Premium | Bamboo or acrylic set, label maker | 50 to 75 dollars | Guest bath, finished look |
Which bathroom products expire first, and when should you toss them?
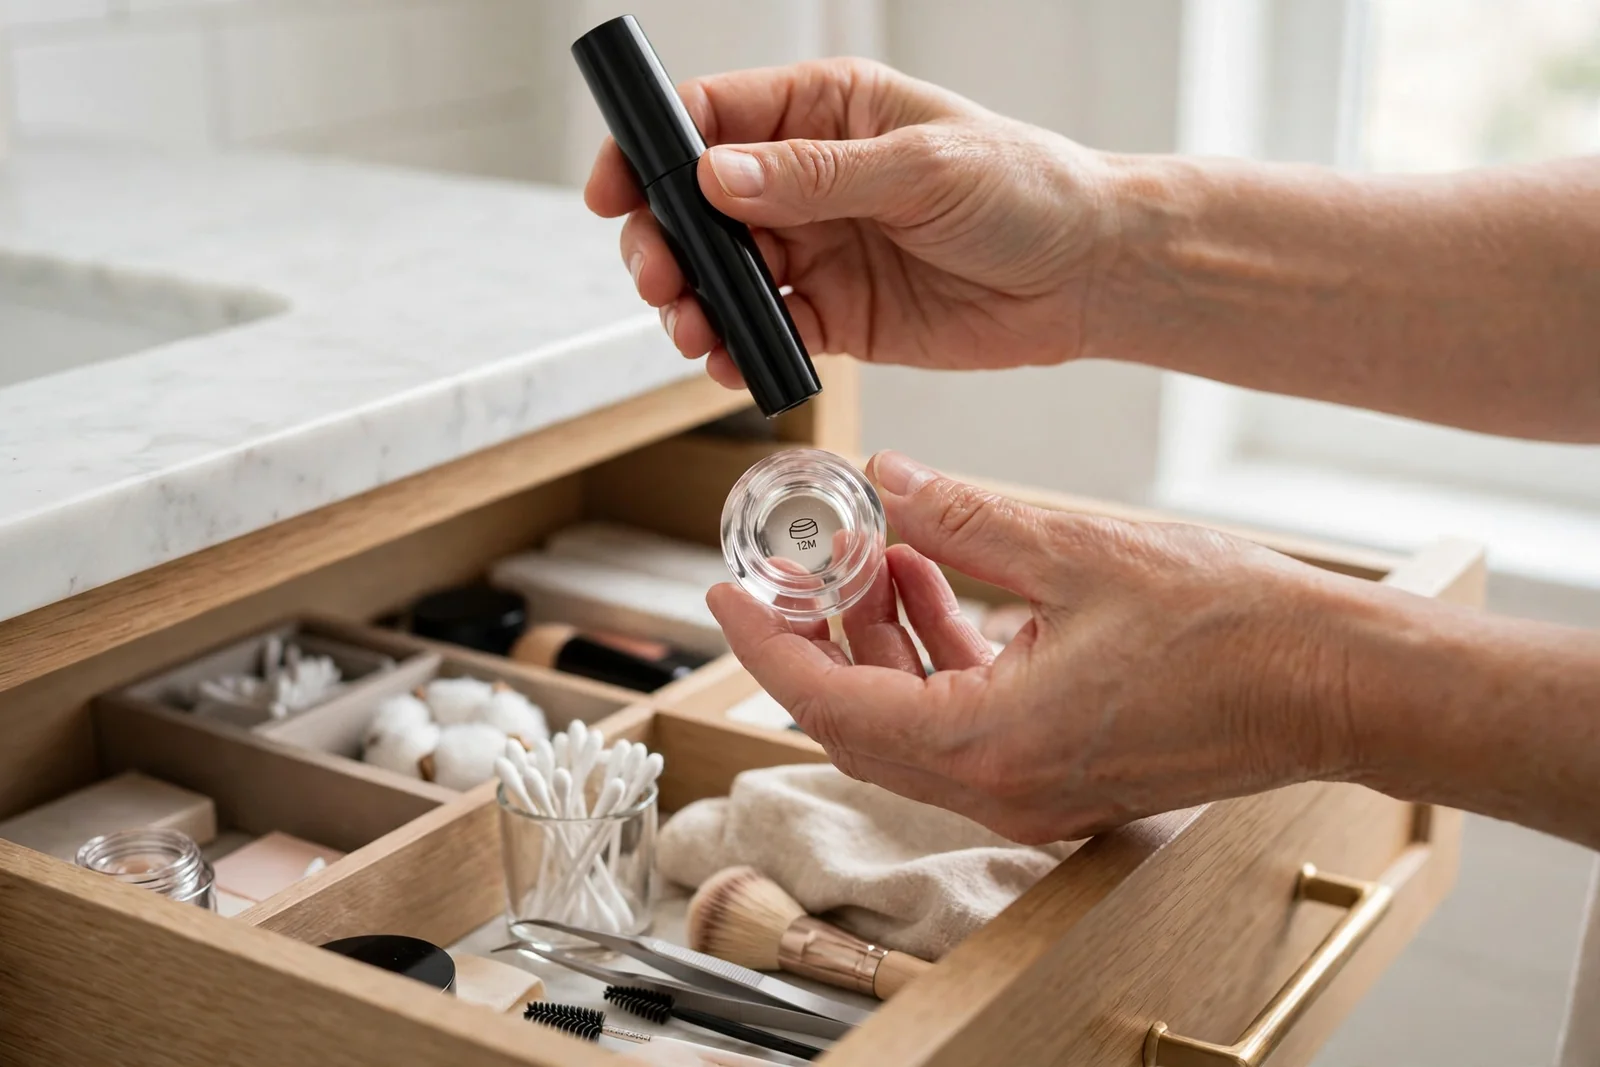
Mascara goes first, then liquid eyeliner. The authority is the open-jar symbol printed on the product, where the number before the M is the months-after-opening date. BeautyCon’s label symbols explainer confirms this, and the uncomfortable part: US law does not require printed expiration dates on cosmetics, so the PAO symbol is the closest thing to a rule you get.
Expired cosmetics are not just a performance problem. Old mascara and eyeliner collect bacteria, and anything near the eye is the wrong place to gamble. Foundation and concealer lose coverage and can irritate skin past their date. Sunscreen is the quiet one people forget: expired sunscreen gives less protection than the label claims. If a product smells off, separates, or changed color, toss it no matter what the symbol says.
Medicines carry real printed dates, so check the dates on your first aid items and move them to a dry spot. As the next section shows, a humid bathroom drawer is not that spot. For the right home for them, see our guide to medicine cabinet organization.
Expiration toss calendar
| Product | Typical PAO range | Sign it is done |
|---|---|---|
| Mascara | 2 to 4 months | Clumpy, dried out, odd smell |
| Liquid eyeliner | 3 months | Tugs, flakes, changed color |
| Pencil liner | Up to 1 year | Hard to sharpen, pulls skin |
| Foundation and concealer | About 12 months | Separates, smells sour, patchy |
| Toothbrush | 3 to 4 months (ADA) | Splayed bristles, after illness |
| Sunscreen | Check the PAO symbol | Past symbol date, watery texture |
| Nail polish | About 2 years | Thick, goopy, will not apply smooth |
How do you keep bathroom drawers dry and mold-free?
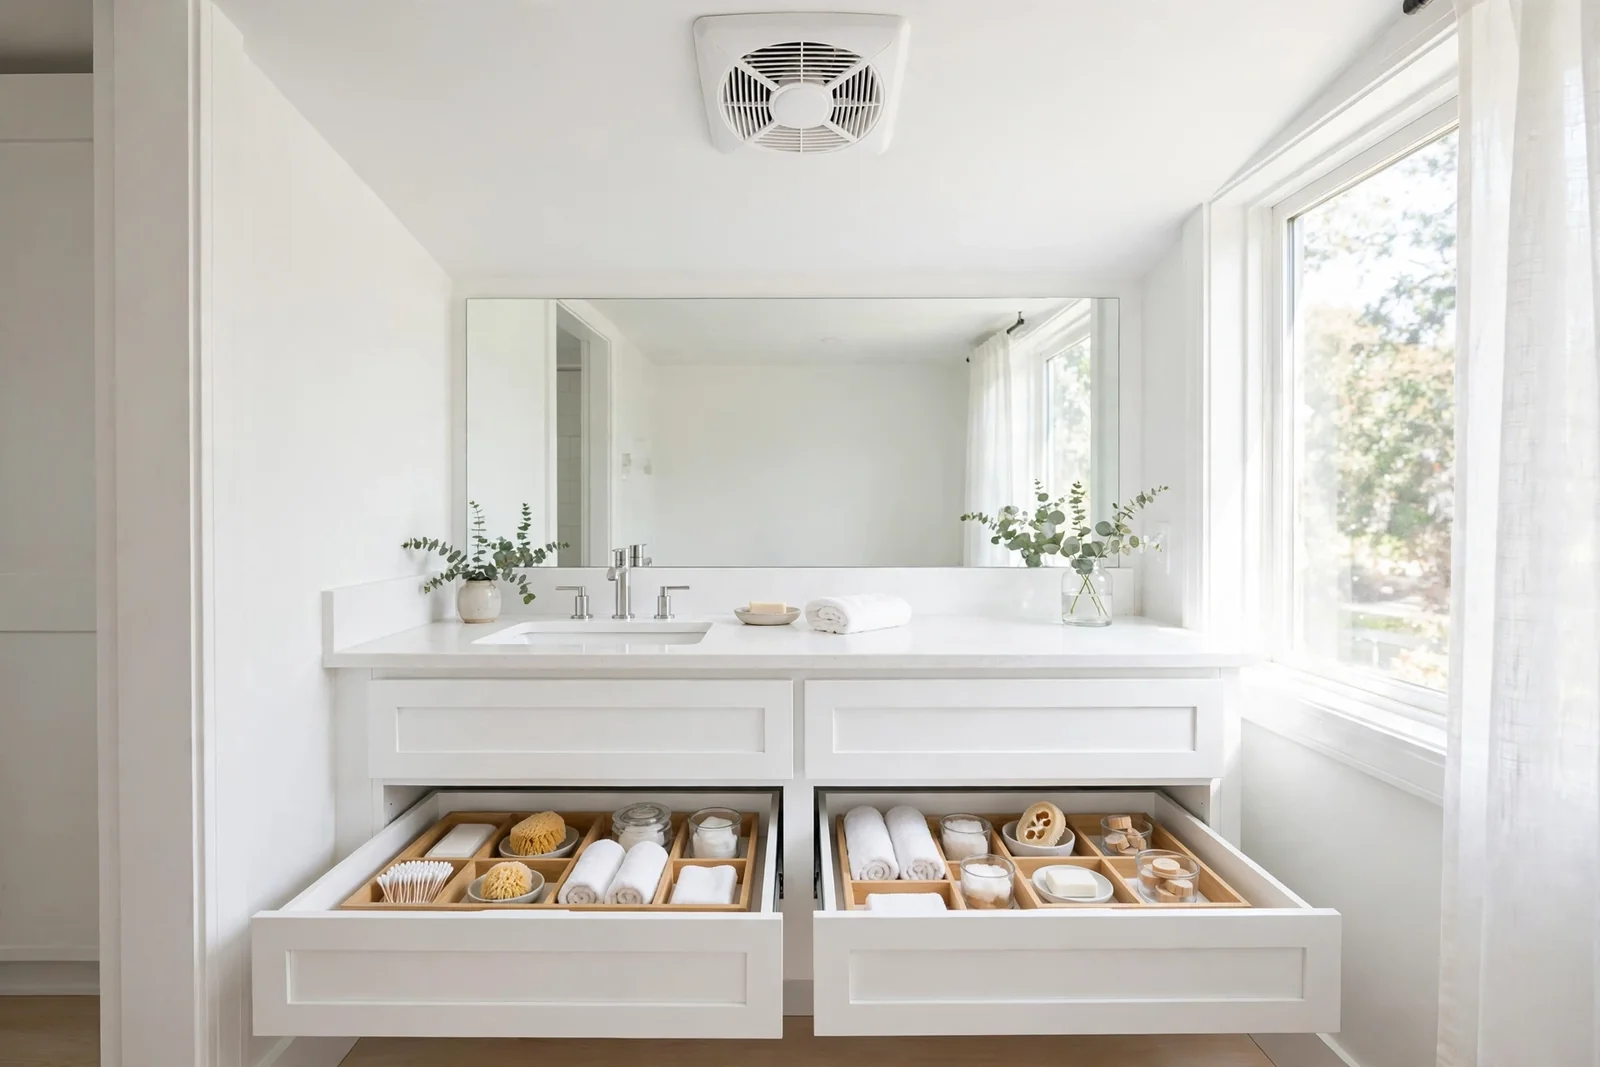
Run the exhaust fan every time you shower. That one habit matters more than any organizer material. The US EPA’s Mold House Tour guidance says to run the fan when showering and to keep indoor humidity below 60 percent, ideally 30 to 50 percent. A bathroom that stays steamy for hours is feeding mold on drawer walls and liners.
Choose waterproof, wipeable, moisture resistant organizers: acrylic, plastic, and sealed silicone over raw wood or fabric, which hold moisture. A non-slip liner under everything stops organizers sliding and wipes clean in seconds. Never put damp items back in a drawer, which sounds obvious until you have done it with a wet hairbrush at 7 AM. Wet items go on the counter or a drying rack first, and the drawer stays for dry things only.
If a drawer already smells musty, empty it, wipe every surface with a mild soap solution, and let it dry fully before putting anything back. Toss any liner that still smells after washing: mold embeds in porous materials. The fan habit plus wipeable organizers is the whole mold prevention plan.
How do you organize a bathroom drawer the whole family shares?
Give every person a zone and label it, because labels are the system in a shared drawer. Each person’s daily items get one tray or divider section with their name on it. Kids get the low drawer; adults get the higher drawers. When someone’s zone overflows, it overflows into their own zone, not yours, and that boundary keeps the peace.
Child safety comes first and it is non-negotiable. Medicines, razors, nail scissors, and anything sharp go up high and out of reach, never in a low drawer a toddler can pull open. The bathroom is a rough home for medicines anyway, with heat and humidity wearing them down, so move the medicine stash to a dry spot like a bedroom closet. A shared bathroom drawer is for grooming supplies, not prescriptions.
The label maker pays for itself here. Plain names on each zone end the daily migration of other people’s stuff into your section. It feels fussy for exactly one week, then nobody remembers life before it. For renters sharing a bath, a two-dollar pack of adhesive labels beats a forty-dollar organizer set nobody respects.
How often should you clean and reorganize bathroom drawers?
Give the daily drawer a 2-minute reset weekly, a 10-minute wipe-down monthly, and a full purge each season. The weekly reset is putting strays back in their zones, which is fast because everything has a zone. The monthly session means pulling the trays, wiping the drawer and liners, tossing empties, and refilling backstock from the bottom drawer.
The quarterly purge is where the expiration calendar earns its keep. Check the PAO symbols, toss the expired mascara you kept “just in case”, and check toothbrush heads for splayed bristles: the American Dental Association says to replace a toothbrush every 3 to 4 months, or sooner if the bristles look worn. Seasons change what you store too, so build in a seasonal rotation: sunscreen out and lip balm in for winter, then swap them back in spring.
This is the part where organization systems die, so tie each session to something you already do. Sunday night reset, first-Saturday-of-the-month wipe-down, start-of-season purge. A system you have to remember is a system you will forget; a system hooked to a habit runs itself. Ten minutes a month is the entire maintenance cost of never having a junk drawer again.
Can you repurpose old containers for bathroom storage?
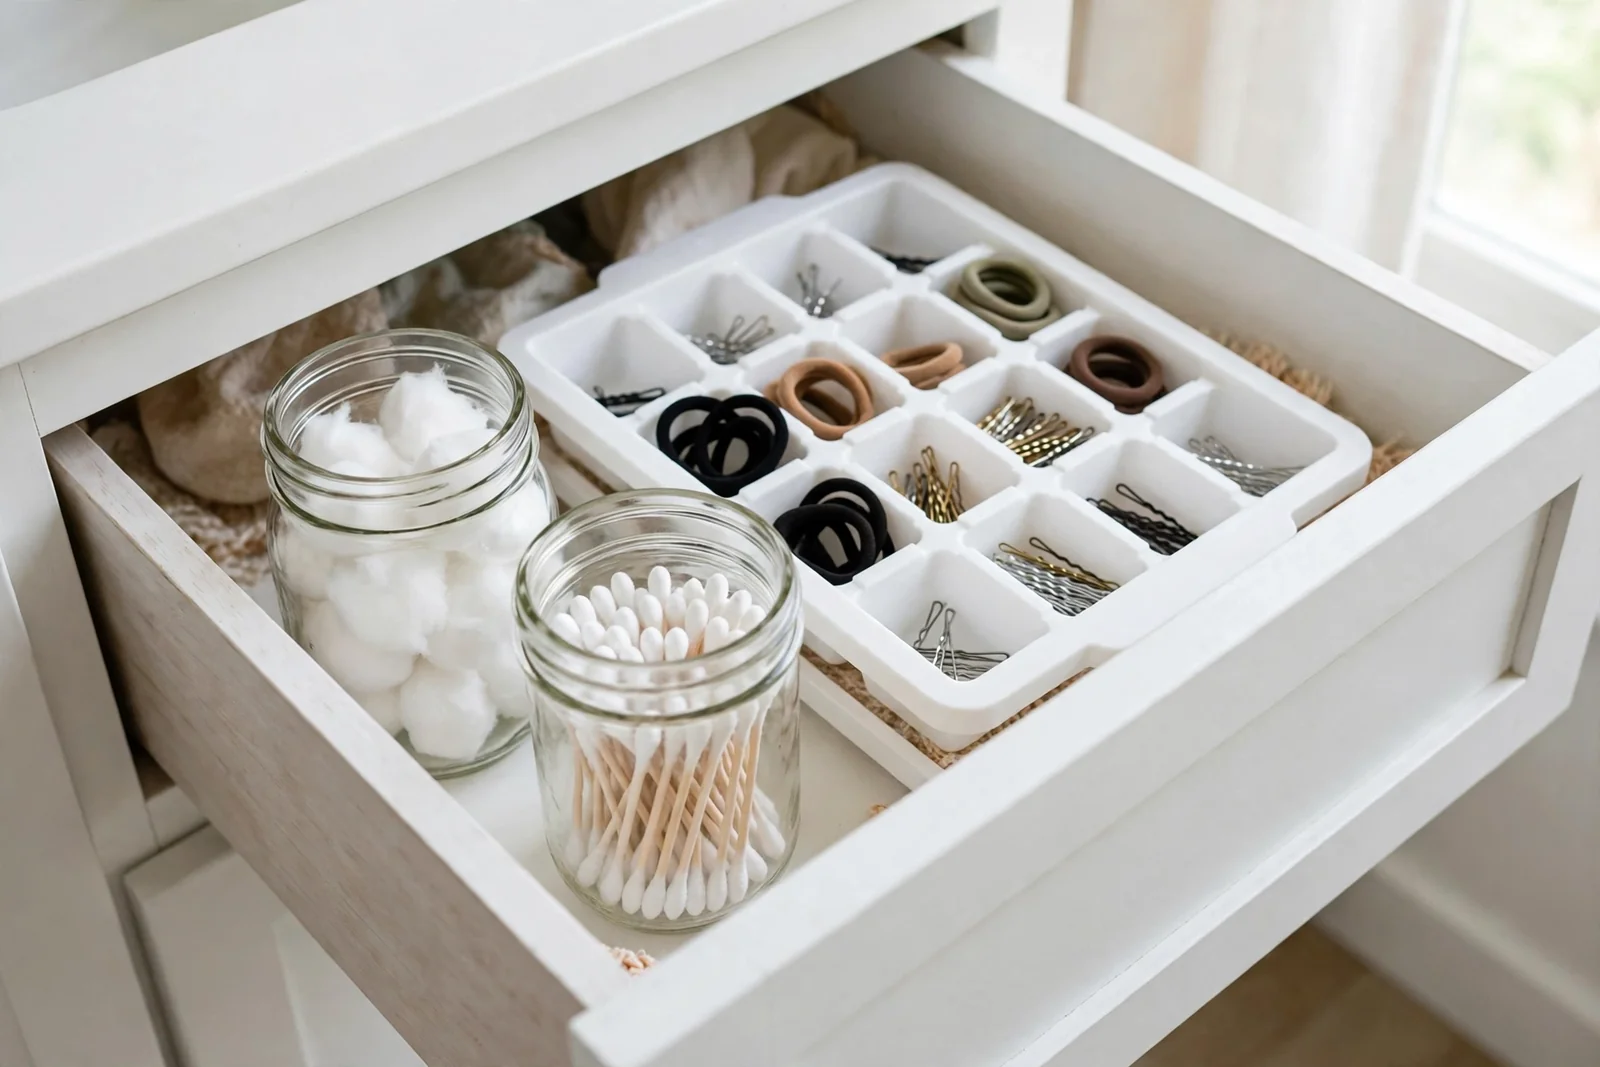
Yes, and some repurposed containers beat what stores sell. Clean glass jars hold cotton balls and swabs for free and look good doing it. An ice cube tray handles earrings, rings, and hair ties. A silverware tray from the kitchen fits a standard vanity drawer almost exactly, and a cut-down shoebox lined with drawer liner makes a solid deep-drawer bin.
Know what to avoid in a humid bathroom, though. Cardboard, unsealed wood, and fabric bins absorb moisture and turn musty, so the cute craft-store box is a bad idea here. Stick to glass, plastic, metal, and sealed materials, and wipe them down in your monthly reset. If a repurposed container cannot survive a splash, it cannot survive a bathroom drawer.
Test the layout with repurposed containers before you spend real money. Live with the free version for two weeks, learn which zones need to be bigger or smaller, then buy the nice organizers in exactly the right sizes. This two-step approach beats guessing sizes at the store and returning half of what you bought.
Should you keep toothbrushes in a bathroom drawer?
No. The American Dental Association says to store toothbrushes upright and let them air-dry, and to replace them every 3 to 4 months. A closed, damp drawer is the opposite of that: no airflow, trapped humidity, and bristles resting against whatever else is in the drawer. The toothbrush is the one item that fails the bathroom-drawer moisture test completely.
Better homes for toothbrushes are a countertop holder with airflow, a wall-mounted holder that keeps brushes apart, or inside a dry medicine cabinet with the door cracked after brushing. The ADA also advises against letting brush heads touch each other and against storing brushes in closed containers, which rules out most drawer setups. Give the toothbrush family a spot outside the drawer and spend the reclaimed drawer space on things that tolerate humidity.
This is the one place where the whole post’s advice does not apply, and it is worth saying plainly: if you keep one thing out of the drawer, make it the toothbrushes.
Bathroom drawer organization: start with one drawer this weekend
The whole bathroom drawer organization system comes down to four moves: measure the depth first, purge before you buy anything, run the exhaust fan every shower, and give the drawer a 10-minute reset once a month. You do not need a weekend renovation or a hundred-dollar haul from the container store. One drawer, one afternoon, about twelve dollars in bins and a liner, and the messiest drawer in your house is fixed by dinner.
Start with the top drawer of your vanity, since that is the one your hands open most. Empty it, sort it, toss the expired stuff, measure the inside, and set the zones by your morning routine. Less countertop clutter comes free with it, since everything finally has a home. If you want to keep going, our over toilet storage guide shows how to add storage above the toilet for everything that still does not fit, and the bathroom storage ideas hub maps out the full bathroom plan.
Do the one-drawer weekend and keep your bathroom drawer organization on track. Next month it will still be tidy, and that is the part nobody believes until they try it.
Drawers handled, now the cabinet below. These under bathroom sink organization ideas cover working around the pipes, zoning the space, and the monthly leak check that keeps the whole vanity working.
What are the best types of organizers for bathroom drawers?
Adjustable dividers, stackable trays, and clear acrylic organizers cover most drawers. Match the organizer to the drawer depth: flat trays and dividers for shallow drawers, stackable bins and upright cups for deep ones.
How do you start organizing a bathroom drawer?
Empty it completely, sort items into keep, toss, and relocate piles, toss expired products, wipe the drawer clean, measure the inside, then buy organizers to fit what is left.
What do you put in each bathroom vanity drawer?
Store by routine frequency. Top drawer: daily items like dental care and skincare. Middle: weekly items like hair tools. Bottom or deep drawer: backstock like cotton balls, first aid supplies, and extras.
How do you organize very deep bathroom drawers?
Go vertical with stackable bins, upright cups for tubes and tall bottles, and tiered trays. Stand tall bottles upright so caps and labels show, and keep daily items in a removable top tray.
Can you repurpose old containers for bathroom storage?
Yes. Glass jars, ice cube trays, silverware trays, and cut-down shoeboxes all work. Avoid cardboard, unsealed wood, and fabric bins, which absorb bathroom moisture and turn musty.
How often should you clean and reorganize bathroom drawers?
Do a 2-minute reset weekly, a 10-minute wipe-down monthly, and a full purge with expiration checks each season. The American Dental Association also notes toothbrushes need replacing every 3 to 4 months.
Should I label my bathroom drawer organizers?
Yes, especially in shared bathrooms. Labels keep each person’s zone separate and stop items from migrating. Wait a week before labeling so you can adjust the layout first.
What is the best way to keep bathroom drawers dry and mold-free?
Run the exhaust fan every time you shower, use waterproof wipeable organizers, line drawers with non-slip liner, and never put damp items back in. The EPA advises keeping indoor humidity below 60 percent, ideally 30 to 50 percent.
Should toothbrushes be stored in a bathroom drawer?
No. The American Dental Association recommends storing toothbrushes upright and air-dried, which a closed damp drawer cannot provide. Use a countertop or wall-mounted holder with airflow instead.
