
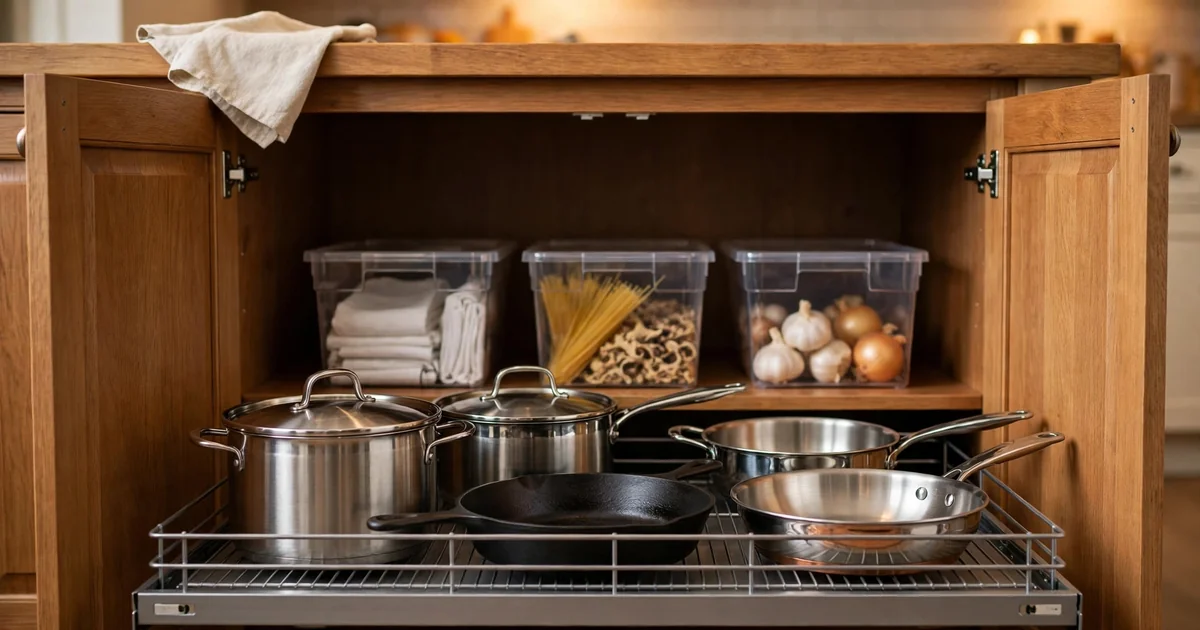

A deep kitchen cabinet stops being useful the moment you have to kneel, reach past three rows of stuff, and guess what is hiding at the back. The fix is not a bigger cabinet. It is a simple rule: nothing lives at the back unless you can bring it forward in one pull, one spin, or one lift of a bin. Measure the cabinet, split it into a front zone for daily items and a back zone for weekly or monthly items, and give the back zone a handle, a slide, or a turntable. Learning how to organize deep kitchen cabinets starts with admitting the back row is the problem, not the cabinet itself.
That one change ends most of the digging, and it costs less than replacing a single cabinet door. This guide shows how to organize deep kitchen cabinets so the back stops being a black hole.
TL;DR: A standard base cabinet is 24 inches deep, so the back 8 to 10 inches is where things get lost. Put daily items in the front third, weekly items in the middle, and monthly items at the back in a bin or on a pull-out. Renters can get the same result with no-drill bins, turntables, and door racks. Measure width, depth, and height before you buy any organizer, and leave 1 inch of clearance on every side.
| Cabinet type | Standard depth | What usually gets lost there | Best first fix |
|---|---|---|---|
| Base cabinet | 24 inches | Pots, small appliances, bulk cans | Pull-out shelf or front/back bins |
| Wall cabinet | 12 inches | Spices, mugs on high shelves | Small turntable or shelf riser |
| Tall pantry cabinet | 24 inches | Baking supplies, backup stock | Labeled bins by category |
| Above the fridge | 24 inches | Platters, holiday dishes | One labeled bin, nothing loose |
How deep is a deep kitchen cabinet, really?
Most kitchens call a cabinet deep when you cannot see or reach the back without moving something else out of the way. In a standard kitchen that point arrives fast, because the box itself is already deep. Lily Ann Cabinets lists standard base cabinets at 34-1/2 inches tall and 24 inches deep, with wall cabinets at 12 inches deep and tall pantry cabinets at 24 inches deep. That means a base cabinet holds about two feet of stuff in a straight line from the door to the back panel, and your arm, even stretched, does not comfortably cover that distance while you are kneeling. That reach test is the simplest way to judge how to organize deep kitchen cabinets, because visibility decides everything else.
I would call any base or tall cabinet deep by default, and treat a wall cabinet as deep only when it is 24 inches deep over a fridge or an oven. The honest test is simple. Open the door, look in, and name three things at the back without touching anything. If you cannot, the cabinet is deep enough to need a system, no matter what the tape measure says. My opinion here is blunt: depth is not the problem, invisibility is. A shallow cabinet with no labels can still waste your time, but a deep cabinet without a way to bring the back forward will waste it every single day. Treating each cabinet type differently is part of how to organize deep kitchen cabinets well, since one rule never fits every depth.
What should you measure before you buy anything?
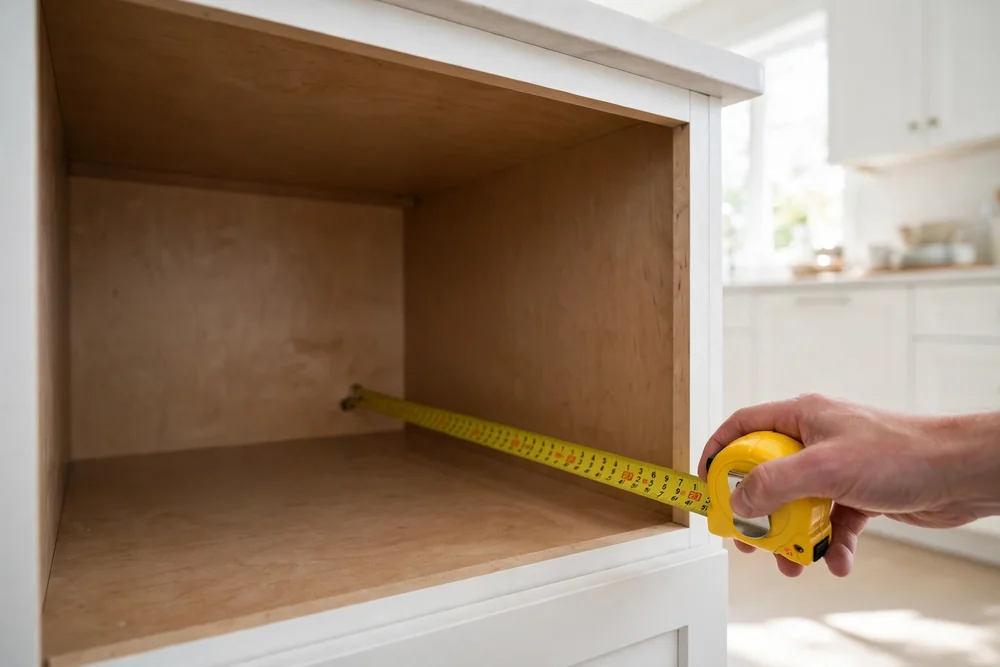
Buy nothing until you have three numbers for each cabinet: clear width inside the door frame, clear depth from the back panel to the inside of the closed door, and clear height between shelves. Measure width at the narrowest point, because a face frame or a hinge can steal an inch you were counting on. Measure depth with the door closed in your mind, not open, since a pull-out that is longer than the box will hit the door or stick out. Measure height twice, once for the tallest item you plan to store and once for the shelf above it, and leave at least 1 inch of clearance so lids and handles clear the shelf. Those three numbers are the foundation of how to organize deep kitchen cabinets, because every organizer choice depends on them.
Keep the numbers on your phone while you shop, because guessing in the aisle is how a 22-inch pull-out ends up in a 20-inch cabinet. Adam Cabinet notes that a standard base cabinet is 24 inches deep to the door face, and that same guide puts the toe kick recess at 3 inches deep and 4 inches high, which matters when a slide or a bin sits low and catches the kick. Check for pipes, gas lines, and drawer slides that cut into the space, and note them on your paper too. This step takes five minutes per cabinet and it saves the return trip that kills most organizing plans. Skip it and you will own a nice organizer that fits nowhere. Shopping with measurements in hand is a practical habit in how to organize deep kitchen cabinets, and it prevents most returns.
How do you split a deep cabinet into front and back zones?
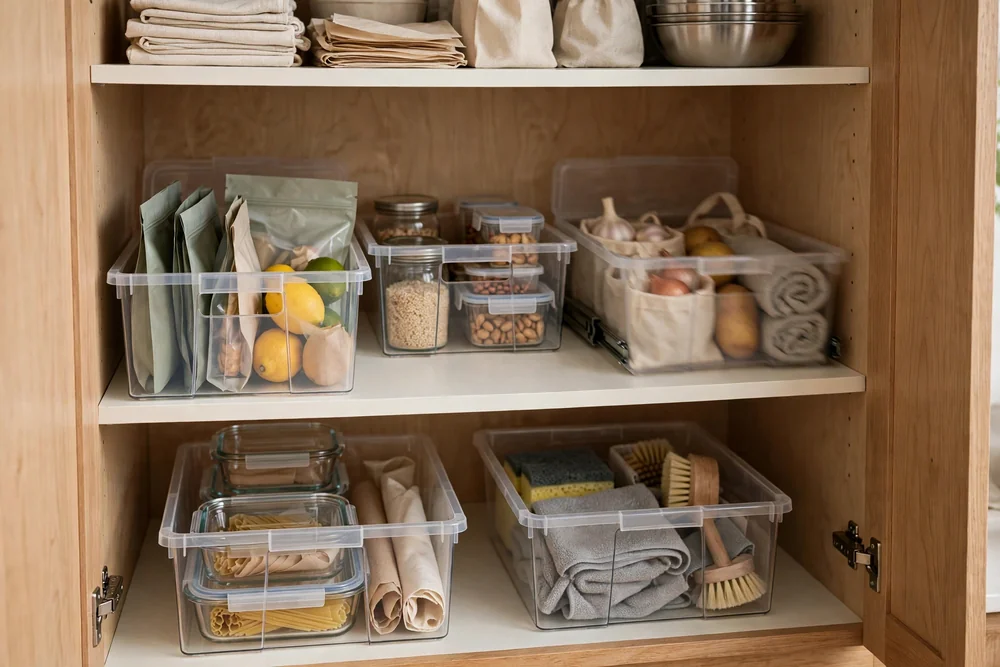
Take everything out, wipe the shelf, and sort items into three piles by how often you touch them: daily, weekly, and monthly or less. This is the core of how to organize deep kitchen cabinets without buying anything first. Daily items earn the front third, right where your hand lands when the door opens. Weekly items take the middle, and monthly items go to the back, but never loose. Back-zone items live in a bin with a handle, on a pull-out, or on a turntable, so one motion brings them to you. That is the whole system, and it works because it matches how you actually cook. You do not need a label for every can.
You need a rule you can keep when you are tired, which is when most systems fall apart. Put the stock pot you use twice a week in front of the turkey roaster you use twice a year, even if the roaster looks better in front. Put the everyday plates where a child or a guest can reach them without asking.
I would rather have an ugly bin at the back than a pretty stack of bowls that has to come out in full every time I need the one at the bottom. The system is not for people who want a photo-ready cabinet. It is for people who want dinner without a search party, and it holds up because the front never has to be unpacked to reach the back. A rule that survives tired evenings is the real test of how to organize deep kitchen cabinets, since perfect systems fail first.
Are pull-out shelves worth the money?
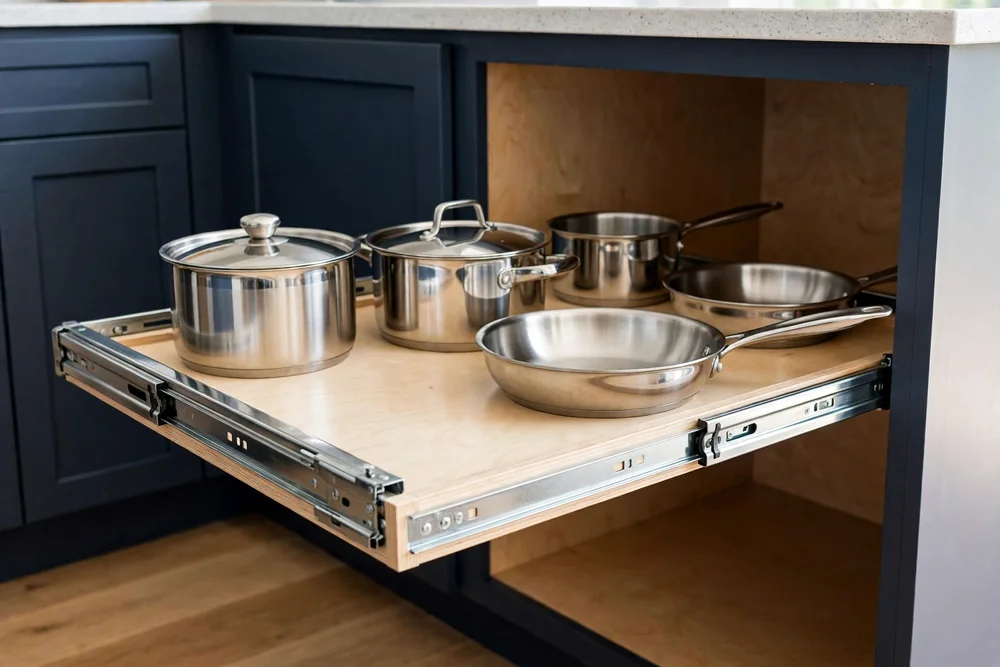
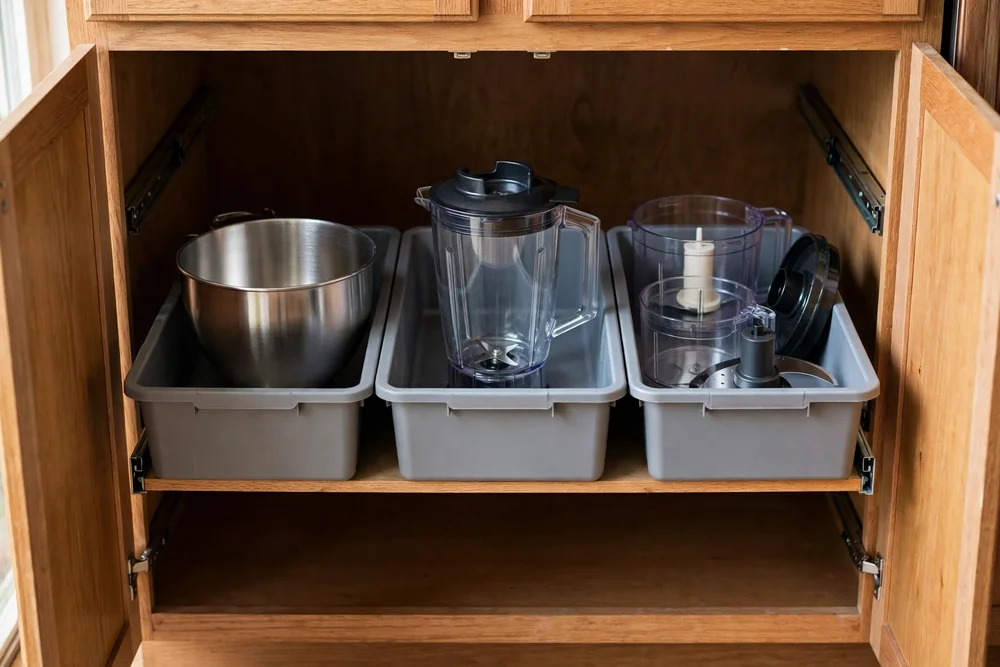
Pull-out shelves are worth the money in exactly one situation: a deep base cabinet you open every day where the back holds heavy or awkward items. A full-extension slide brings the whole shelf to you, so a stock pot or a stand mixer bowl stops being a lifting problem and becomes a sliding problem. That matters for your back and for the cabinet, since dragging a heavy pot across a shelf scratches the finish and chips the edge. Rev-A-Shelf lists a two-tier pull-out at 22 inches deep with a 110-pound capacity, which shows how much weight a good slide can carry, but check the listing for your own cabinet size before you trust any number. That daily-use test is central to how to organize deep kitchen cabinets without overspending on hardware.
Pull-outs are not for every cabinet. They are a poor buy for a shallow wall cabinet, for a cabinet you open twice a month, or for a rental where you cannot screw into the box. My call: put your money into one pull-out for the pot cabinet or the everyday pantry cabinet, and use bins everywhere else until you know the system holds. A $25 to $75 pull-out that gets used daily beats three cheap ones that sit in cabinets you rarely open. Start with the cabinet that annoys you most, not the one that looks worst in a photo. Knowing where not to buy is just as useful in how to organize deep kitchen cabinets, because wrong hardware wastes money and space.
What works when you rent and cannot drill?
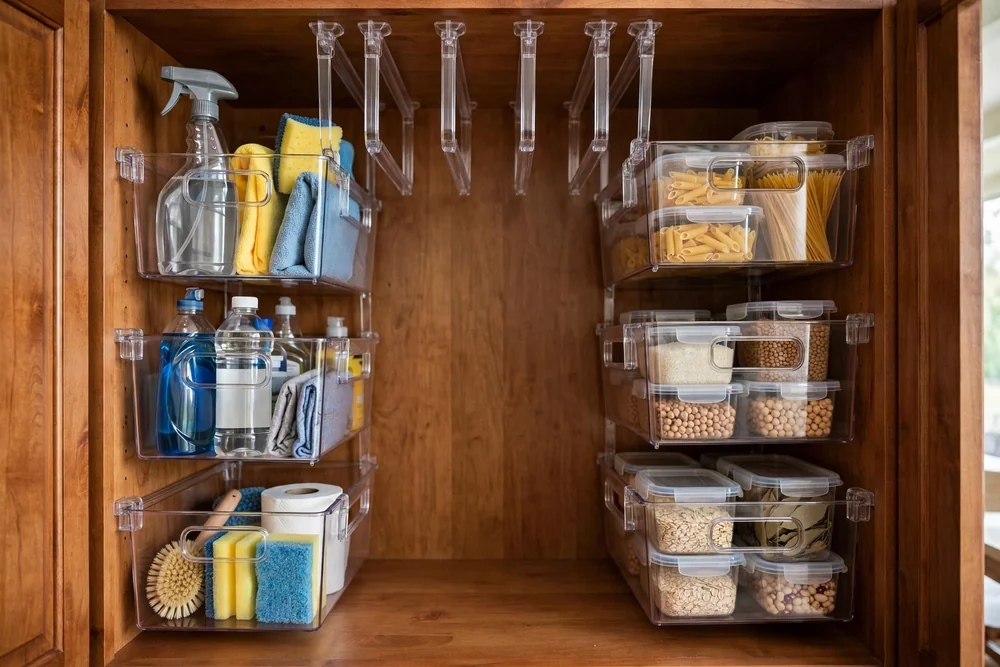
Here is how to organize deep kitchen cabinets when you rent and cannot drill: use tools that sit inside the cabinet instead of screwing into it. Clear bins with handles are the workhorse, because you can pull a whole category forward, grab what you need, and slide it back. A turntable does the same job for round or small items like oils, vinegars, and spice jars, and it needs no screws at all. Door racks that hook over the door hold wraps, foil, and small spice jars, but check the door thickness and the hinge clearance first, since a rack that stops the door from closing is worse than no rack.
Food Republic quotes kitchen designer Thomas Borcherding on no-install pull-out organizers that simply sit in the cabinet, plus a stick-on motion sensor LED light that makes the back visible without wiring. That light is a small buy with a big payoff in a dark cabinet, and it peels off when you move. Adhesive hooks inside a door can hold measuring cups, but keep the load light, since heat and steam loosen cheap adhesive over time. This path is not for a cabinet that holds a 40-pound mixer or a full set of cast iron. Heavy loads need screws or a floor-standing rack. For everything else, no-drill wins, because you can take it with you when the lease ends and the next kitchen gets the same system for free. No-install options like these keep how to organize deep kitchen cabinets possible in rentals, where drilling is off the table.
How do you organize a deep corner cabinet?
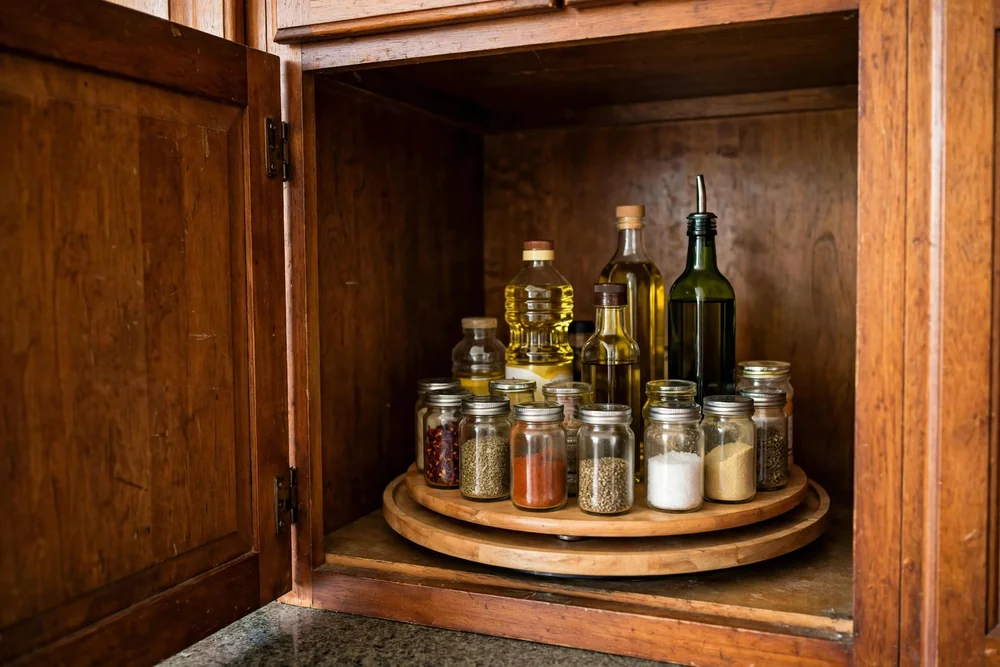
A deep corner cabinet, especially a blind corner, is the hardest space in most kitchens, so give it a job that fits its shape instead of fighting it. Use it for big, light, rarely used items like platters, baking sheets on edge, or the holiday dishes, and keep daily items out of it entirely. A lazy Susan helps in a corner you can reach from one side, because a spin brings the back around to the front, but it is a poor fit for a blind corner where the opening is narrow and the turntable cannot clear the frame. Measure the door opening, not just the cabinet box, before you buy any turntable. Giving a hard corner a slow job is a smart move in how to organize deep kitchen cabinets, because corners punish daily use.
If the opening is under 12 inches wide, a turntable will jam and you will hate it. For a blind corner, try a pull-out corner unit made for that shape, or use two bins: one you can pull straight out, and one behind it for the once-a-year items. For blind corner ideas in more depth, see our blind corner kitchen cabinet ideas Leave the very back for things you truly need only at holidays, and put a note on the bin so future you remembers what is back there. My opinion is firm here: a corner cabinet should never hold anything you need in a hurry. Give it the slow stuff, and the daily rush stays in cabinets with straight, full access. Width limits like these shape how to organize deep kitchen cabinets, since a turntable that jams gets abandoned fast.
What is the best way to store pots and pans in a deep base cabinet?
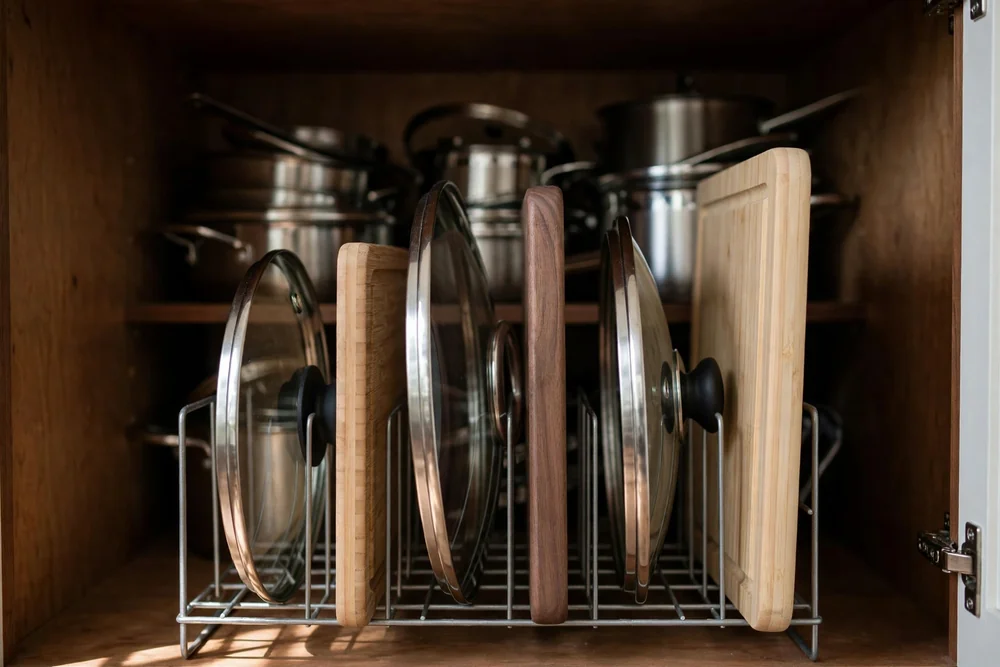
Store pots and pans in a deep base cabinet by giving lids and bodies separate homes, because a stack of nested pots with lids wedged on top is what turns a cabinet into a crash site. Put the pots you use most on a pull-out or in a front bin, stacked no more than two high, with a pan protector or a folded towel between nonstick surfaces. Stand lids upright in a vertical rack or a tension rod setup at the front of the cabinet, so you can grab one lid without lifting the whole stack. Put the specialty pieces you use monthly, like a roaster or a steamer insert, at the back in their own bin. Separate homes for lids and bodies are a core idea in how to organize deep kitchen cabinets for cooks, because stacks hide everything.
That split keeps the daily cooking smooth and keeps the heavy lifting to a minimum. For more pot and pan layouts, see our pots and pans storage ideas Cast iron deserves a warning here. It is heavy, it chips shelves, and a full-extension pull-out rated for the load is worth it, while a cheap plastic bin is not. This layout is not for a tiny cabinet with only one shelf and no depth to spare. In that case, hang the most-used pan on a wall rail and free the cabinet for lighter items. A deep cabinet earns its keep when the pot you want is the first thing your hand finds, not the third thing you move. That daily smooth cooking is the payoff of how to organize deep kitchen cabinets properly, not just tidier shelves.
How do you keep cans and dry goods from getting lost at the back?
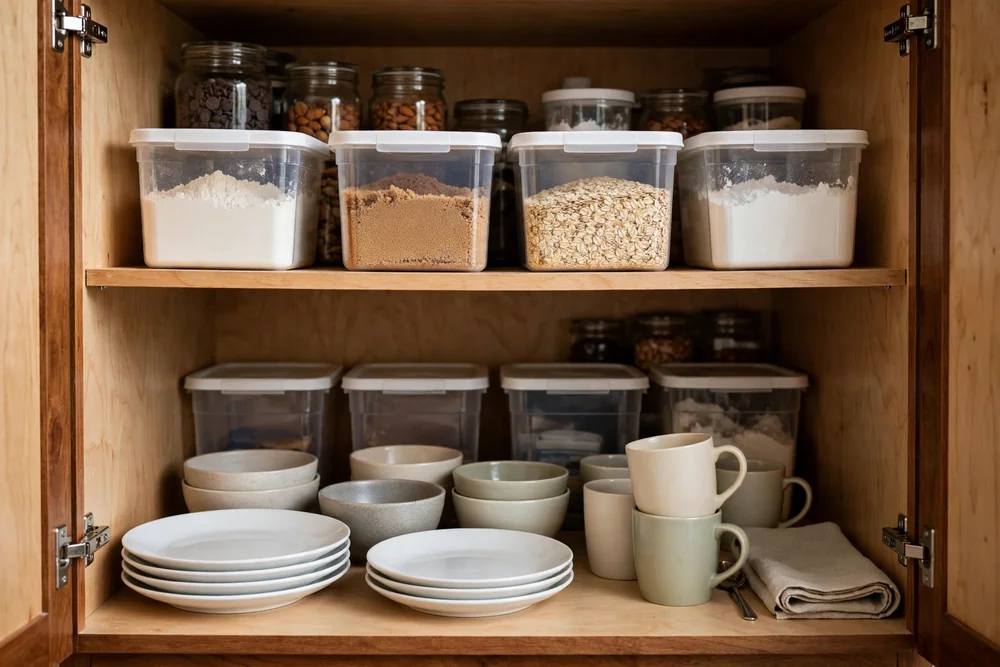
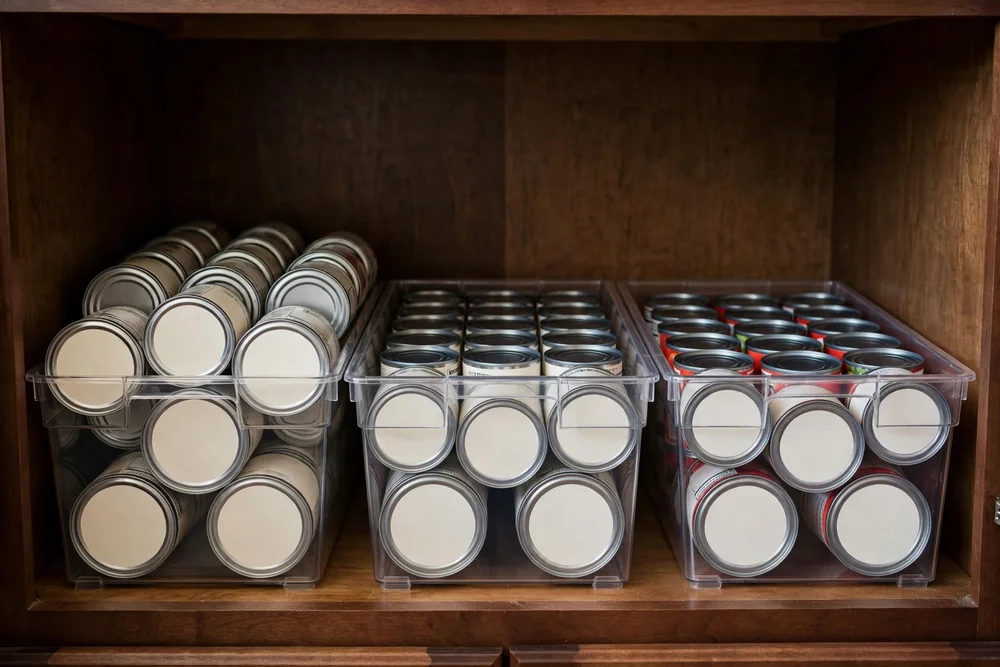
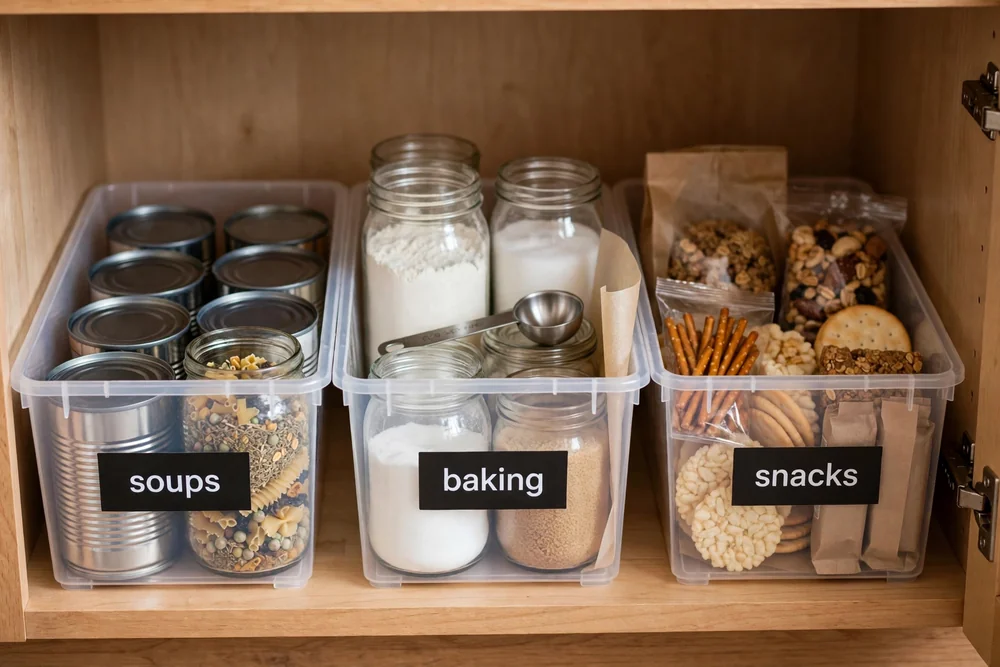
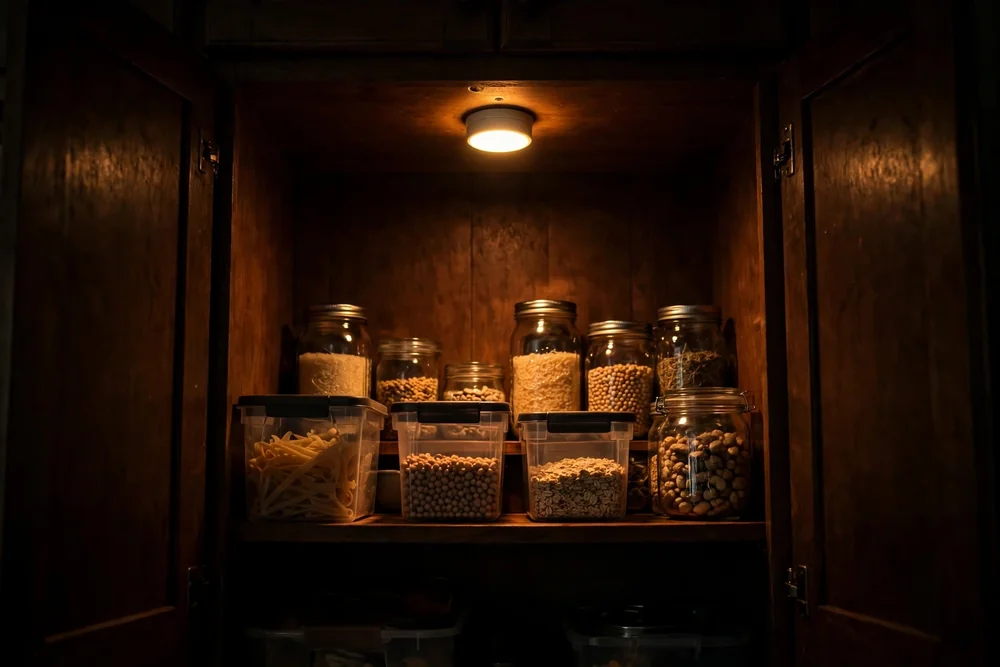
Cans and dry goods get lost at the back because they are small, round, and easy to push behind something taller. Fix that with one bin per category and a rule: no loose cans, ever. Put soups in one bin, beans and tomatoes in another, and baking goods in a third, and pull the whole bin forward when you shop or cook. Clear bins help, since you can see what is low without lifting anything, but a solid bin with a label on the front works just as well in a dark cabinet. One bin per category is a simple fix inside how to organize deep kitchen cabinets, because small round items wander most.
A stepped riser inside a deep cabinet can help here, lifting the back row so you can read labels at a glance, but a riser is only worth it if the shelf above leaves room for the tallest can plus the riser height. Decant flour, sugar, and rice into clear containers only if you bake often enough to refill them, since a half-used bag in a bin is fine for most cooks and a row of matching containers is work you may not keep up. For pantry layouts that pair with this system, see our pantry organization ideas for small pantries My judgment: bins beat pretty containers for cans every time. Cans are heavy, they roll, and a bin with a handle is the only fix that survives a tired cook at 7 pm.
How do you use the vertical space inside a tall deep cabinet?
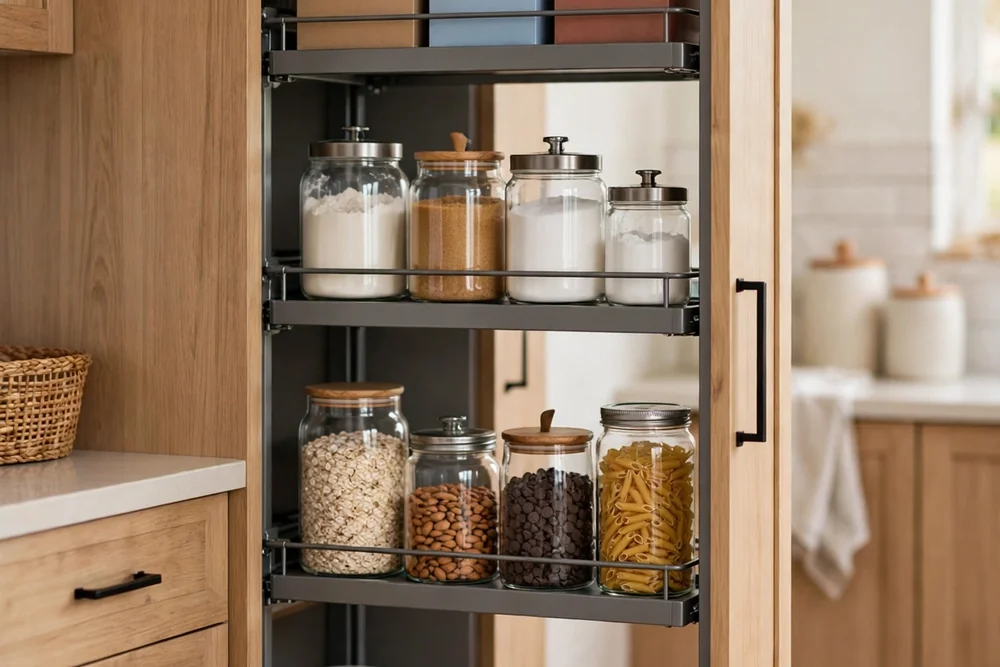
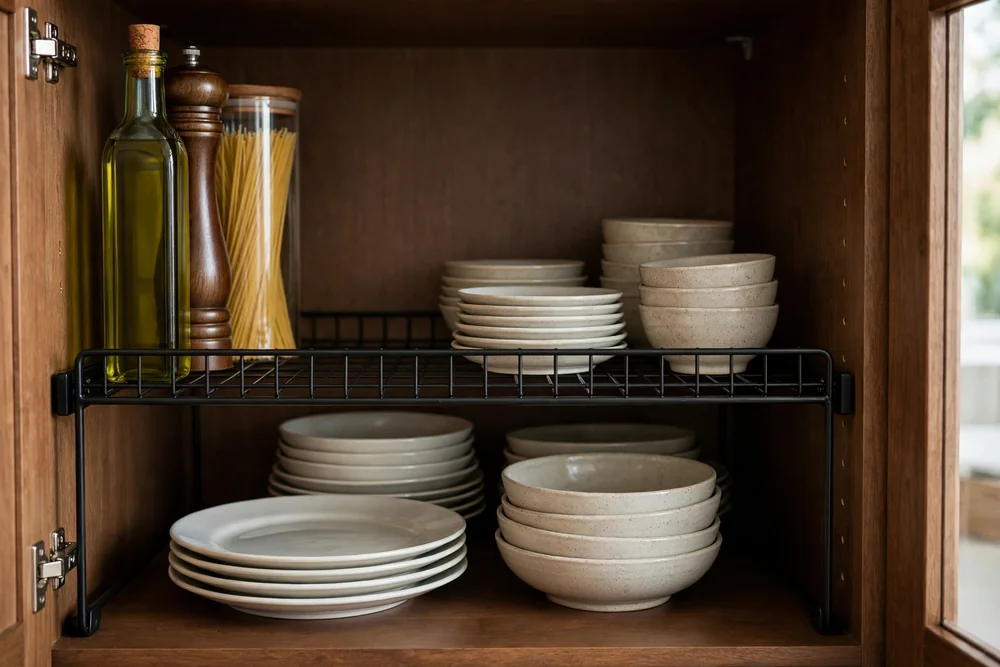
A tall deep cabinet wastes most of its space in the middle, where shelves sit too far apart for short items and too close for tall ones. Fix it by matching shelf heights to what you actually store, not to the holes the maker drilled. Move one shelf up or down if the cabinet allows it, and add a shelf riser for short items like mugs, spice jars, or small bowls, so two short rows share one tall space. Put tall items like cereal boxes, oil bottles, and baking trays at one end, and short items on a riser at the other, so nothing hides behind something taller. Fixing that wasted middle is a big win in how to organize deep kitchen cabinets, since tall cabinets hide their best space.
A Rev-A-Shelf filler organizer at 6 inches wide, 23 inches deep, and 30 inches high, with a shelf weight capacity of 29.35 pounds, shows how a narrow vertical unit can turn a dead gap beside a cabinet into real storage. That kind of unit is a good buy for a gap you already have, not a reason to cut a new one. This approach is not for cabinets with fixed shelves you cannot move and no room for a riser. In that case, use stackable bins and accept one taller stack instead of two short rows. The goal is simple: every inch of height should hold something you can see, not air above a short stack. Real dimensions like these make how to organize deep kitchen cabinets concrete, instead of a vague promise to get organized.
What goes on the cabinet door?
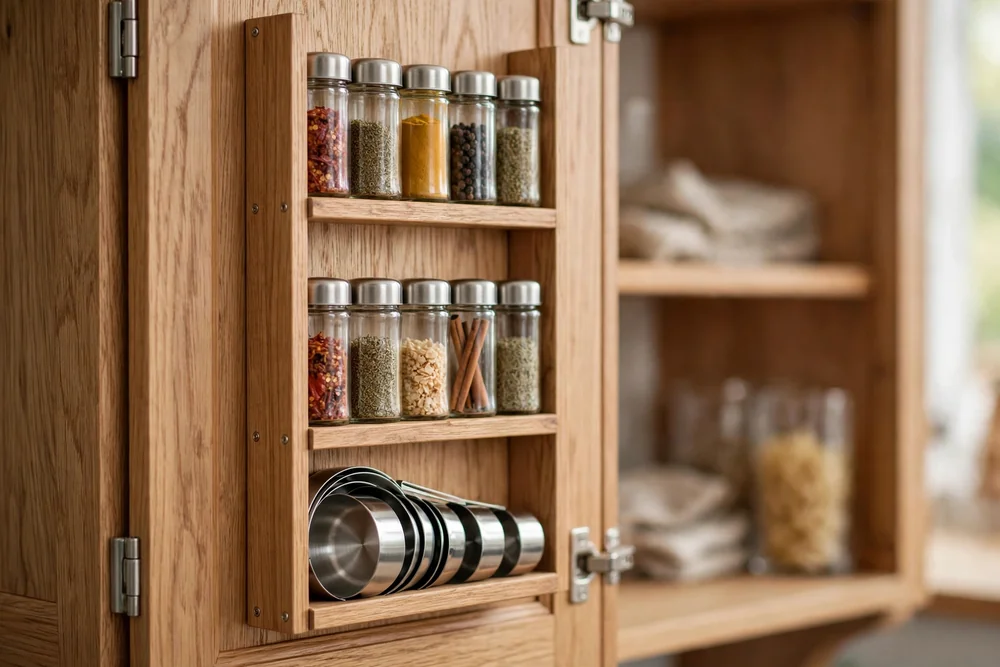
The inside of a cabinet door is free storage, but only for light, flat items, and only if the door still closes cleanly. Good candidates are measuring cups on small hooks, a spice rack made for doors, wraps and foil in a narrow rack, and a small cutting board hung flat. Bad candidates are heavy cleaners, full spice collections in glass jars, and anything that swings when the door moves, because weight on a hinge sags the door over time and glass jars can fall when the door slams. Check the clearance first. Close the door slowly with the rack in place and watch for items that hit a shelf edge or a bin handle. Door space is a bonus, not a main plan, in how to organize deep kitchen cabinets, because overload breaks the idea.
If anything touches, move it or drop the idea for that cabinet. A door rack also changes how the door feels, so keep the load under a few pounds and spread it across two hooks or screws, not one. For door-adjacent storage in the busiest cabinet, see our kitchen cabinet organization ideas My take is plain: door storage is a bonus, not a plan. Use it for the three or four items you grab while the door is already open, and keep the real storage on shelves and pull-outs where weight belongs. A door that closes with a soft click tells you the load is right. Keeping door loads light protects how to organize deep kitchen cabinets from a sagging door and a stuck rack.
How do you organize a deep upper cabinet you can barely reach?
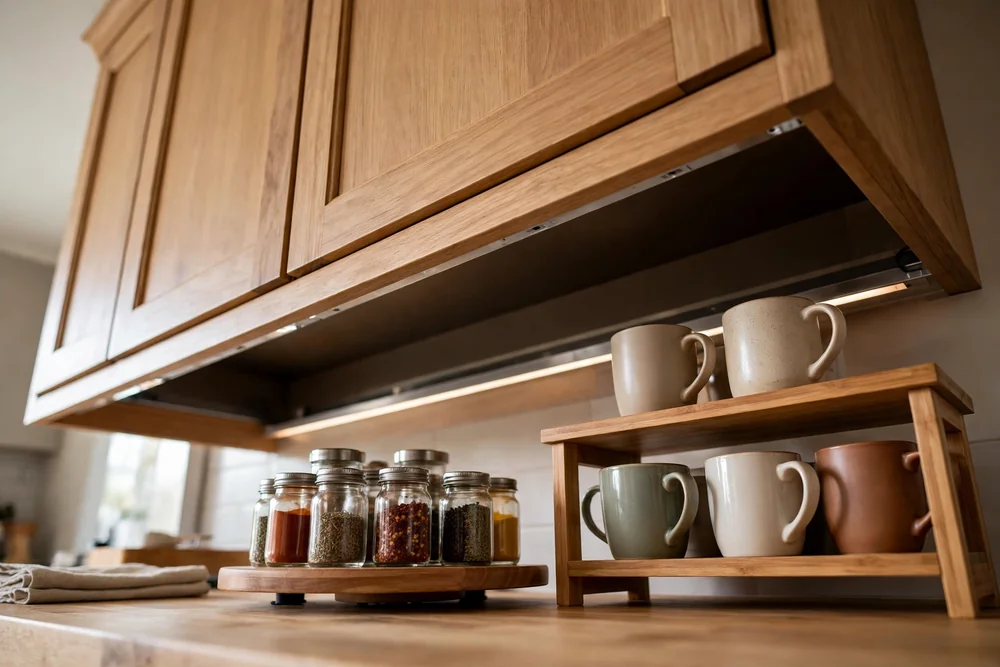
A deep upper cabinet you can barely reach should hold light items you need rarely, and nothing heavy should ever live above your head. Put holiday dishes, extra vases, and backup paper goods up high, and keep daily plates and glasses on a lower shelf where you can reach them without a step stool. A small turntable on an upper shelf helps for spice jars and small cans, because a spin beats a blind reach, but keep the turntable light and the items short, since tall bottles tip when the shelf spins. A shelf riser up high works the same way, lifting the back row so you can read labels from below. Putting only light, rare items up high is a safety rule in how to organize deep kitchen cabinets, not just a preference.
Adam Cabinet notes that wall cabinets usually hang 18 inches above the countertop, which puts the top shelf of a tall wall cabinet well above most people's comfortable reach, so plan for that instead of pretending you will stretch for it daily. If you use a step stool, keep it close and stable, and never climb on a chair with wheels or a wobbly seat. This setup is not for heavy mixing bowls, cast iron, or anything you would drop on your head. Put those low, even if it means a less pretty lower cabinet. An upper cabinet earns its keep when you open it once a month and find exactly what you expected, not when it holds daily items you dread reaching for. Height facts like these explain why how to organize deep kitchen cabinets must start with reach, not with shopping.
What do you do with the cabinet under the sink?
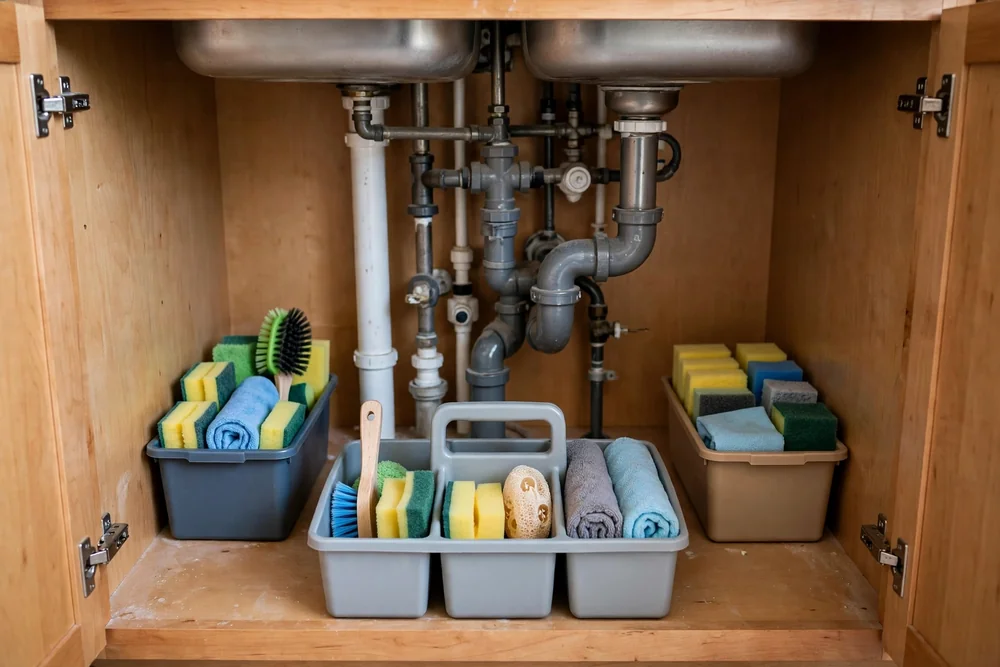
The cabinet under the sink is a deep cabinet with pipes in the way, so treat it as a cleaning station and nothing else. Put daily cleaners, dish soap, and sponges in a caddy you can lift out in one hand, because you will need to reach the pipes one day and a fixed bin in front of them will slow you down. Use small bins on either side of the P-trap for trash bags, brushes, and extra sponges, and keep the middle clear so a leak shows up fast instead of soaking a bin you never move. A tension rod across the front can hold spray bottles by their triggers, kept light so they cannot fall onto the trap. Treating the sink cabinet as a cleaning station only is a boundary that makes how to organize deep kitchen cabinets simpler.
Put a waterproof tray or a cheap baking sheet under the caddy to catch drips, and check under there once a month, since a slow leak ruins a cabinet long before you notice it from outside. For the full under-sink layout, see our under sink kitchen organization ideas Do not store food, paper towels in bulk, or anything that must stay dry under a sink. One leak turns those into trash. This cabinet is not for pots, pans, or pantry overflow, no matter how much space it seems to offer. Give it one job, keep the pipes visible, and it will stay useful instead of turning into the damp corner every kitchen has. A tray and a monthly leak check are cheap insurance inside how to organize deep kitchen cabinets under the sink.
How do you label bins so the system holds?
Label bins so the system holds by labeling the front of the bin with the category, not the brand or the exact item. "Soups" holds up longer than "tomato soup," because the bin still works when the contents change. Put the label where you can read it with the door open and the bin pushed in, which usually means the front face, low enough to see from above but high enough to read while kneeling. Use a label maker, painter's tape, or a simple tag, and keep the words short: one or two words per bin, no sentences. Label only the bins that hold a category, not every single item, since a cabinet covered in labels stops being read at all. Category labels are what make how to organize deep kitchen cabinets stick, because everyone in the house can follow them.
When a bin changes jobs, change the label the same day, because an old label on a new bin is worse than no label. Teach the house the labels too, since a system only one person understands is a system that falls apart when that person is away. My opinion here is simple: labels are for other people as much as for you. If a guest or a family member can put a can back in the right bin without asking, the system works. If they cannot, the label is decoration, and decoration does not keep a deep cabinet organized. Updating labels the same day keeps how to organize deep kitchen cabinets honest, since old labels mislead faster than no labels.
| Organizer | Cost tier | Install | Best for | Not for |
|---|---|---|---|---|
| Pull-out shelf | $25 to $75 | Screws or no-drill | Daily deep base cabinets | Shallow cabinets, tiny rentals |
| Clear bin with handle | Under $25 | None | Cans, dry goods, back zones | Heavy cast iron |
| Turntable | Under $25 | None | Spices, oils, small jars | Blind corners, tall bottles |
| Shelf riser | Under $25 | None | Short items on tall shelves | Tall cans, heavy stacks |
| Door rack | Under $25 | Hooks or screws | Wraps, measuring cups | Heavy cleaners, glass jars |
What is the first change worth making this weekend?
The first change worth making this weekend is the one cabinet you open most, not the whole kitchen. Pick that cabinet, take everything out, and put it back by frequency: daily in front, weekly in the middle, monthly at the back in a bin you already own. Do not buy anything first. Use a box, a basket, or a bag as a test bin for a week, and only buy a pull-out or a turntable after the zone system proves itself in that one cabinet. That test saves money and it saves the drawer full of organizers that fit nowhere, which is a fate I have seen in too many kitchens. Starting with the most opened cabinet is the best first step in how to organize deep kitchen cabinets, because it proves the system fast.
Measure that cabinet while it is empty, since the numbers will guide every later buy. Put a light in it if it is dark, since you cannot organize what you cannot see, and a stick-on light costs less than a single bin. Then live with it for a week and notice what still annoys you. If the back bin still feels heavy, that cabinet earns a pull-out. If the labels get ignored, change the words, not the bins. Start with one cabinet, keep the rule simple, and let the rest of the kitchen follow when the first cabinet stops wasting your time. That is how to organize deep kitchen cabinets without buying a whole new system first, and it is enough.
How deep is a standard base kitchen cabinet?
A standard base cabinet is 24 inches deep to the door face, and 34-1/2 inches tall as a box, or about 36 inches finished with a countertop, per Lily Ann Cabinets and Adam Cabinet size guides. Wall cabinets are 12 inches deep, and tall pantry cabinets are 24 inches deep.
Should I choose a pull-out shelf or bins for a deep cabinet?
When you learn how to organize deep kitchen cabinets, the pull-out vs bin choice comes down to use: choose a pull-out for a deep base cabinet you open every day that holds heavy items like pots, since a full-extension slide brings the back to you. Choose bins with handles everywhere else, since they cost less, need no install, and work well for cans, dry goods, and back-zone items.
Does a lazy Susan work in a deep cabinet?
A lazy Susan works well in a corner cabinet or for small items like spices and oils, since a spin brings the back around. It works poorly in a blind corner with a narrow opening, where the turntable can jam against the frame, and for tall bottles that tip when the shelf spins.
What can renters use in a deep cabinet without drilling?
Renters can use clear bins with handles, turntables, door racks that hook over the door, and no-install pull-out organizers that sit inside the cabinet. A stick-on motion sensor LED light also helps, since it peels off when you move and needs no wiring.
What should go at the back of a deep cabinet?
The short answer to how to organize deep kitchen cabinets is zones: put monthly or seasonal items at the back, always inside a bin, on a pull-out, or on a turntable, never loose. Daily items belong in the front third, weekly items in the middle, and back-zone items should come forward in one pull, spin, or lift.
How do I measure a deep cabinet for a pull-out shelf?
Measure the clear width inside the door frame at its narrowest point, the clear depth from the back panel to the inside of the closed door, and the clear height between shelves. Leave at least 1 inch of clearance on every side, and note pipes, hinges, and drawer slides that cut into the space.
What do I do with a blind corner cabinet?
Give a blind corner cabinet a slow job: holiday dishes, platters, or baking sheets stored on edge. Keep daily items out of it, and use two bins if a corner unit does not fit, one you can pull straight out and one behind it for once-a-year items.
How do I light a deep cabinet?
Use a stick-on motion sensor LED light or a small puck light inside the cabinet, since it needs no wiring and makes the back visible. Kitchen designer Thomas Borcherding recommends this fix in Food Republic for deep cabinets where items get lost in the dark.
How often should I reset a deep cabinet system?
Do a quick 10-minute check once a month: pull each bin forward, toss expired or broken items, and put strays back in their labeled bin. Do a full empty-and-sort reset every 6 to 12 months, or whenever daily items start getting buried again.
