
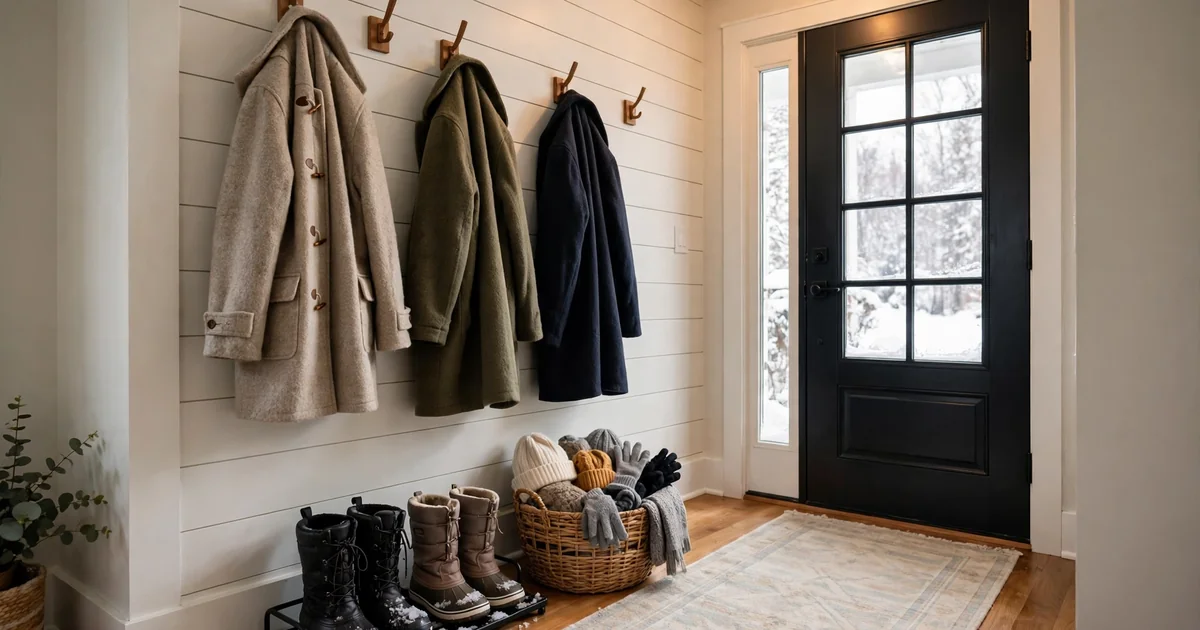

How to organize entryway for winter, in one sentence: each person gets one hook, one boot spot, and one small basket, and nothing else lives by the door. That is the whole system. Coats go on the wall, wet boots go on a tray, small gear goes in a basket, and everything you do not wear this week goes back to the closet. When the door area holds only this week’s gear, the floor stays clear, the morning search ends, and the salt stays off your floors.
That last point matters more than it looks. A Pixie Lost and Found survey found Americans spend 2.5 days a year hunting for misplaced things, and households spend $2.7 billion a year replacing them. Shoes sat near the top of the weekly lost list, at 24 percent. Your entryway is where most of that searching starts, because it is where coats, keys, and boots land when you walk in tired. Give each thing one home by the door and the search shrinks to a glance. Start with a per-person cap, because that is how to organize entryway for winter clutter before it spreads past the door.
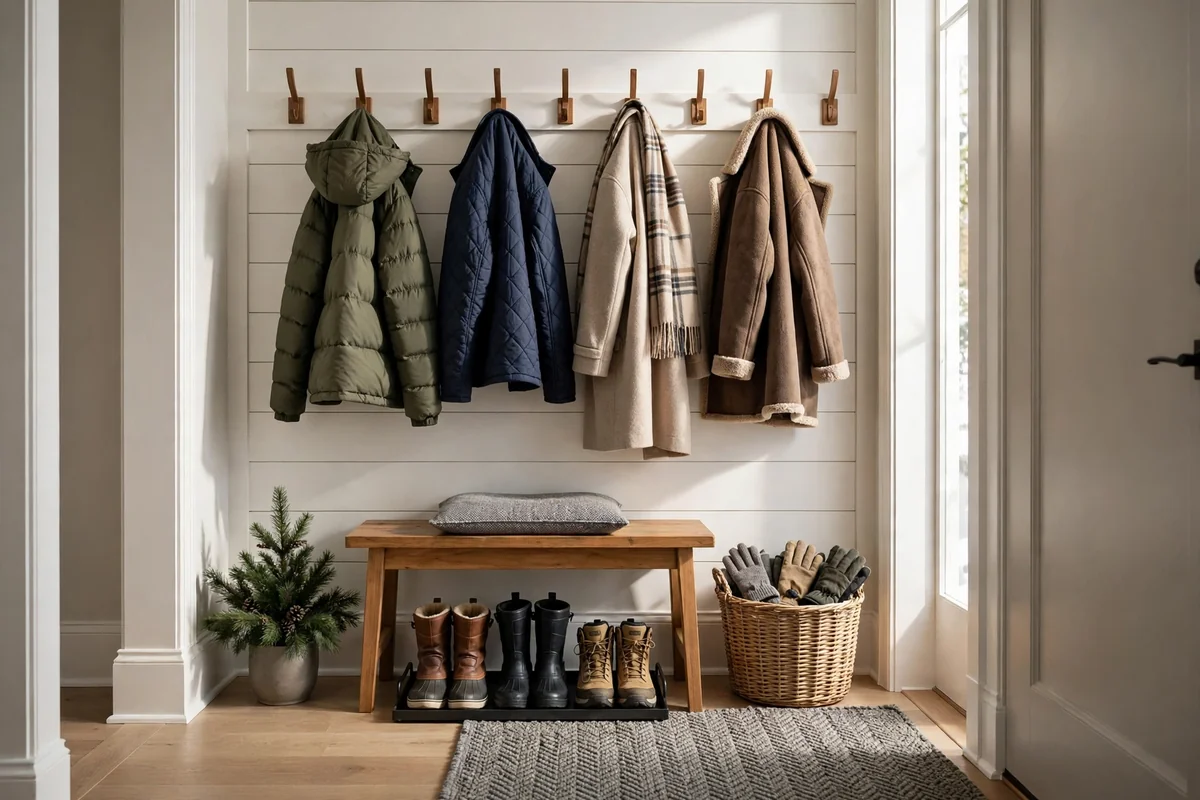
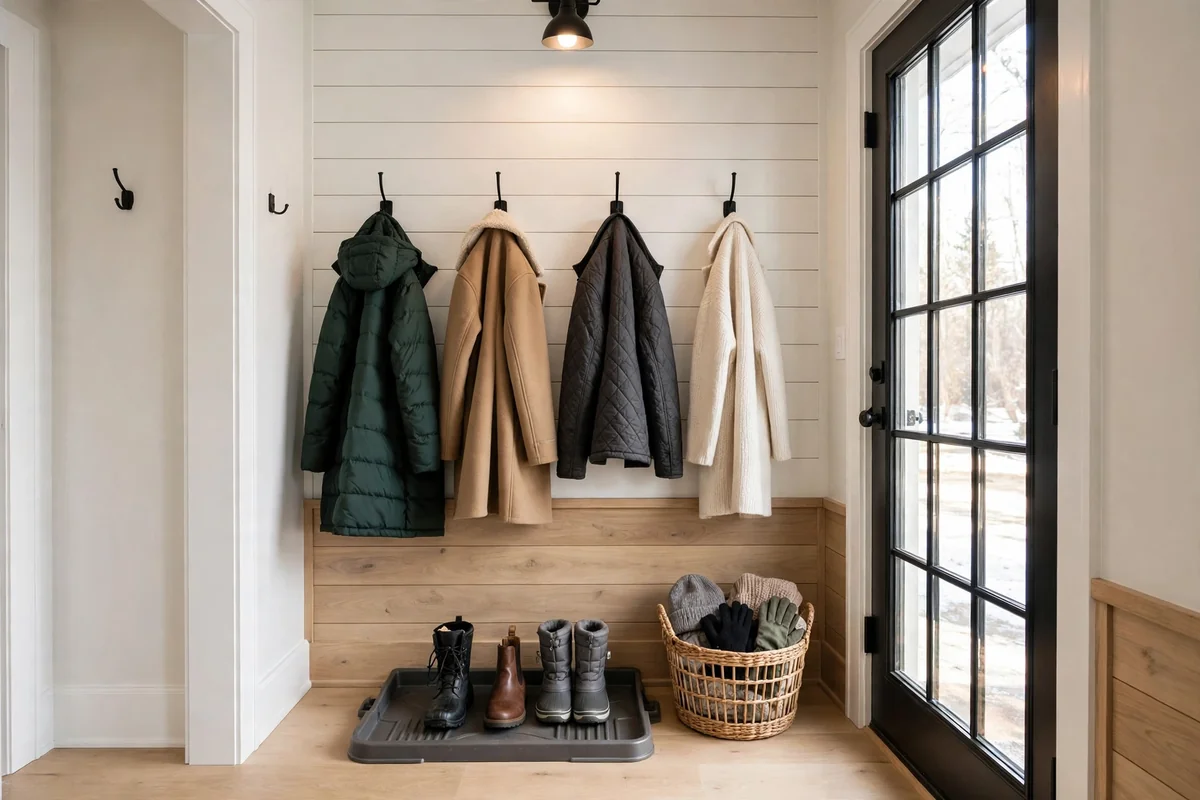
- One double hook per person, spaced 12 inches apart, so wool coats do not crush each other.
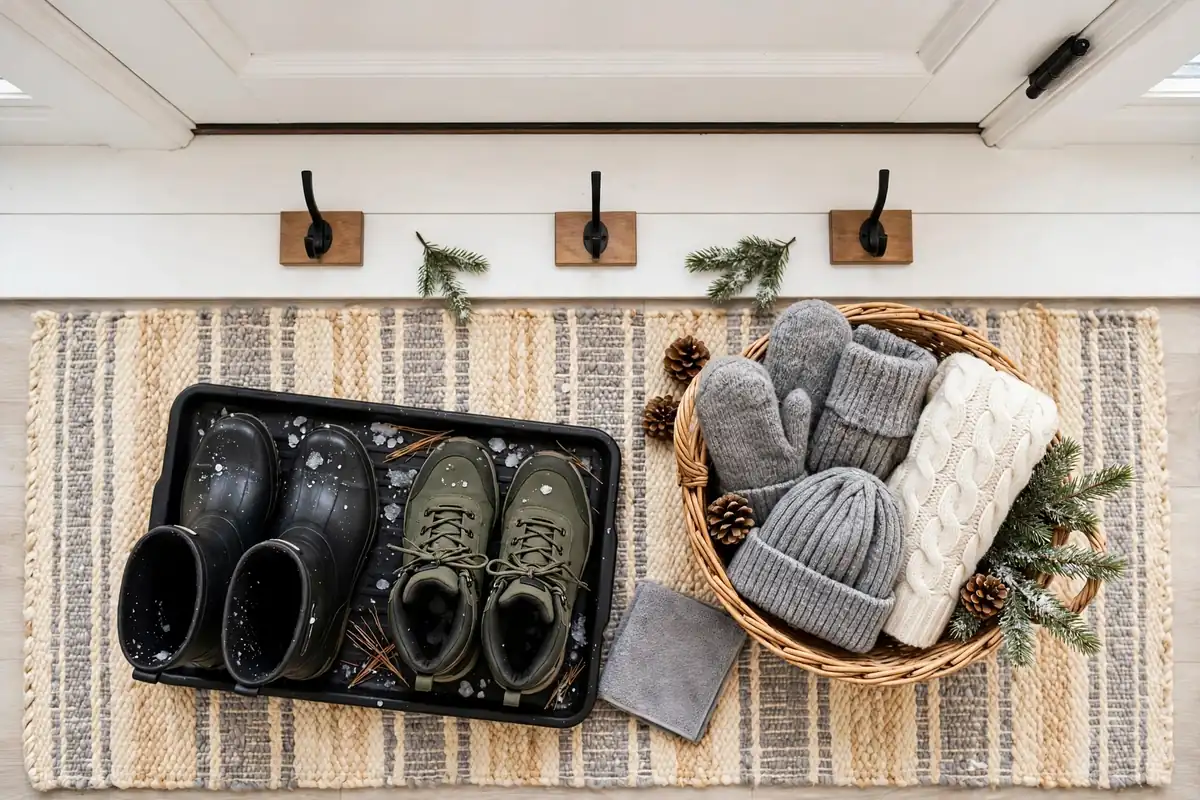
- One boot tray by the door, sized at about 10 inches per pair, with a washable runner under the walking path.
- One small basket per person for hats, gloves, and scarves. If it does not fit in the basket, it does not live by the door.
- Do the November swap first: summer gear out, winter gear in, one bag for donations.
- Ten minutes a week keeps the system alive. Wipe the tray, shake the mat, return strays to their basket.
| Zone | What lives there | Size rule |
|---|---|---|
| Hooks | Coats and one bag per person | One double hook per person, 12 inches apart |
| Floor | Boots only | About 10 inches of tray per pair |
| Basket | Hats, gloves, scarves | One small basket per person |
| Shelf or ledge | Keys, wallet, sunglasses | One small tray, nothing else |
If your entry feels tight all year, not just in winter, start with our entryway storage ideas for small spaces guide for the year-round layout, then use this winter system on top of it. A boot tray only works if it fits the pairs you actually wear, and that is how to organize entryway for winter floors without puddles.
What should a winter entryway actually hold?
A winter entryway should hold this week’s gear and nothing else. That means the coats you wear now, the boots you wore today, and the hat and gloves you will grab tomorrow. It does not mean every coat you own, the ski bag from last February, or the umbrella you have not touched since spring. Hang coats at two heights when you learn how to organize entryway for winter gear for both adults and kids.
Here is my clear take: most entryways fail because they hold too much, not because they lack furniture. Organizers have a number for this. The National Association of Professional Organizers puts 80 percent of household clutter down to disorganization, not lack of space. Your entry probably has room. It just has no rules. Salt is the quiet enemy, so part of how to organize entryway for winter floors is a washable runner by the door.
So set the rule before you buy anything. Count the people who use the door every day. That count sets your hooks, your tray length, and your baskets. A house with two adults needs two hooks and two baskets. A house with two adults and two kids needs four of each, or the kids’ gear will live on the floor by default. Do the November swap first, since how to organize entryway for winter storage starts with what leaves the entry, not what you buy.
This system is not for a full mudroom remodel. If you have a big mudroom with lockers, you do not need this guide. It is for the small entry, the apartment hallway, and the front door that opens straight into the living room. One tray per person keeps the system fair, and that is how to organize entryway for winter boots in a shared home.
How do you do the November swap without a second closet?
Do the November swap in one hour, on a weekend, before the first hard cold snap. Pull everything out of the entry. Wipe the hooks, the shelf, and the floor. Then sort into three piles: winter gear you wear weekly, winter gear you wear rarely, and summer gear that wandered in and stayed. Hooks spaced a hand apart stop coats from bunching, which is how to organize entryway for winter closets that feel too small.
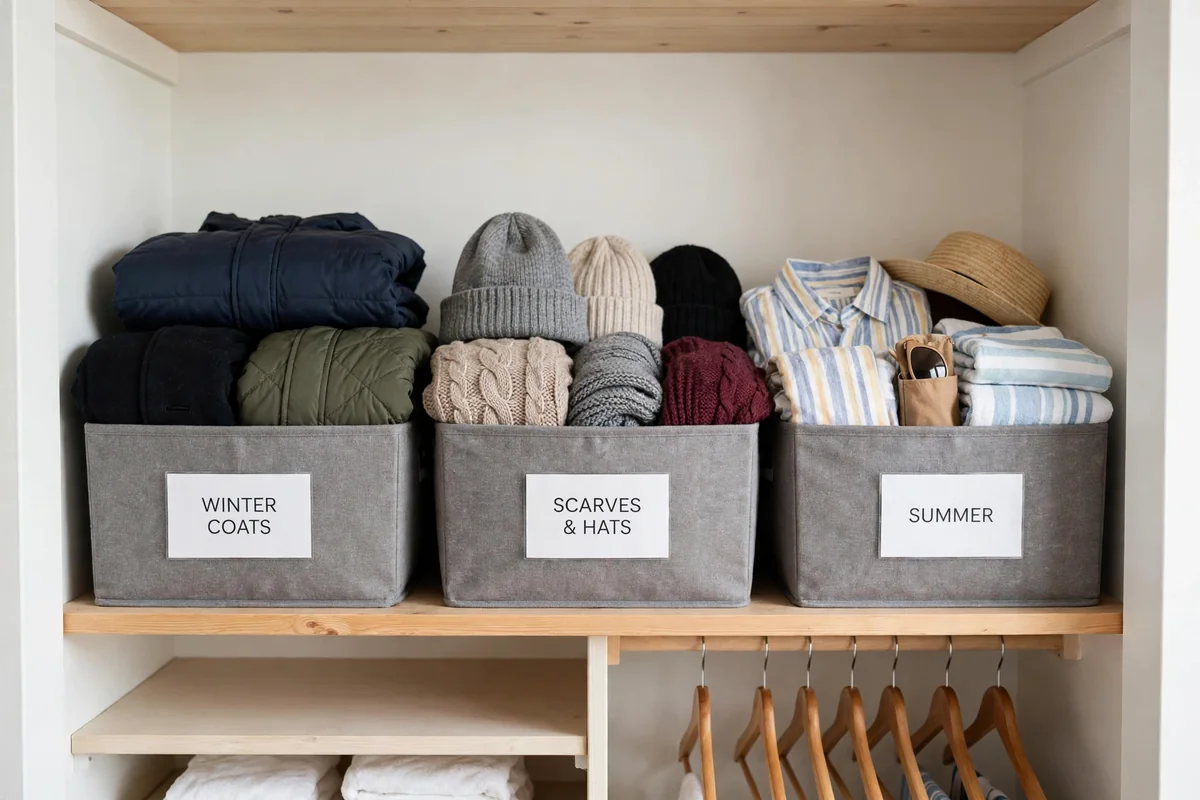
Winter weekly gear goes back by the door. Rare winter gear goes to the main closet, on a high shelf, in one labeled bin. Summer gear goes to its own bin, out of the entry, until spring. One bag goes straight to donations. Do not keep a “maybe” pile by the door. A maybe pile becomes a permanent pile by Christmas. A bench with storage underneath does double duty, and that is how to organize entryway for winter seating and shoe space.
If you have no spare closet, use the top of a bedroom closet or under a bed for the off-season bin. The point is distance. Off-season gear that sits within arm’s reach will creep back to the hooks. Gear that takes a short walk to fetch stays put until you need it. Wet gloves need a basket near the door, because how to organize entryway for winter small items is mostly about giving them one home.
This swap is also the moment to check for damage. Look for a hook pulling loose, a tray that cracked, a mat that curled at the edge. Fix those now. A system that wobbles in November will collapse by January, when everyone is tired and wet and in a hurry. Renters can still win here, since how to organize entryway for winter hooks works fine with no-drill strips for lighter coats.
For the donation bag and the rest of the seasonal clear-out, our fall decluttering checklist pairs well with this swap. Measure the tray length per pair before you buy, as that is how to organize entryway for winter trays that actually hold four pairs.
How many hooks does each person really need?
One double hook per person, and that is enough. A double hook holds a coat on one prong and a scarf or bag on the other. Two hooks per person sounds generous. In practice, the second hook fills with coats nobody wears, and the wall starts to look like a coat sale. A weekly ten-minute reset keeps the entry working, and that is how to organize entryway for winter routines that survive real life.
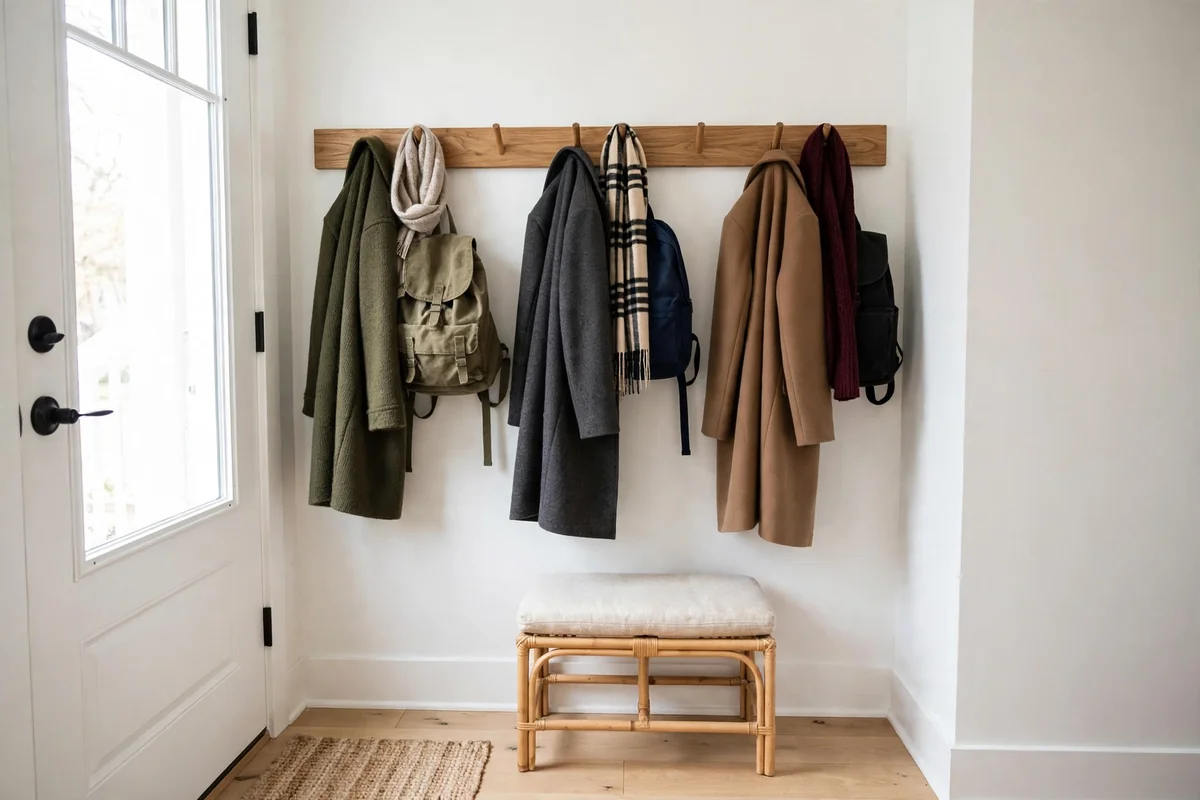
Space the hooks 12 inches apart. Wool coats are thick. Hang them closer and they crush each other, trap damp air, and slide off in a heap. Stagger heights if kids share the wall: adult hooks at about 66 inches, kid hooks at about 48 inches, so a child can hang their own coat without a step stool. Guest coats need a plan too, so how to organize entryway for winter holidays means a spare row of hooks, not a pile on the bed.
Mount into studs when you can. A wool coat with a bag on the same hook can weigh 8 to 12 pounds when wet. If you rent, skip this section and use the no-drill plan later in this guide. Do not hang a heavy winter coat on a small adhesive hook and hope. It will fall at 2 a.m., and you will find it on the floor in the morning. Pets add mud, and how to organize entryway for winter pet gear starts with a paw towel hanging right by the door.
My opinion here is plain: hooks beat a coat rack in a small entry. A rack takes floor space you do not have, tips when a kid pulls a coat, and holds fewer coats than the same wall of hooks. Ski gear and snow pants need their own corner, which is how to organize entryway for winter sports families avoid the pileup.
What size boot tray stops the puddle problem?
Size the tray by pairs, not by looks. A 30-inch tray holds about three pairs, according to Tidy Home HQ’s small-entryway guide. That gives you a simple rule: about 10 inches per pair. Two adults need at least 20 inches. A family of four needs 40 inches, or two trays side by side. Label a basket per child and see how to organize entryway for winter mornings get faster when nothing is hunted for.
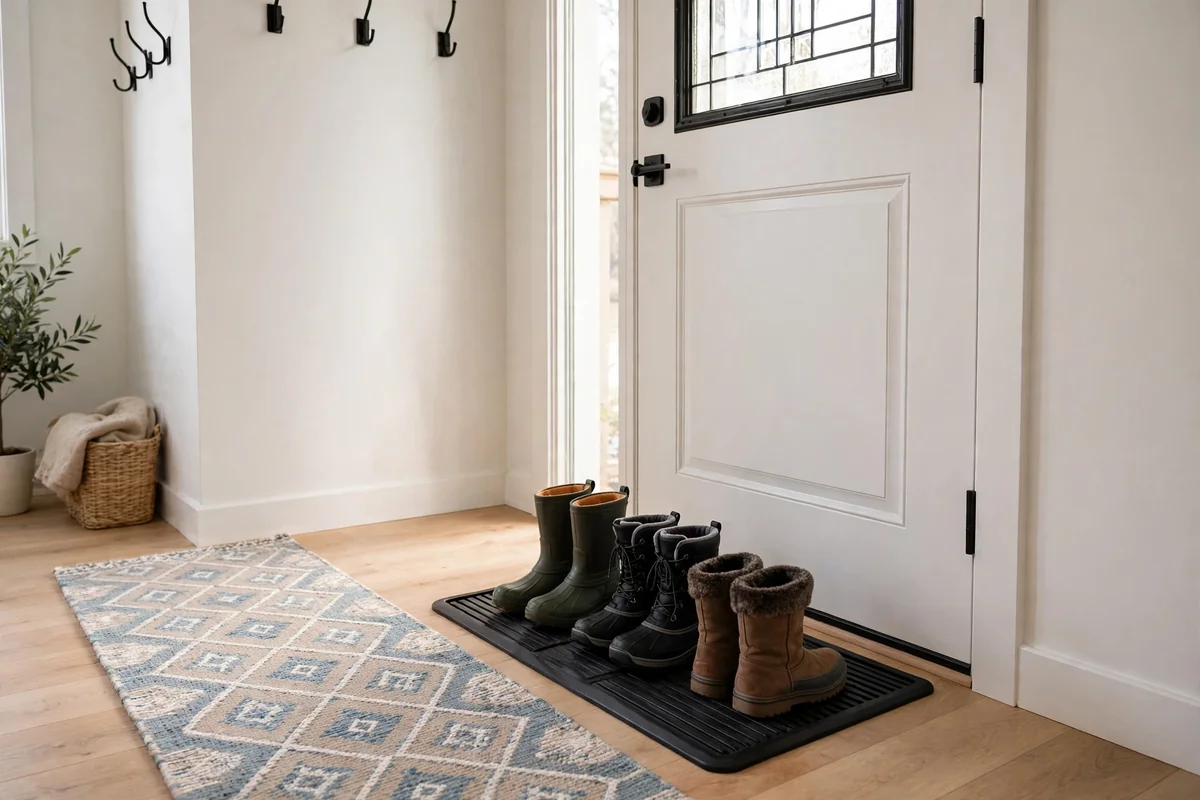
Place the tray where boots come off, not where it looks tidy. If the tray sits three steps from the door, boots will stop three steps from the door, on your floor. Slide it right against the wall by the door, in the path people already walk. Under a bench works. Beside a console works. Across the room does not. A slim console can hold keys and mail, and that is how to organize entryway for winter surfaces without adding clutter.
Pick a tray with a raised lip and a grid or ridges inside. The lip holds meltwater. The grid lifts boots out of the puddle so they dry instead of soaking. Wipe the tray once a week, more often after a storm. A tray full of gray slush stops working and starts smelling, and nobody wants to put clean boots into dirty water. Hardwood stays safe when salt never sits on it, so how to organize entryway for winter protection means wiping the tray weekly.
This is not the place for a pretty fabric mat alone. Fabric soaks through under melting snow, then the wetness sits against your floor. Use fabric as the walking runner, and rubber or plastic as the tray. Each does one job. Rotate summer shoes out in November, because how to organize entryway for winter space depends on what you remove first.
How do you protect hardwood floors from salt and slush?
Salt is the quiet villain of a winter entry. Reader’s Digest quotes a cleaning pro who calls coarse salt crystals knives when they get ground into hardwood. The fix is boring and it works: stop the salt at the door, and clean what gets through fast. Over-the-door organizers help renters, and that is how to organize entryway for winter doors that cannot take a single screw.
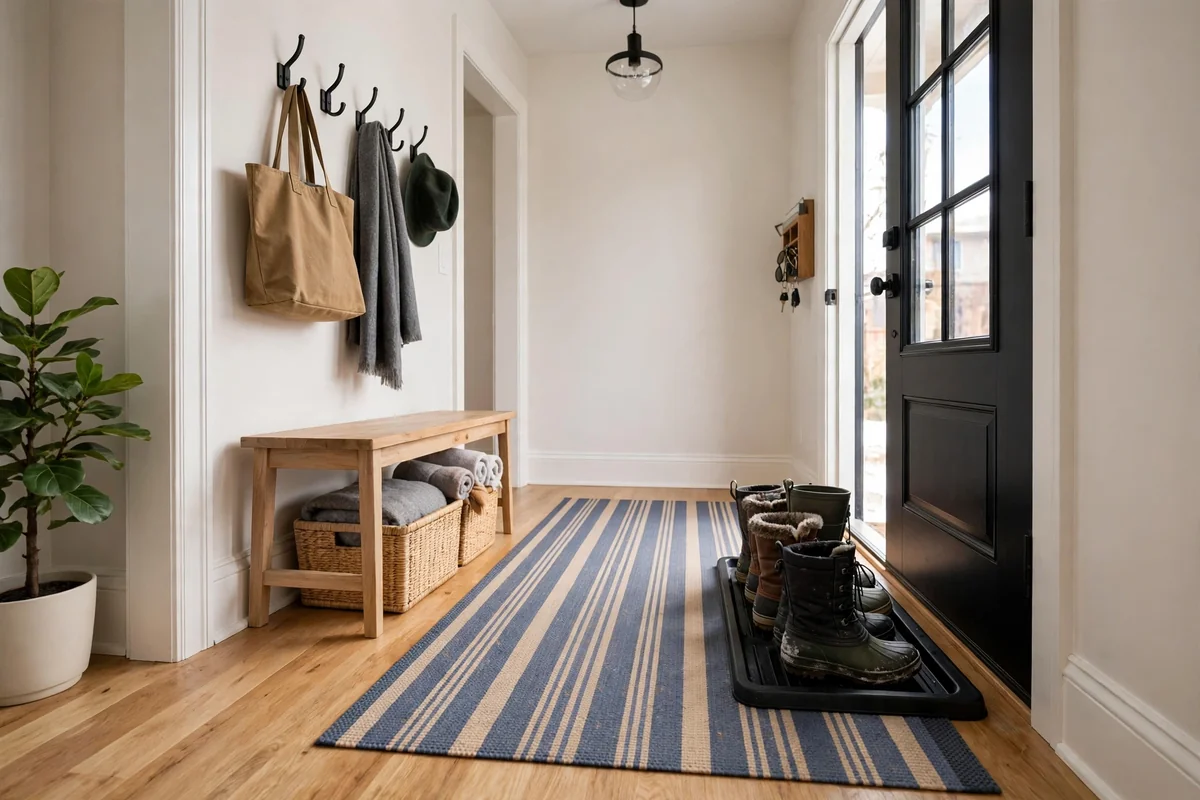
Use two layers. Outside, a scraper mat knocks off the worst grit. Inside, a rubber-backed washable runner covers the walking path from the door to the first room. Habitatista’s winter entry guide says to wipe up standing puddles within 30 minutes to protect hardwood. That sounds fussy. It takes one microfiber cloth and twenty seconds, and it beats refinishing a floor. A hall tree fits narrow entries better than a bench, which is how to organize entryway for winter furniture choices stay honest.
Keep a small towel by the door for pet paws and for wiping boot soles before they hit the runner. Shake the outside mat once a week. Wash the inside runner on a schedule, not when it looks dirty, because salt dries white and hides in the fibers until it scratches. Umbrellas need a stand by the door, since how to organize entryway for winter wet gear includes the rainy days too.
Watch the ice melt you use outside too. Safe Paw’s guide lists rock salt as working down to about 15 degrees Fahrenheit, while calcium chloride keeps working down to about minus 20 degrees. Either way, less melt tracked inside means less damage. Knock boots together outside, step onto the tray, and let the tray earn its keep. Cost tiers keep the plan sane, and that is how to organize entryway for winter setups that start at zero dollars with what you own.
Where do hats, gloves, and scarves go so they stop vanishing?
Small gear vanishes because it has no home. Gloves go in a coat pocket, then into a different coat, then nowhere. Give small gear a basket, one per person, and make the basket the only place it lives when you come inside. A dehumidifier near a damp entry helps coats dry, which is how to organize entryway for winter air stays fresh.
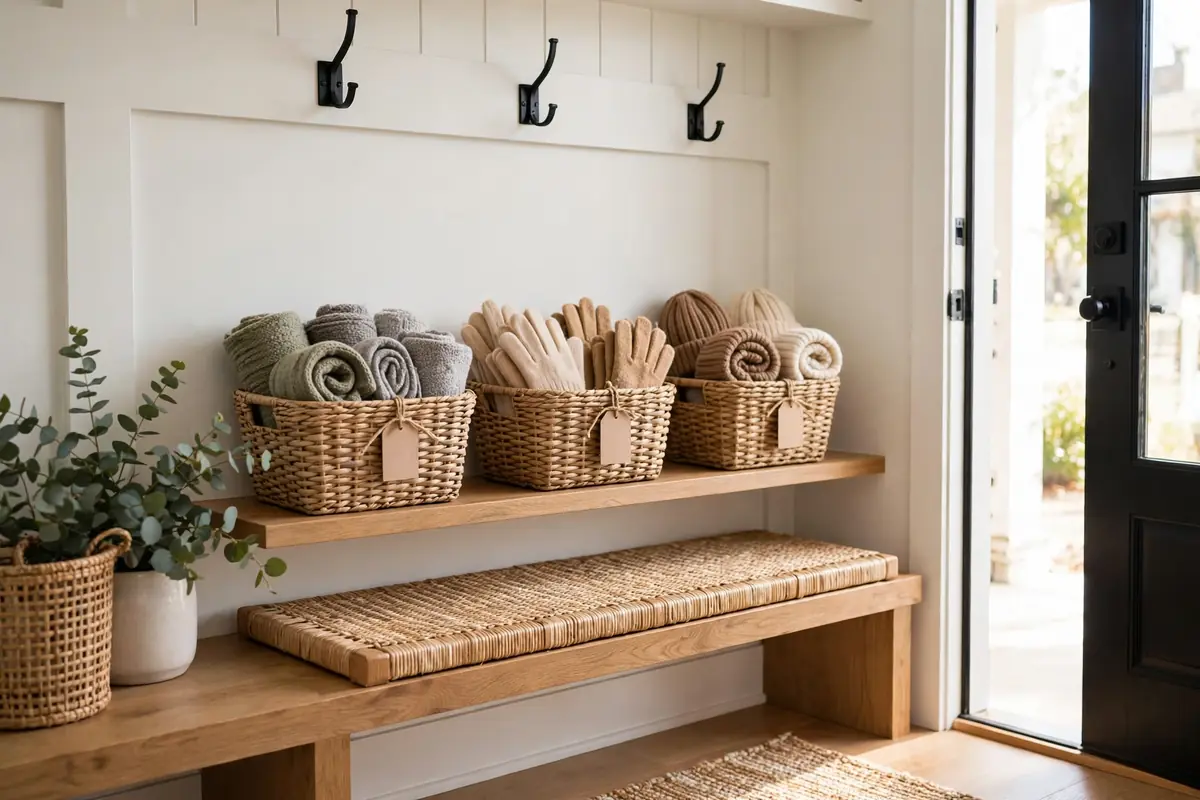
Keep the baskets small. A basket you can lift with one hand forces a limit. A big basket invites a pile, and a pile hides the one glove you need. Label them if kids share the wall. Scarves vanish without a home, so how to organize entryway for winter accessories means one basket, always in the same spot.
Hang scarves on the second prong of each person’s hook, or roll them in the basket. Do not drape five scarves over one hook. They slide off, they tangle, and they bury the coat underneath. Try the system for one week before buying more, because that is how to organize entryway for winter spending stays under control.
For families, add one shared basket for extras: spare gloves, a spare hat, the dog’s leash. When a glove goes missing, check the shared basket first. When the shared basket fills, empty it back to the owners’ baskets or to donations. A shared basket with no limit becomes the junk drawer of the entry, and you already have one of those in the kitchen. A door sweep keeps slush outside, and that is how to organize entryway for winter drafts and dirt both drop at once.
My take: mitten clips help for small kids, and they are not worth it for adults. Adults lose gloves because the basket is full or missing, not because the gloves lack a clip. Fix the basket first. Kids grow fast, so how to organize entryway for winter hooks should move down a notch each year, not stay adult height.
A gallery of the core pieces: the overview, the hook rail, the tray, and the baskets.
What works when you cannot drill a single hole?
Renters can run the same system without drilling. Start with an over-the-door hook organizer on the entry closet door or a bedroom door near the entry. Check the door first: thick trim can stop the door from closing, so measure the top of the door before you buy. In the end, how to organize entryway for winter living comes down to caps, trays, and a weekly reset, not a bigger entry.
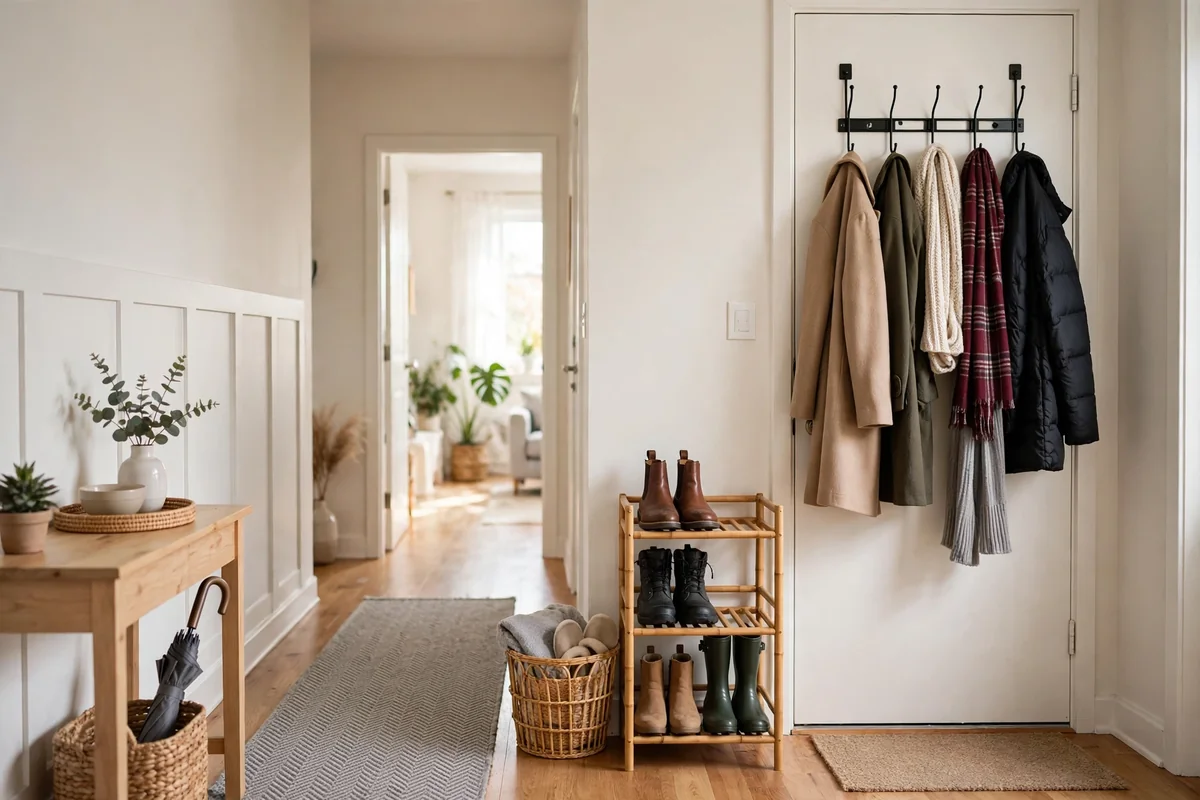
Use a freestanding hall tree or a sturdy coat stand for coats. Pick one with a wide, heavy base. A tall, narrow stand tips when a wet wool coat goes on one side, so load the heaviest coats low and keep light scarves up top. If the stand wobbles, it is the wrong stand for winter coats, and a wall rail in a later home will suit you better.
Adhesive hooks have a limit, and you should respect it. They hold keys, a light bag, and a scarf. They do not hold a wet wool coat. Test one on a hidden patch of wall first, because some paint finishes react badly to adhesive.
A boot tray needs no permission at all, and it protects floors you do not own. That alone makes it the best renter buy in this guide. Add a freestanding shoe rack if the tray fills, and keep the rack within one step of the door, or boots will skip it.
How do you fit a bench into an entry that barely fits a mat?
You may not need a bench at all. A bench helps when someone sits to pull on boots, when kids need a low spot to sit, or when the entry doubles as a shoe-changing station. If everyone in your house pulls boots on standing up, skip the bench and keep the floor clear.
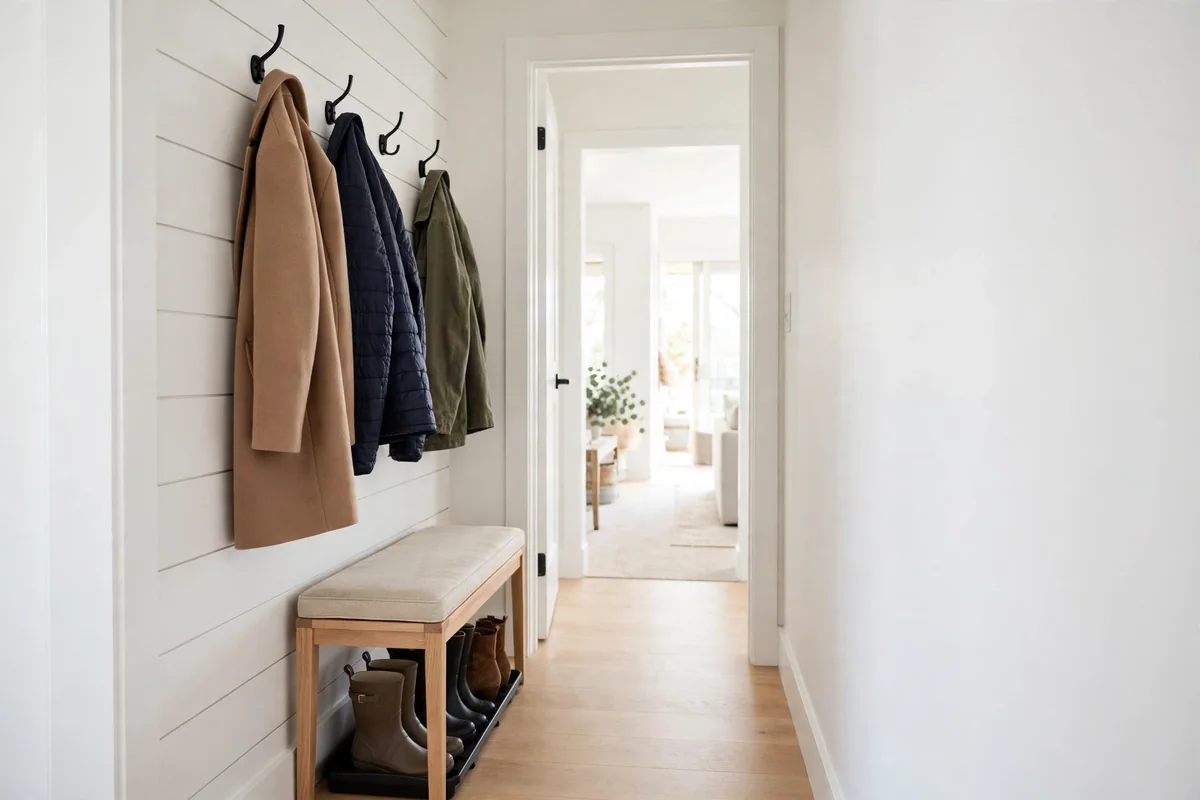
If you want one, go slim. A bench 12 to 14 inches deep fits most narrow entries and still leaves a walking path. Measure your walkway first: you need at least 36 inches clear to walk through with boots on, and more if you carry a child or a bag. A bench that eats the walkway will get cursed daily, no matter how pretty it looks.
Pick a bench with storage underneath, not a solid block. Open space under the bench holds the boot tray, so boots stay out of sight but easy to reach. A hinged top adds hidden storage for hats and gloves, but it also adds a lid you must lift with cold hands. Open cubbies are faster on a dark winter morning.
No room for a bench? Use a sturdy low stool, or a wall-mounted fold-down seat if your landlord allows it. Just keep it out of the walking path when it is not in use.
If your stairs sit right by the door, under stairs storage ideas can turn that dead corner into a bench nook.
How do you handle kids, pets, and sports gear at the same door?
Give each group its own spot, or the door becomes a pile with a doorbell. Kids get low hooks they can reach and a basket at their height. When they cannot reach, the coat lands on the floor, and no lecture fixes that.
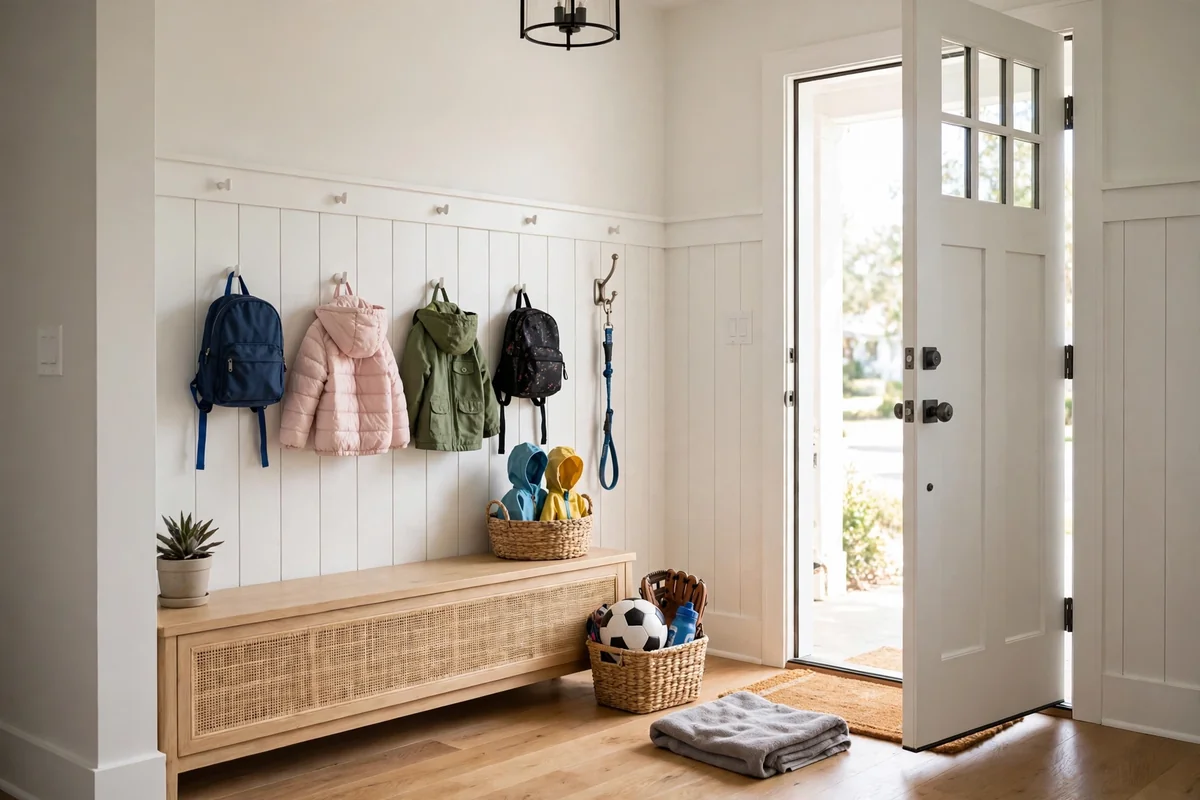
Pets get one hook for the leash and one towel by the door. Wipe paws before they hit the runner, every time, in winter. Salt on paws hurts, and wet paws track the same slush you just stopped with the tray. Keep a spare towel in the basket so a muddy walk does not end with your good hand towel.
Sports gear needs a boundary. One bag per sport, by the door, only on practice days. On other days, the bag lives in the closet or the garage. A hockey bag that lives by the front door all winter is not storage. It is furniture, and it smells like a locker room.
Ski gear, snow pants, and sleds do not belong in a small entry at all. They belong in a garage, a basement bin, or a closet, and they come out on snow days. If you bring them in wet, hang snow pants over a drying rack in the laundry room, not over the entry hooks, where they drip onto coats and the floor.
Small shared doors are a theme in dorm room storage ideas and studio apartment storage ideas, where one door handles everyone.
What is the 10-minute weekly reset that keeps it working?
Set a timer for ten minutes, once a week, on the same day. This reset is part of how to organize entryway for winter for the long term, not just for one weekend. Empty the boot tray, wipe it, and shake the mats outside. Return every stray glove, hat, and scarf to its owner’s basket. Hang any coat that slid to a chair back on its hook. Toss the donation bag by the door if it filled up.
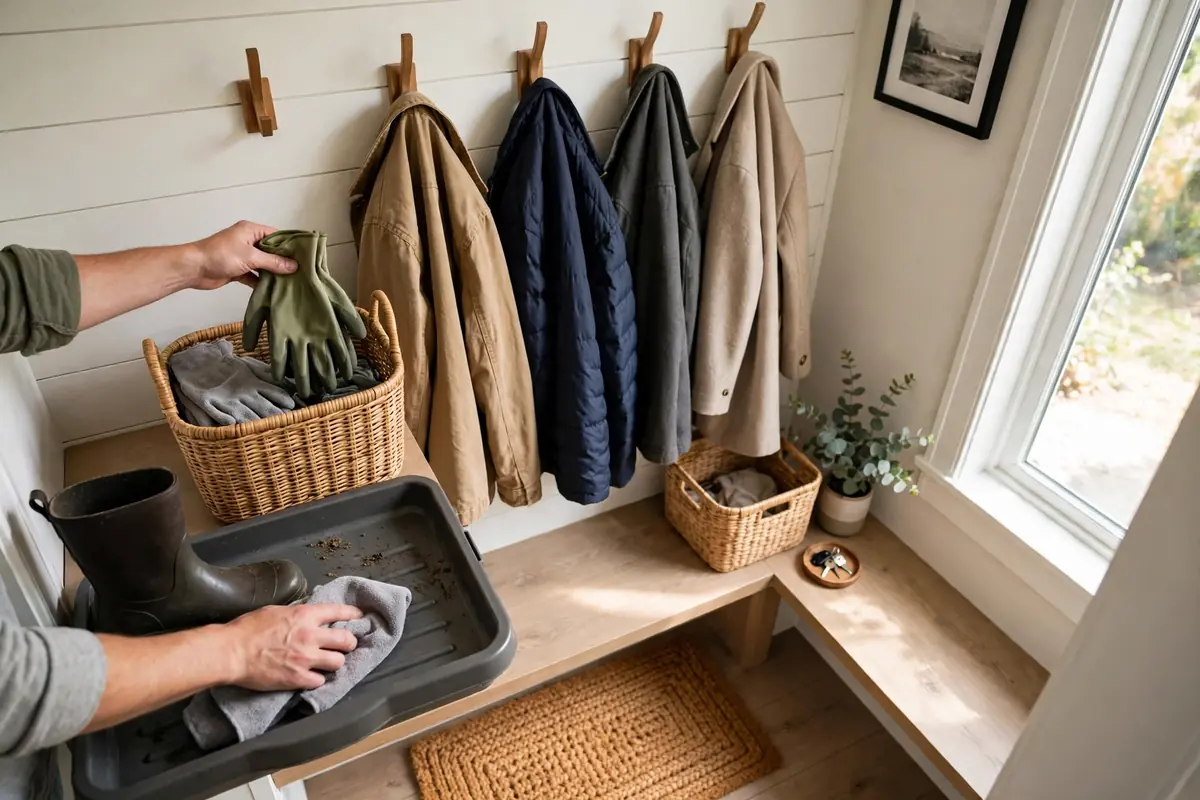
Check the floor while you are there. Look for white salt marks, damp spots under the runner, and a mat edge curling up into a trip hazard. Catching those early takes seconds. Ignoring them takes a floor repair later.
This reset also protects your air. The EPA says to keep indoor humidity below 60 percent, ideally between 30 and 50 percent, and to dry wet materials within 24 to 48 hours so mold does not get a start. Wet boots and damp mats raise humidity right by the door. Drying them weekly, and wiping puddles daily, keeps that dampness from settling in.
Skip a week and the system will not die. Skip three weeks and it will. Put the reset on the same day as trash day or laundry day, so it rides on a habit you already have. Ten minutes is short enough to do while the kettle boils, and long enough to matter.
Where does guest and holiday overflow go?
Guests need a spot that does not wreck your system. Keep one spare hook free, or keep a freestanding coat rack in a closet for party nights. When guests arrive, point to the rack. When they leave, the rack goes back. Your daily hooks stay yours.
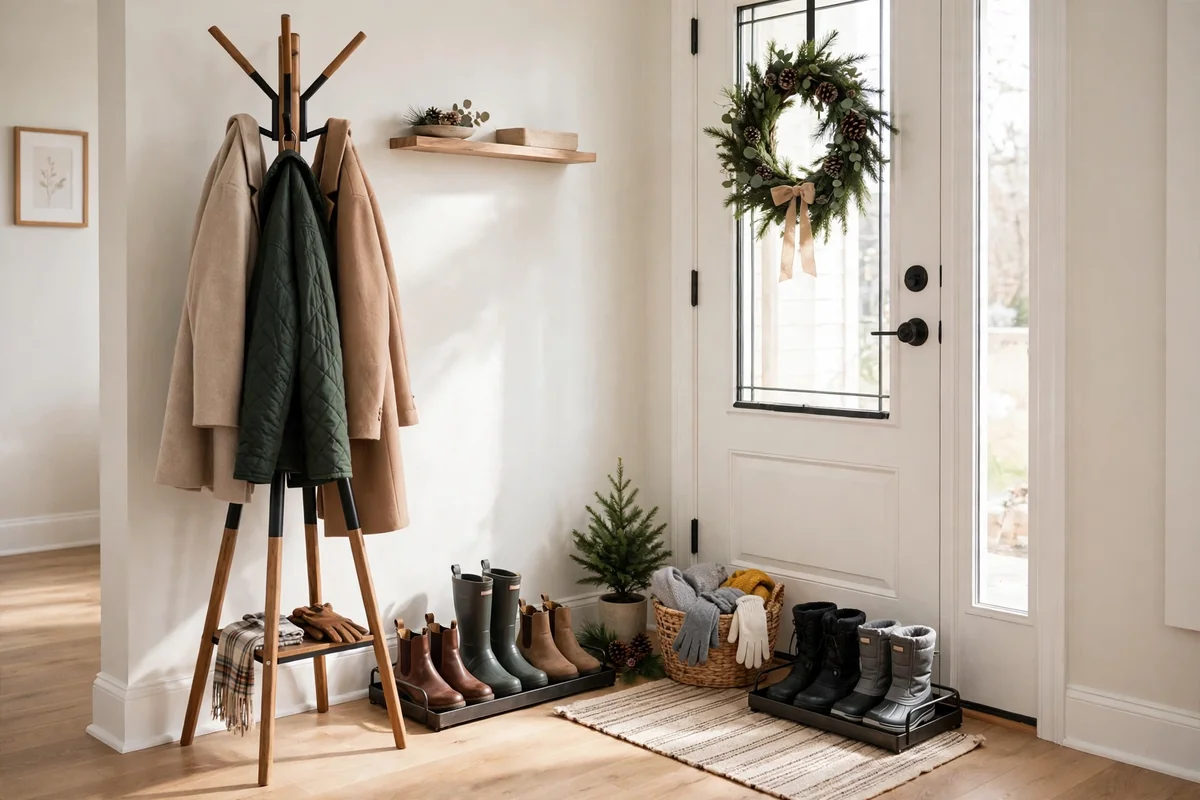
For the holidays, add a second boot tray before the party, not during it. Guests will not hunt for a tray while holding a dish and a gift. Put the spare tray by the door, with a small sign if you like, and a basket for guest scarves and gloves near it. After the party, wipe the trays and put the spare away.
If your entry is tiny, use the nearest bedroom as overflow. A portable coat rack in the guest room, or hooks on the back of a bedroom door, beats a pile of coats on your bed. Tell guests where it is when they arrive. People use a spot they know about. They pile coats on a chair when they do not.
One warning: do not buy permanent furniture for a two-week holiday problem. A folding rack, a spare tray, and a spare basket handle December. January does not need them, and your entry will thank you for the floor space back.
A gallery of the overflow pieces: the bench, the family gear, the guest rack, and the finished entry.
How much should a winter entryway setup cost?
You can run this system at three levels, and all three work. The difference is looks and durability, not function.
| Tier | What you get | Rough cost |
|---|---|---|
| Free to $50 | Tray, adhesive hooks for light gear, baskets you already own | $0 to $50 |
| $50 to $150 | Stud-mounted hook rail, good tray with grid, washable runner, labeled baskets | $50 to $150 |
| $150 and up | Hall tree or storage bench, sturdy runner, matching baskets | $150 and up |
Start at the bottom tier when you learn how to organize entryway for winter on a budget. Buy the tray first, because it protects your floor from day one. Add hooks next, then baskets. A runner comes last if your floor is tile, first if your floor is hardwood, because hardwood shows salt damage fastest.
Do not buy the bench first. A bench without hooks and a tray just gives wet gear a nicer place to pile up. Spend on the system in the order the gear hits the door: floor, wall, basket, then seat.
My opinion: the middle tier is the sweet spot for most homes. A hook rail screwed into studs, a tray with a grid, and a washable runner will last years, and you will not think about them after the first week.
What mistakes make a winter entryway worse?
The first mistake is buying furniture before setting rules. A hall tree with no per-person limit fills just like a pile does, only taller. Set the count first, then buy to the count.
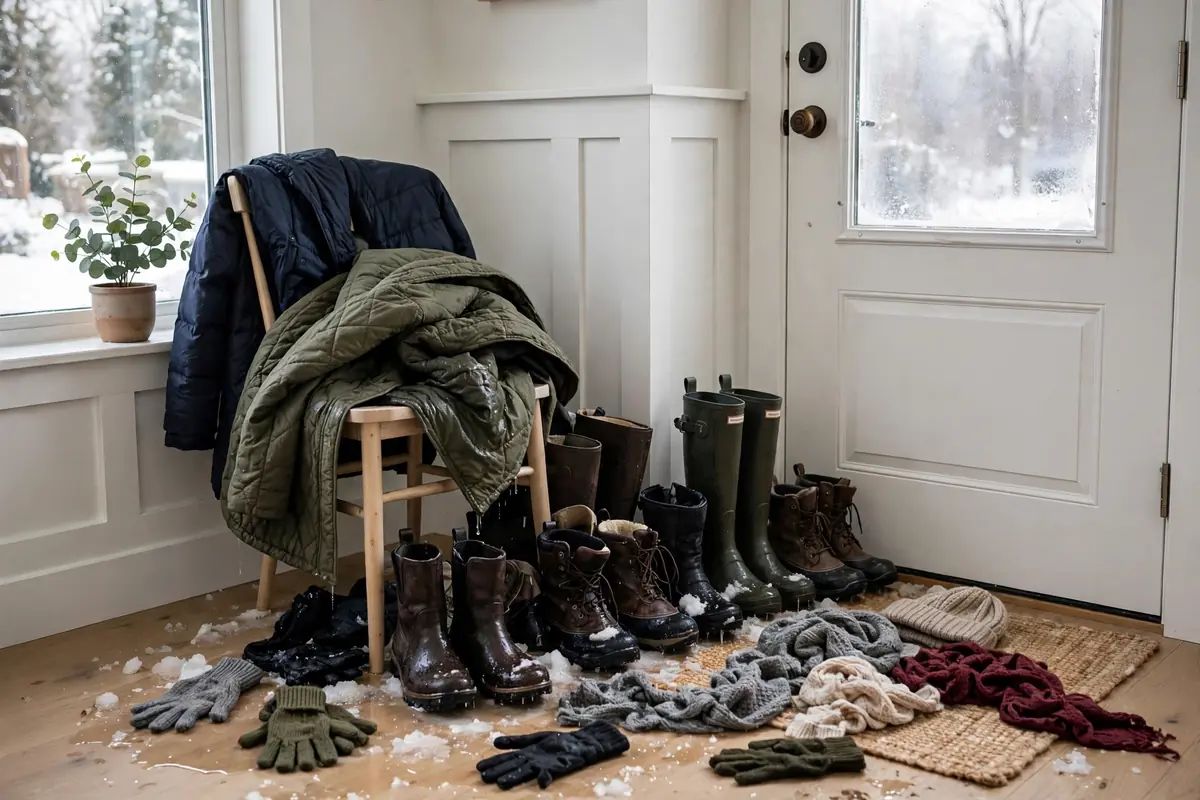
The second mistake is hiding wet gear in a closed closet. Wet coats in a dark closet raise humidity and make everything they touch damp. The EPA guidance on drying wet materials within 24 to 48 hours applies here too. Let coats air on hooks by the door, where air moves, and move them to the closet only when dry.
The third mistake is one giant basket for the whole family. It hides the small glove, it mixes everyone’s gear, and it teaches kids that tossing is the system. Small baskets per person beat one big basket every time.
The fourth mistake is a mat that is too small. A mat that covers only the doormat area leaves wet footprints on the floor past it. Size the runner to the walking path, from the door to the first room, not to the size of the door.
The fifth mistake is skipping the weekly reset. The drift builds in small daily steps: a glove here, a bag there, a second coat on one hook. The reset catches the drift while it is still ten minutes of work.
How to organize entryway for winter this weekend?
Start with the November swap, even if it is not November anymore. Pull everything out of the entry. Put back only this week’s gear: one hook, one boot spot, one basket per person. Bag the rest for the closet or donations.
Then buy or pull out the boot tray, and put it where boots actually come off. That one move protects your floor tonight, before you spend another dollar. Add the runner if your floors are hardwood, and wipe up any puddle you find while you are at it.
Next, hang the hooks at the right heights and spacing, or set up the no-drill version if you rent. Label the baskets. Put the timer on your phone for the weekly reset, on the same day each week.
If you do only one thing, do the swap. A system with fewer things in it works better than a system with more furniture in it. The tray, the hooks, and the baskets just make the swap stick. And when the next storm hits, you will walk in, hang your coat, kick off your boots onto the tray, and be done. That is the whole point: a door you can come through without a second thought, even on the worst night of winter.
When boots overflow the tray, shoe storage for small closets takes the extra pairs off the floor without a new piece of furniture.
A soft mid-post note: if this system helps, the year-round entryway guide linked above is the next place to look, and the weekly reset is what keeps either one working.
How many coats should live in a winter entryway?
When you learn how to organize entryway for winter, the coat rule is simple: one per person for daily wear, plus one spare for the coldest days. The rest belong in the main closet.
What size boot tray do I need for a family of four?
About 40 inches of tray, at 10 inches per pair, or two 20-inch trays side by side.
Can I organize a winter entryway without drilling?
Yes. Use an over-the-door organizer, a freestanding hall tree with a wide base, and a boot tray. Keep heavy coats off small adhesive hooks.
How do I stop salt from ruining hardwood floors?
Use a scraper mat outside, a rubber-backed washable runner inside, a boot tray at the door, and wipe puddles within 30 minutes.
Where should hats and gloves go in a small entry?
In one small basket per person, on a shelf or under a bench. If the basket is full, move extras to the closet.
How often should I clean a winter entryway?
Wipe the tray and shake mats weekly, and wipe puddles daily after snow or slush. A ten-minute weekly reset keeps it working.
What is the best setup for a tiny apartment entry?
Wall hooks, one boot tray, and one basket per person. Skip the bench if it blocks the walkway.
How do I store wet coats so they do not smell?
Hang them on hooks with air around them until dry, spaced 12 inches apart. Do not pack wet coats into a closed closet.
What should I remove from my entryway before winter?
Summer gear, rarely worn coats, sports bags that are not in season, and anything that has not been used in a month.
