
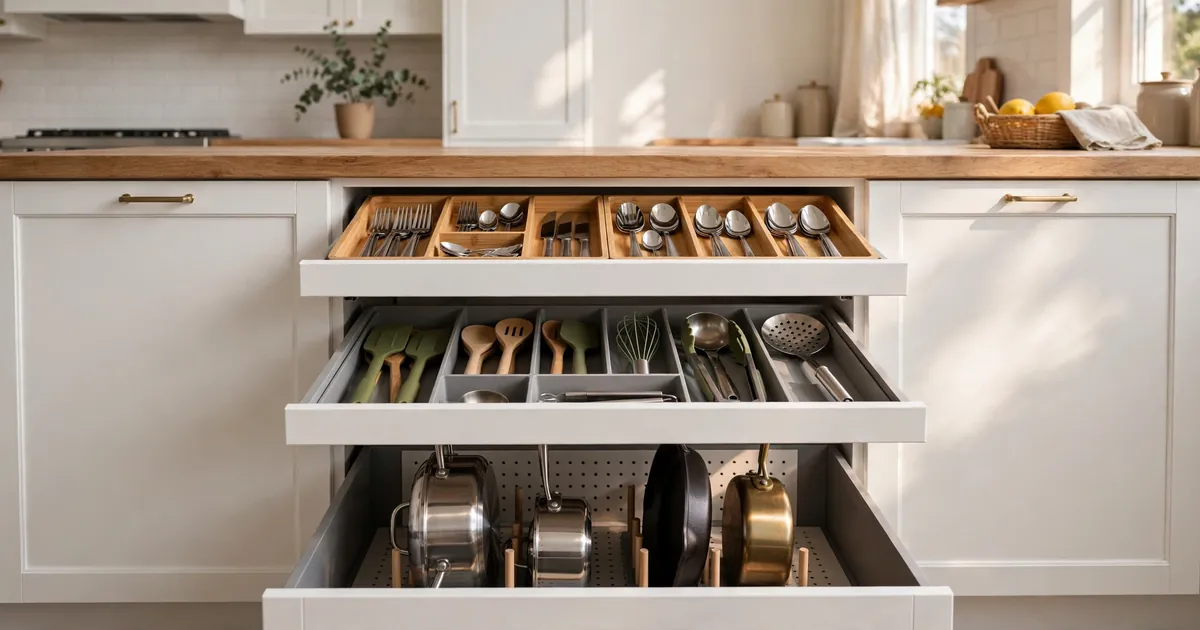

Kitchen drawer organization starts with a hard truth: the average person spends one year of their life searching for misplaced items, according to NAPO, the organizers’ trade association. A lot of that year happens in kitchens, wrist-deep in a tangled utensil drawer while something burns on the stove.
The fix is not a fancier organizer. It is a system: every drawer gets one job, every tool gets one spot, and the whole thing takes a single evening per drawer. This guide gives you the reset routine, a drawer-by-drawer layout plan, real measurements, organizer picks by budget, and a two-drawer survival plan for small kitchens. You’ll spend less than $35 per drawer unless you’re remodeling, and you’ll stop dreading the utensil drawer by the weekend.
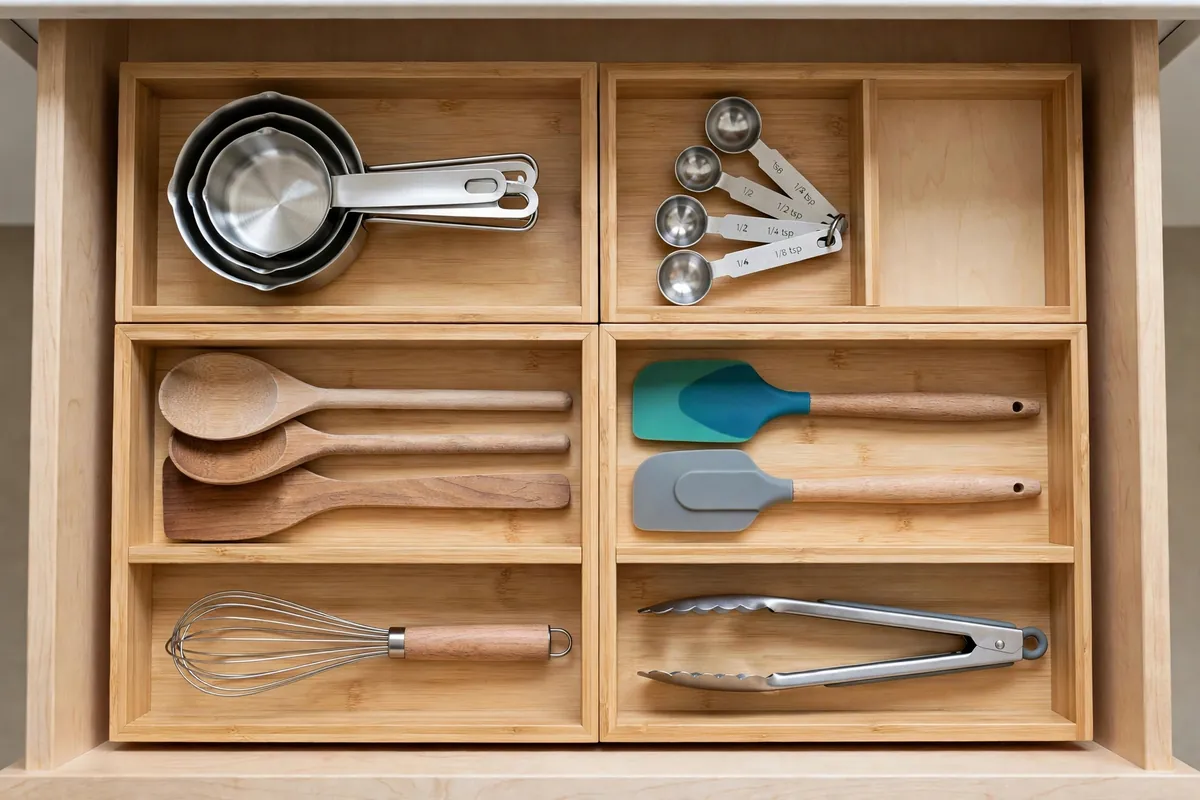
TL;DR
- Reset before you buy: empty one drawer, sort everything into four piles (daily, weekly, donate, trash), wipe it clean, and only reload what earns its spot. One drawer per evening beats a whole-kitchen blitz that stalls halfway.
- Give every drawer a zone job: prep tools live near the cutting board, cooking tools near the stove, cleanup items near the sink. The University of Nebraska Extension calls this “point of first use,” and it’s the whole game.
- Measure the inside of each drawer (width, depth, usable height) and subtract half an inch before buying anything. Most returns happen because someone guessed.
- Match the organizer to the drawer: spring-loaded dividers for renters, bamboo trays for cutlery, pegboards for deep pot drawers, small bins for the junk drawer. Standard organizers run $10 to $35; custom wood inserts run $75 to $150 per drawer.
Kitchen drawer zones at a glance
| Drawer | Belongs in this zone | What goes inside |
|---|---|---|
| Shallow top drawer by the sink or dishwasher | Cleanup and table setting | Cutlery tray: forks, knives, spoons, plus serving pieces |
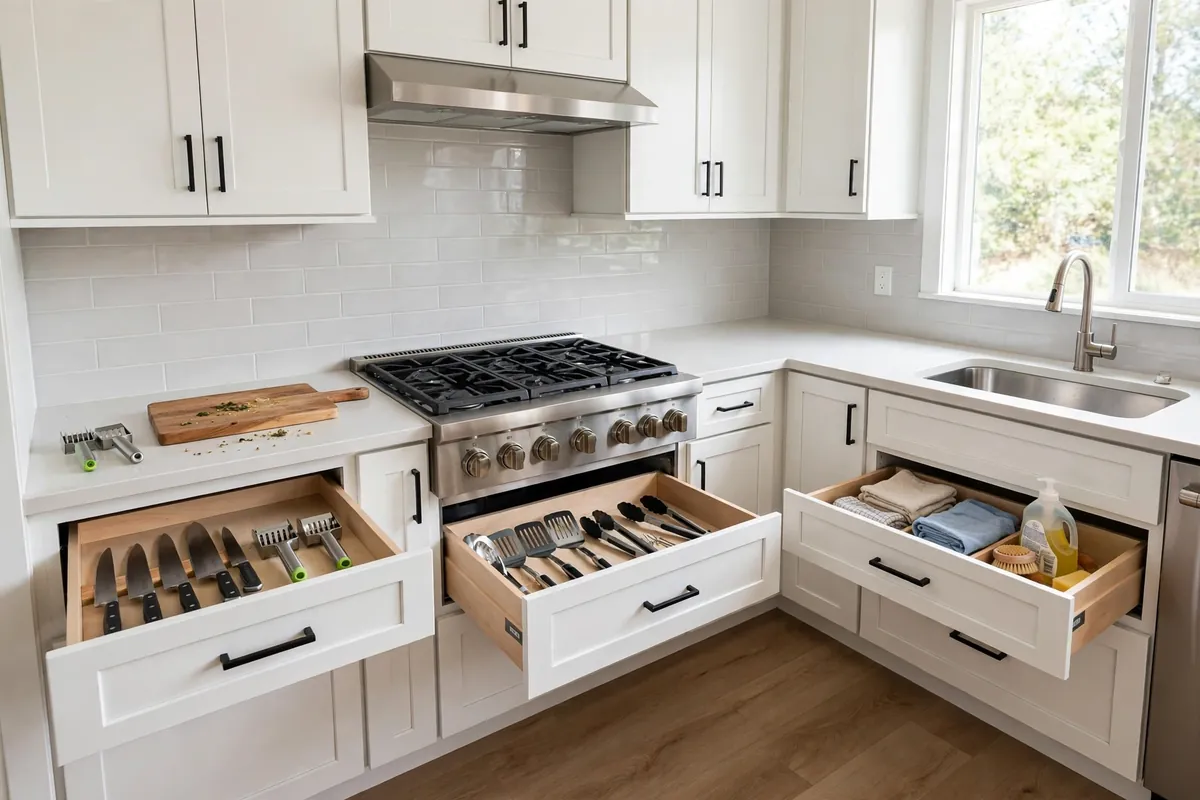
| Shallow drawer by the main counter | Prep | Knives (in slots), peelers, graters, measuring cups and spoons |
| Shallow drawer by the stove | Cooking | Spatulas, tongs, ladles, wooden spoons |
| Deep drawer under the cooktop | Cooking (heavy) | Pots, pans, and lids filed vertically |
| Deep drawer anywhere | Flexible | Mixing bowls, small appliances, or food containers |
| Narrow drawer by the entry side | Utility | The "junk drawer": batteries, tape, scissors, clips |
What is the fastest way to reset your kitchen drawer organization?
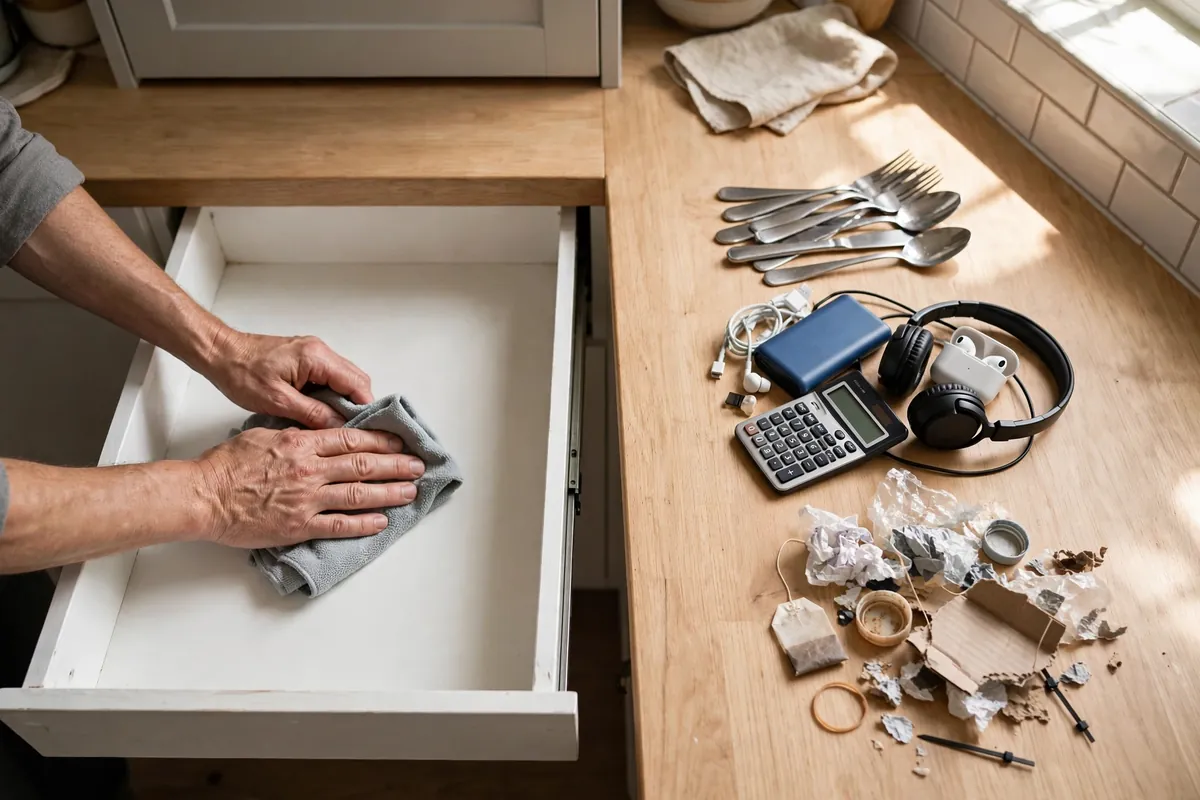
Pull everything out, sort it into four piles, wipe the drawer clean, and put back only what earns its spot. That is the whole reset, and one drawer takes 30 to 45 minutes. Do the worst drawer tonight and you’ll feel the difference at breakfast.
The four piles are daily (used most days), weekly (used most weeks), donate (works fine, you just never reach for it), and trash (broken, melted, missing its mate). Once the donate pile is full, our fall decluttering checklist gives it an exit plan before the holidays. Be strict with the weekly pile. That garlic press you have not touched in two years is not “weekly,” it’s donate. Iowa State University Extension recommends emptying cabinets and drawers during a kitchen reset because it helps you find misplaced items and lets you wipe out the dust and crumbs hiding underneath. They are right, and the wipe-down matters: sticky drawer bottoms make organizers slide and attract more grime.
Here is the opinion most organizer guides skip: buy nothing until every drawer is reset. People shop for dividers first and then try to fit their clutter into pretty compartments. That is backwards. The reset tells you what you actually own, and half the time you need fewer organizers than you thought. One drawer per evening is the pace that finishes. A whole-kitchen blitz on a Saturday sounds heroic and stalls by drawer three.
What goes in which kitchen drawer?
Each tool lives where you first reach for it. The University of Nebraska Extension frames this as “point of first use,” and it beats every other organizing rule. Spatulas belong by the stove because that’s where your hand goes when something needs flipping. Knives belong by the cutting board. Dish cloths belong by the sink. When a drawer follows the workflow, you stop crossing the kitchen twelve times per meal. Good kitchen drawer organization is invisible; you only notice that cooking feels easier.
The highest-impact move in most kitchens is the cutlery drawer next to the dishwasher. Unloading goes straight from rack to tray in a few steps, and setting the table pulls from the same spot. The National Soap and Detergent Association says getting rid of clutter would eliminate 40% of the housework in the average home, and the dishwasher-to-drawer path is where that number feels real.
This zone logic is not for everyone. If you have a galley kitchen with four drawers in one straight run, strict zones are aspirational and you should organize by frequency instead: daily tools in the best drawer, weekly tools in the next one down. The principle survives every floor plan: the things you grab mid-recipe live closest to your hands.
How do you measure a kitchen drawer before buying organizers?
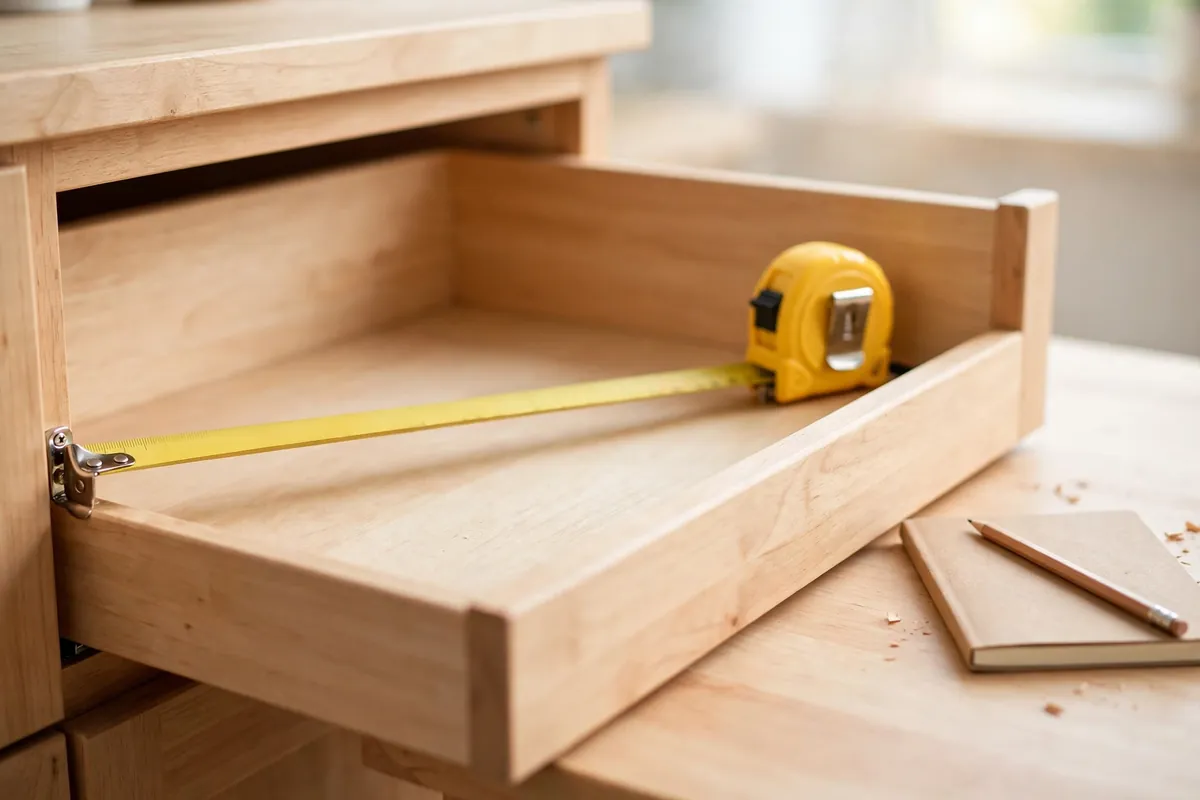
Measure the inside width, depth, and usable height, then subtract half an inch from the width and depth. That half inch is glide clearance so the organizer does not jam the drawer shut. Write the three numbers on your phone before you shop.
Two minutes with a tape measure prevents the most common organizer mistake: buying a tray that is almost right. “Almost right” slides around, leaves dead gaps at the sides, and slowly drives you mad. Expandable trays exist because drawers are not standard; popular models stretch from about 12 to 18 inches wide, which covers most kitchen drawers but still needs your numbers to confirm the fit. Height matters too, especially for knife blocks and tiered spice inserts that can stop a shallow drawer from closing.
My take: measuring feels fussy and saves the most money of any step here. Every organizer return I have seen came from guessing. The drawer does not care what the listing title promised. It cares about inches.
One more habit that pays off: photograph each drawer with the tape measure visible and keep the numbers in a phone note. Measure once, shop for months, and you’ll never have to pull the drawer out again for the next insert.
What types of kitchen drawer organizers actually exist?
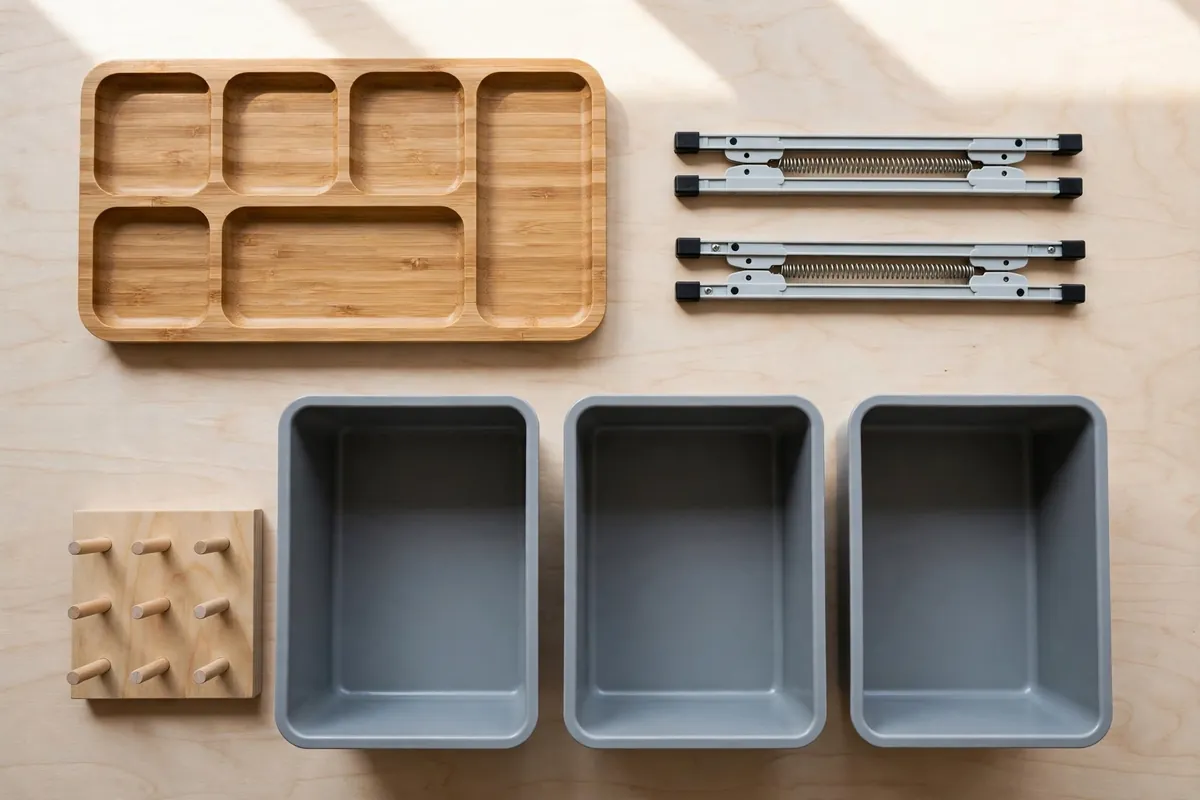
Five main types cover nearly every drawer: fixed cutlery trays, spring-loaded dividers, pegboard systems, modular bins, and expandable trays. Pick the type from what the drawer holds, not from what looks tidy in a product photo. That is the heart of kitchen drawer organization: the insert serves the tools, not the other way around.
Drawer organizer types compared
| Type | Best for | Price tier | Watch out for |
|---|---|---|---|
| Fixed cutlery tray | Forks, knives, spoons in shallow drawers | $10 to $25 | Fixed layout wastes space if your tools are oddly shaped |
| Spring-loaded dividers | Utility and utensil drawers, renters | $12 to $20 | Can slip in very wide drawers; check the max span |
| Pegboard with pegs | Deep drawers: pots, pans, lids, baking sheets | $25 to $45 | Needs drawer depth; measure peg height against closing clearance |
| Modular bins | Junk drawers, gadgets, packets | $2 to $8 per bin | Too many tiny bins become clutter with walls |
| Expandable tray | Cutlery in non-standard drawers | $15 to $30 | The sliding joint can pinch; keep it clean |
A fixed tray is what makes the cutlery drawer work: one tray, five or more slots, done. Spring-loaded dividers are the renter’s best friend because they press into place with no screws and move with you. Pegboards are the deep-drawer answer, with movable pegs that cradle pots and lids upright. The same vertical-filing idea tames plastic food container lids too, see our food container lid storage guide. Modular bins shine in the junk drawer, where categories are small and strange. Expandable trays solve the odd-size drawer that no fixed tray fits.
If I could only buy one type for a first apartment, it would be spring-loaded dividers. They adapt when your tool collection changes, they cost less than a pizza, and they leave zero marks. Fixed trays are better once your layout is settled and you know it will not change for years.
Mix types in one drawer: a fixed tray for predictable tools, spring-loaded dividers for odd shapes. The best drawers I have seen are hybrids assembled over time, not matching sets bought in one click.
Which organizer material is worth the money: bamboo, plastic, or metal?
Plastic for wet and messy drawers, bamboo for cutlery and drawers you see every day, metal for heavy deep drawers. That is the short version, and it holds up across price tiers.
Organizer materials and what they cost
| Material | Typical price | Best drawer | Honest note |
|---|---|---|---|
| Plastic or polypropylene | $10 to $35 standard; $2 to $5 per bin | Junk drawer, under-sink, kids' dishes | Wipes clean and survives dampness; cheap thin plastic cracks under heavy tools |
| Bamboo | $12 to $30 for trays and dividers | Cutlery, utensils | Sturdy, warm-looking, stays put; keep it away from the sink, since standing water shortens its life |
| Metal (steel, aluminum) | $20 to $45 | Deep drawers with pots and pans | Toughest option; can be noisy when metal tools clatter against it |
| Custom hardwood | $75 to $150 per drawer | Remodels with settled layouts | Beautiful and exact; pointless until you know your layout will not change |
The price bands above come from Habitatista’s retail survey of drawer organizers, and they explain why most kitchens should start cheap. A $12 bamboo tray does 90% of what a $150 custom insert does. The custom insert wins on exact fit and looks, which matters in a remodel you’ll live with for a decade, not in a rental you will leave next year.
Bamboo is not for every drawer. It hates standing water, so the drawer under a leaky sink or the one where wet dish brushes land should be plastic. And thin dollar-store plastic is not for heavy drawers: it bows under cast iron and cracks at the corners within a year. Sensible kitchen drawer organization matches the material to the abuse the drawer takes.
Plastic tolerates the dishwasher; bamboo gets a damp cloth and a yearly dab of mineral oil, never a soak. A washable liner underneath doubles the time between deep cleans.
How do you organize a utensil drawer so it stays neat?
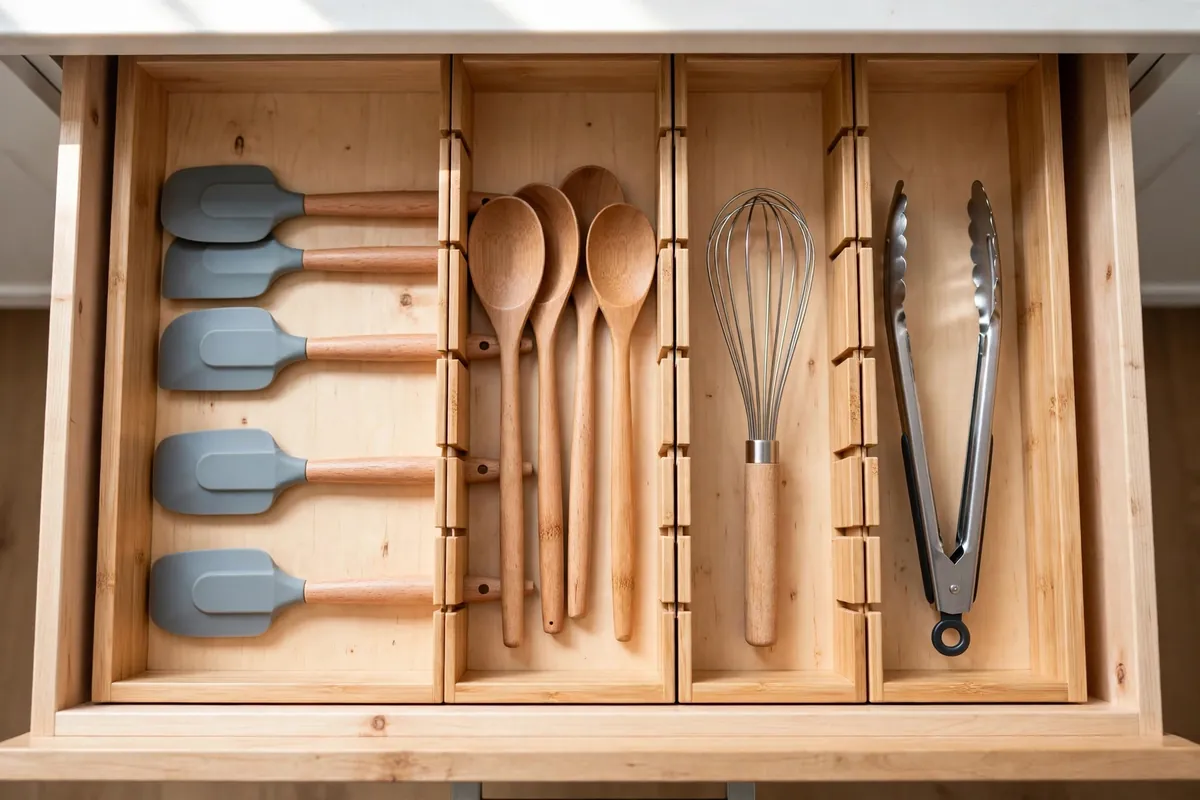
Give every tool type its own lane with adjustable dividers, put daily tools at the front, and cap the collection at what you actually use. A utensil drawer stays neat when nothing in it is fighting for space. That single rule is kitchen drawer organization in miniature.
Start with the 8-to-12 rule: most households need 8 to 12 of each everyday utensil, and the rest are duplicates waiting to migrate to the donate pile. Lay long tools diagonally if the drawer is tight; the diagonal buys noticeably more usable length in the same footprint. Group by task, since your brain retrieves by task when you are mid-recipe.
Front-to-back order matters more than people think. Daily spatulas, tongs, and wooden spoons earn the front third. Serving pieces and specialty tools live at the back. Small gadgets like peelers get a narrow side lane so they stop vanishing under the big tools. If you keep a utensil crock on the counter, park your three most-grabbed tools there and the rest in the drawer. Our kitchen counter organization guide covers the crock-versus-drawer split in detail.
The unpopular opinion: your utensil drawer is probably holding two drawers’ worth of tools. When a drawer needs force to close, the answer is fewer tools, not a bigger organizer.
How do you organize deep drawers for pots and pans?
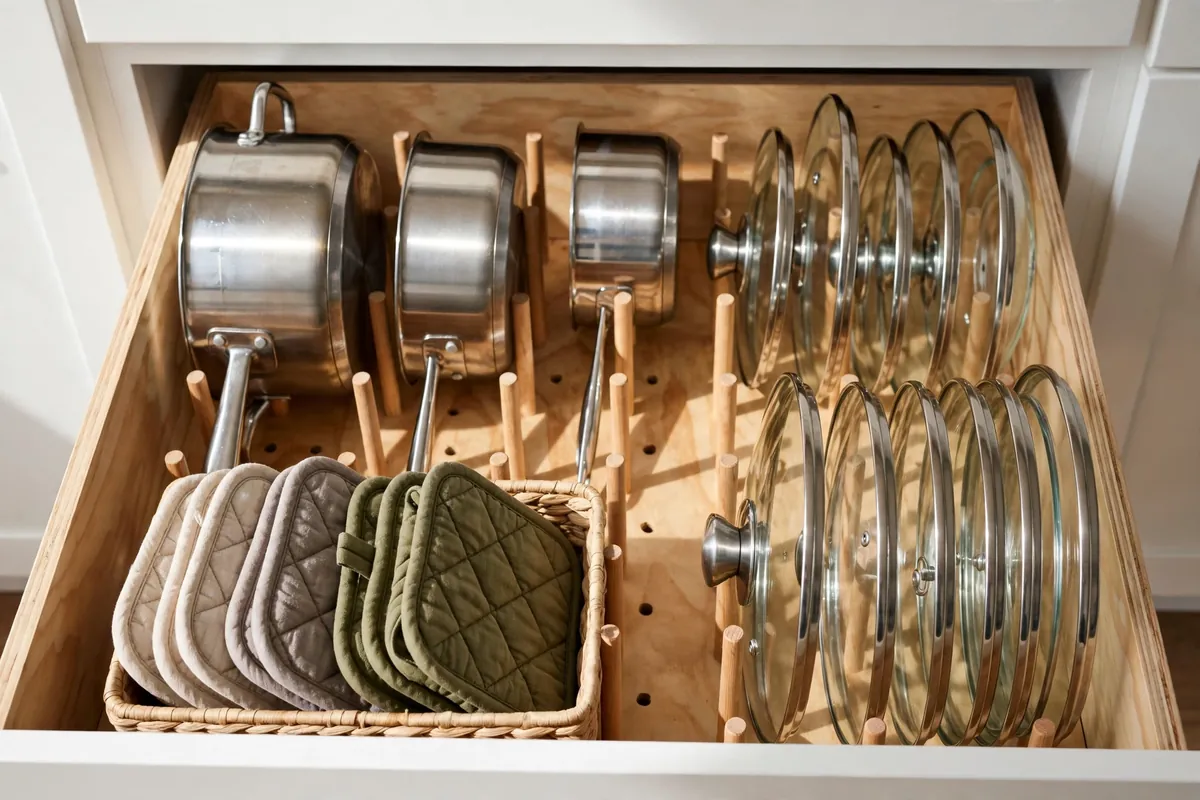
File everything vertically. Pots, pans, lids, and baking sheets stand on their edges in a pegboard or between dividers, and the deep drawer turns from a stacking nightmare into a filing cabinet you can read at a glance. This is the highest-payoff move in kitchen drawer organization.
Stacking hides the pan below, scratches nonstick coatings, and forces you to lift the whole pile for one skillet. Vertical filing fixes all three: each piece slides out without moving the others. Pegboards with movable wooden pegs cradle round cookware; tension rods or tall dividers keep lids and baking sheets upright. Keep pot lids on a rod at the back of the drawer; lids from 8 to 12 inches sit neatly this way, and bigger ones lean against the side. Park pot holders and trivets in a small bin at the front so they stop sliding under the heavy stuff.
If your pots-and-pans situation has outgrown one drawer, our pots and pans storage guide covers the full set of options. And here is the mid-project nudge this section earns: once the deep drawer is filed vertically, the cabinet above the stove usually becomes the next mess. Our kitchen cabinet organization ideas pick up there.
How do you organize a kitchen junk drawer for good?
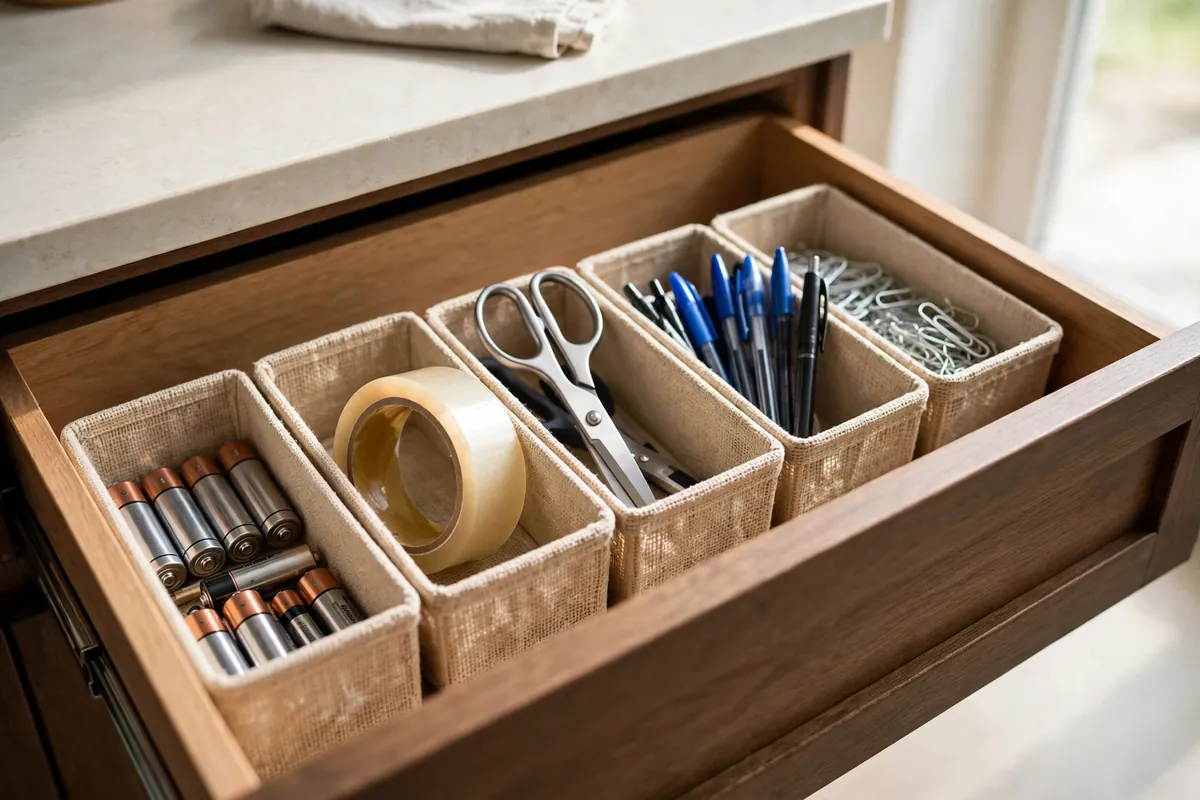
Stop calling it the junk drawer. Call it the utility drawer, give every category a parking spot, and contain the small things that migrate. A utility drawer with boundaries stays useful; a junk drawer with no rules eats scissors.
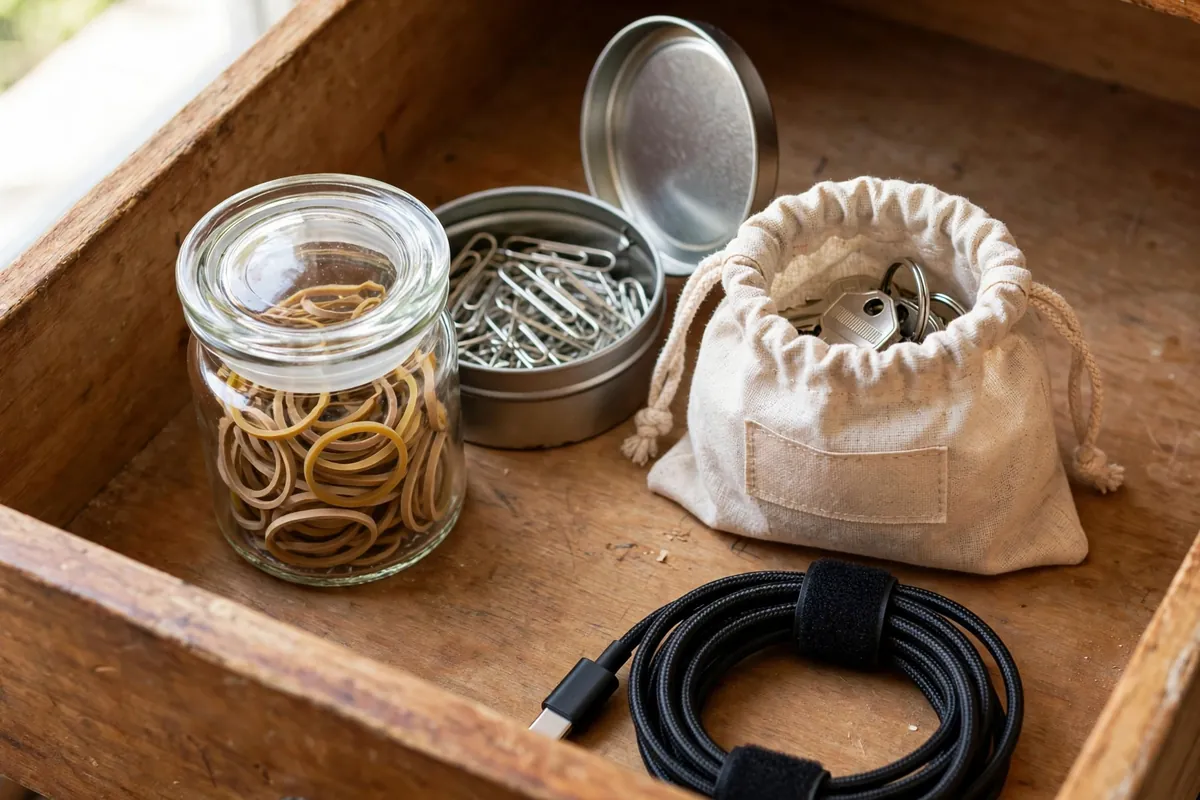
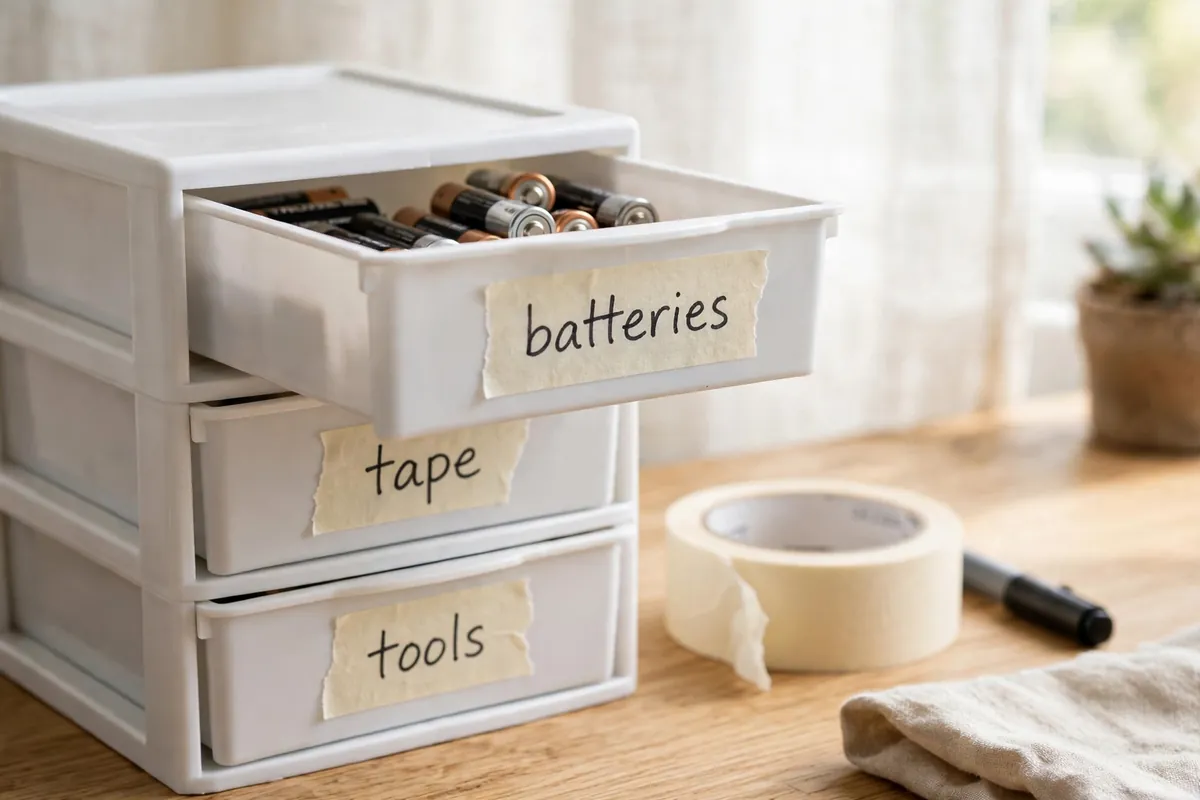
Run it like a parking lot, not a pile. The most-used items park at the front or on your dominant-hand side: scissors, tape, pens. Monthly items go to the back: spare batteries, the tiny screwdriver, the emergency candle. Never stack if you can avoid it; stacking is the junk drawer’s favorite disguise. Then contain the usual suspects that spread: rubber bands live in a small jar, paper clips in a tin, spare keys in a labeled bag, and charging cables in one small pouch with a velcro strap. The drawer is not a retirement home for dead cables.
Labels sound serious, but in a utility drawer they’re just friendly reminders. Masking tape and a marker work, peel off cleanly, and cost nothing, which renters appreciate. Harris Interactive reports that 23% of adults pay bills late because they lose them, and the takeout menus, stamps, and spare batteries in this drawer are exactly the kind of small paper that vanishes. A labeled spot for each one ends the archaeological digs.
What is the safest way to store knives in a drawer?
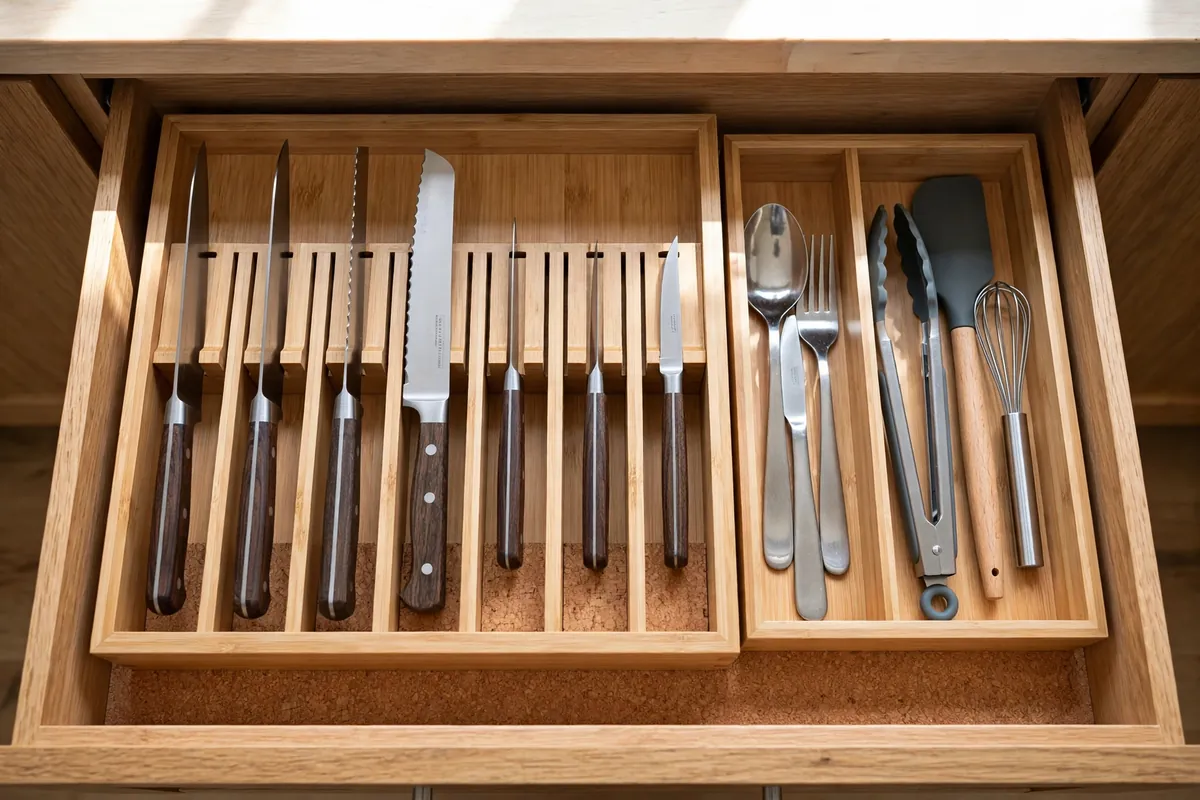
Use a slot insert or individual blade guards, store blades pointing down or away from your fingers, and keep knives in their own compartment away from other tools. Loose knives in a shared drawer are how cuts happen: you reach for a spatula and find an edge instead.
An in-drawer knife block with angled slots is the best all-around answer. It protects the blades from banging against other tools, which keeps them sharper longer, and it frees the counter space a countertop block would eat. In a small kitchen that counter space matters more than the block costs. Blade guards are the budget alternative and the right call for the one good chef’s knife in a shared drawer. Add a cork liner under the insert for extra grip and edge protection.
What not to do: never store knives loose, never point blades up toward your hand, and never let kids’ drawer access overlap with an unguarded knife zone. If toddlers can reach the drawer, the knives move to a high drawer or a locked block, full stop.
In shared kitchens, put knives in the least obvious drawer and consider a small label inside the drawer front. Guests don’t know your system, and a blind reach is how cuts happen.
How do you organize a spice drawer you can actually read?
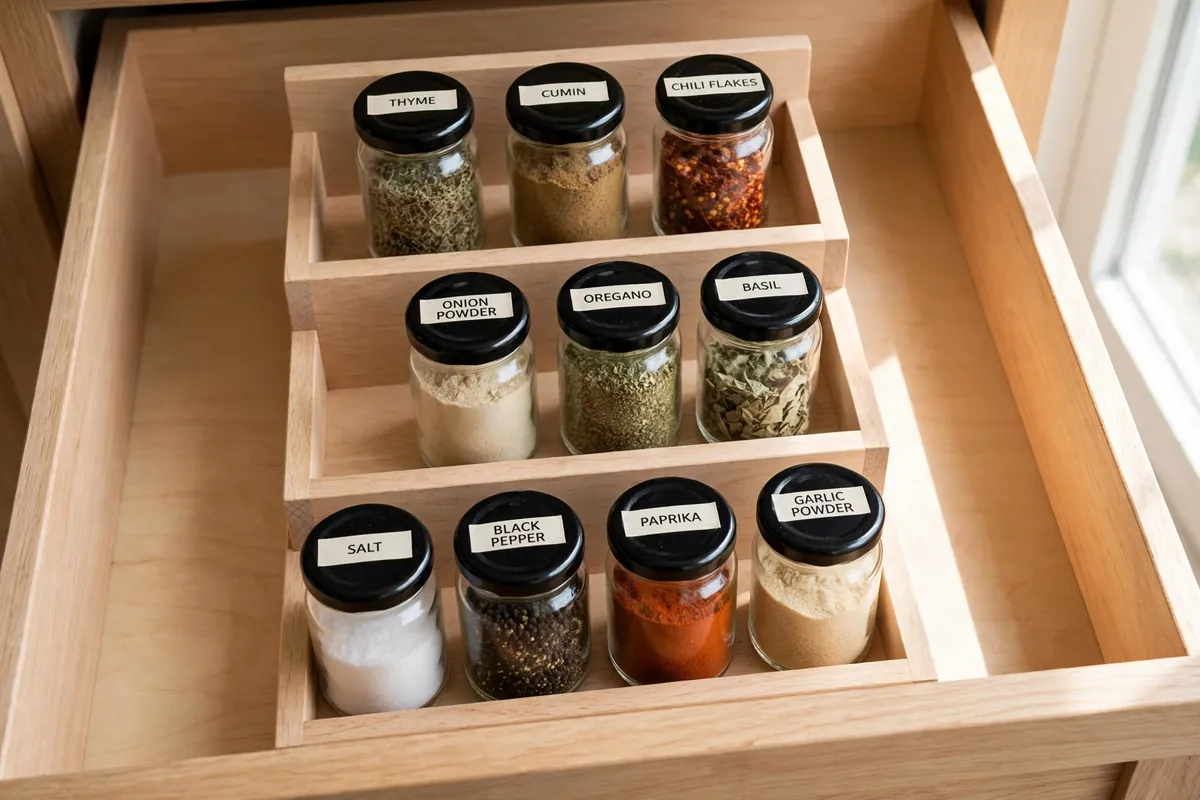
Lay the jars in an angled tiered insert, keep the jars uniform, label the tops, and park everyday spices at the front. A spice drawer you can read at a glance gets used; one you have to dig through gets ignored until the paprika expires.
Angled tiers are the whole trick. Each row sits slightly higher than the one in front, stadium-style, so every label is visible without shuffling bottles. Uniform jars help twice: they line up neatly and they make the drawer look calm, which makes you more likely to keep it that way. Label the tops, not the sides, because tops are what you see from above. Arrange by frequency or alphabetically; either system works as long as salt, pepper, and your most-used blends live at the front and the once-a-year poultry seasoning sits at the back.
The honest admission: decanting every spice into matching jars is worth it if you cook most nights, and it’s pure busywork if you don’t. If takeout outnumbers home cooking in your house, keep the original jars, add the tiered insert, and spend the saved hour on the utensil drawer instead. For the full spice system, our spice storage ideas guide goes deeper.
How do you stop food container lids from taking over a drawer?
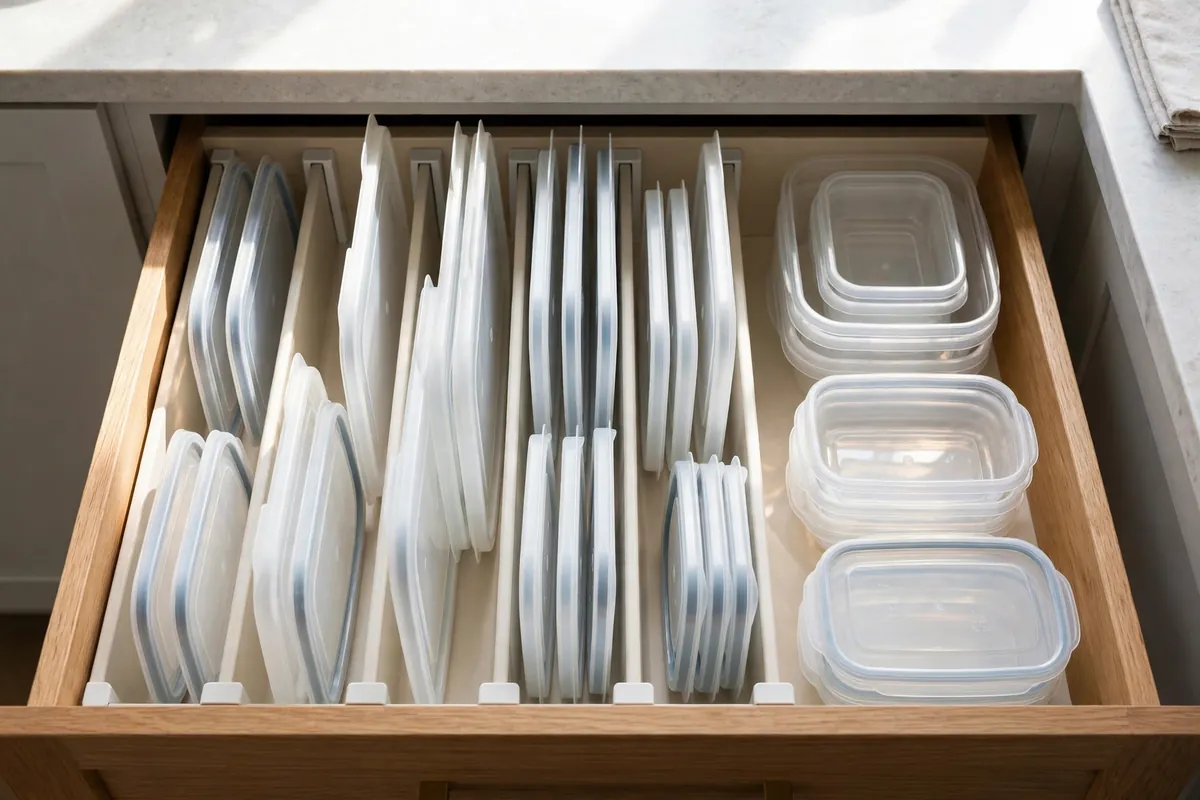
File the lids upright like records and nest the bases separately. Lids are flat, light, and prone to avalanches; standing them on edge in a divided section ends the chaos in one move.
Tension rods across the back of the drawer make cheap, adjustable lid slots. Adjustable dividers work the same way with a tidier look. Either way, sort lids by size: small, medium, large, each in its own lane. Then enforce the container census: most kitchens run fine on 3 to 4 containers per size, and every lid must have a matching base. A lid without a base is trash with extra steps. Square and rectangular containers nest tighter than round ones, so when you replace pieces, replace them with stackable shapes.
This is also where the donate pile earns its keep. Mismatched lids, warped bases, and the three single socks of the container world (lids whose partners vanished) leave the house. For corralling the keepers elsewhere in the kitchen, our pantry bins roundup covers the containers worth buying.
When you replace pieces, buy a matched nesting set instead of one-offs. Shared lid sizes halve the lid population, and square sets use the drawer footprint far better than mixed rounds.
How do you keep drawer organizers from sliding around?
Make the fit snug, put a non-slip liner underneath, and add silicone bumper pads to the tray’s underside corners. Sliding organizers are almost always a fit problem, not a product problem.
Smooth drawer bottoms are tiny ice rinks: every open-and-close shoves a loose tray a fraction of an inch until it wedges sideways. The fix starts with size. An organizer that fills the drawer wall to wall cannot slide. That’s why expandable trays exist, and why cutting a non-slip rubber liner to sit under the tray helps so much; the liner adds friction and lifts out for washing. For trays that are close but not perfect, adhesive silicone bumper pads on the underside corners take up the slack and stop the drift.
Here is the judgment call: if a tray slides no matter what you try, it’s too small for the drawer. Stop fighting it and size up or switch to an expandable model. Organizers should disappear into the background of your routine, not demand weekly readjustment.
Expandable trays need one habit: wipe the sliding tracks every few months, since grit buildup is what makes them pinch and stick.
How do you organize a kitchen that only has two drawers?
Give drawer one to prep and drawer two to cooking, use layered inserts to double each drawer, and move the overflow to the counter and walls. Two drawers are enough for genuine kitchen drawer organization when every tool justifies its space.
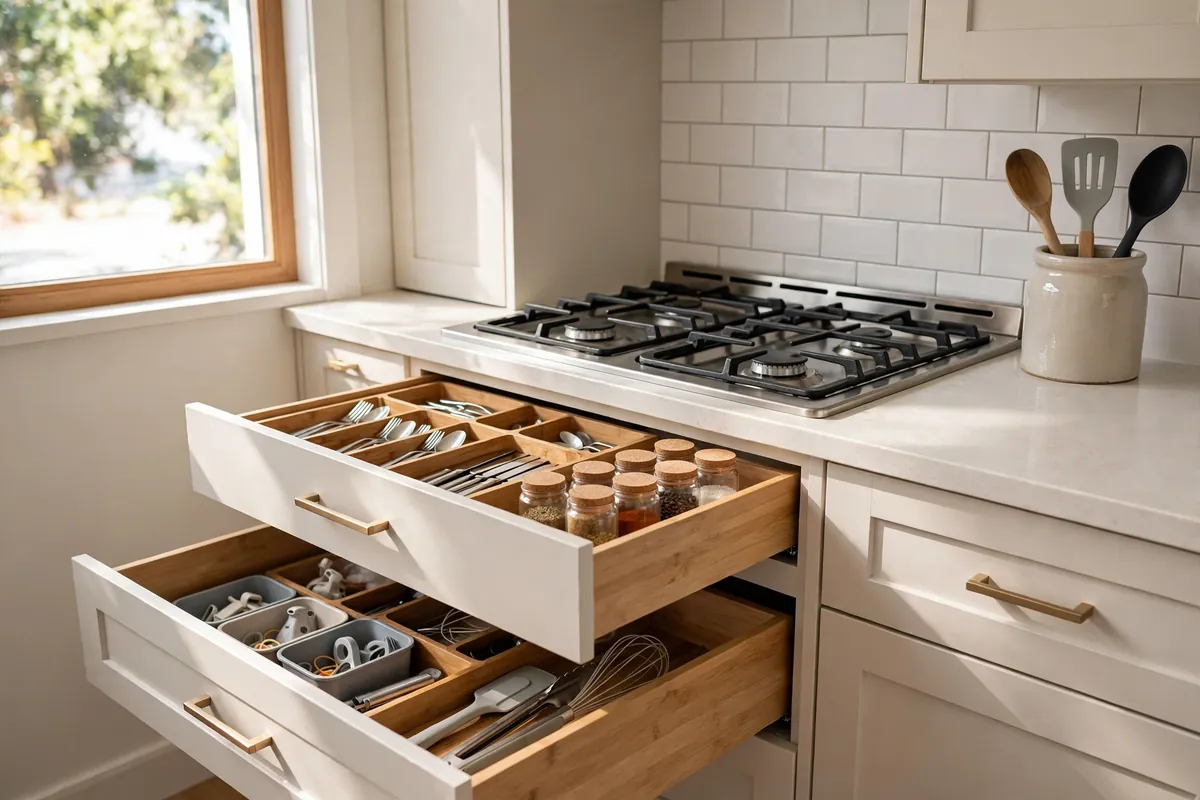
Drawer one holds the cutlery tray, knives in slot guards, measuring cups and spoons, and bag clips. Drawer two holds cooking utensils in dividers, spices in a tiered insert at the back, and small gadgets in bins. A layered insert (a shallow tray that slides over the main compartment) effectively doubles each drawer: daily tools on top, weekly tools below. The three tools you grab without thinking move to a countertop crock by the stove, which our kitchen counter organization guide treats as an honorary drawer. Lightweight overflow like oven mitts and measuring tapes can hang on adhesive hooks inside cabinet doors.
The 8-to-12 rule from the utensil section becomes law here: with two drawers, duplicates don’t get a vote. Be ruthless once and the kitchen stays workable for years. For the rest of the small-kitchen system beyond drawers, our small kitchen storage ideas hub covers cabinets, walls, and corners.
How often should you reset your kitchen drawers?
Five minutes per drawer each week, plus a twenty-minute declutter every three months. The weekly reset is the habit that matters; the quarterly pass catches what the weeks miss.
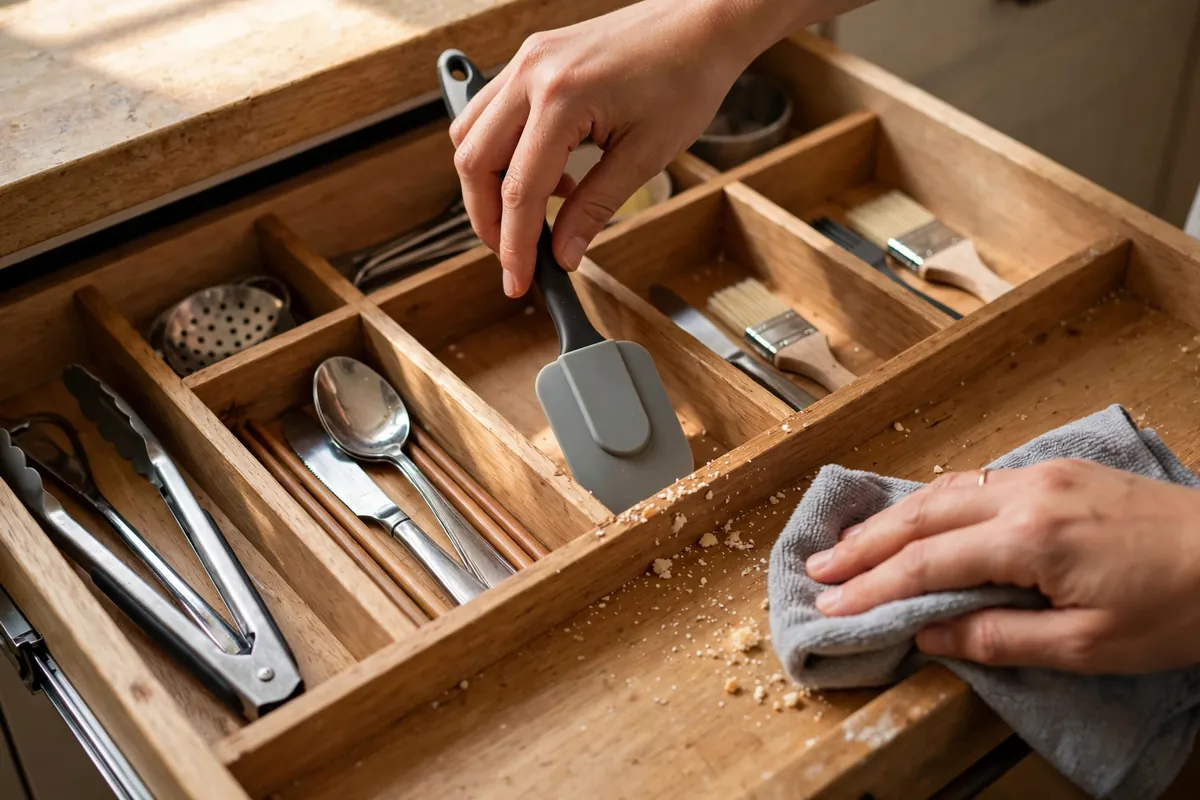
The weekly reset is simple: pull out anything that wandered in from other drawers, nudge dividers back into place, wipe up crumbs, and toss anything broken. Five minutes while the coffee brews. The quarterly pass repeats the original four-pile sort on one drawer at a time, because tools creep back in: the duplicate whisk, the gadget someone gifted you, the lid whose base cracked. A University of California, Los Angeles study found the average American spends 15 to 20 minutes a day searching for misplaced items; the weekly reset is the cheapest way to buy that time back.
My honest take: the initial organization is 20% of the result and maintenance is 80%. Every beautifully organized drawer photo you have ever seen was taken on reset day. The drawer that still looks good on a random Tuesday belongs to someone who does the five minutes.
Add one rule: one in, one out. Every new gadget retires an old one to the donate box, or the duplicates creep back within a year.
Start with the drawer that annoys you most tonight
Do not reorganize the whole kitchen this weekend. Open the drawer that irritates you every single day, the one you sigh at, and reset just that one tonight. Thirty minutes, four piles, one drawer that finally works. The win is the motivation; the second drawer follows because the first one felt so good.
The system from this guide fits on an index card: reset before you buy, give every drawer a zone job, measure before you shop, match the organizer to the drawer, and spend five minutes a week keeping it honest. Plastic for wet drawers, bamboo for cutlery, pegboards for deep drawers, bins for the utility drawer. That is kitchen drawer organization in full, and it costs less than one takeout dinner if you start with the basics.
The deeper point is that drawer chaos was never a storage problem. It was a decision problem: too many tools, no assigned spots, no routine. Fix the decisions and the drawer stays fixed. Start tonight with the one drawer you complain about most, and let the rest of the kitchen take its cue from there.
If your kitchen is short on drawers to begin with, the small kitchen storage ideas hub continues where this guide stops: cabinets, walls, and corners, all working the same zone logic.
What is the best way to organize kitchen drawers?
Empty one drawer at a time, sort everything into daily, weekly, donate, and trash piles, then reload by zone: prep tools near the cutting board, cooking tools near the stove, cleanup items near the sink. That four-pile reset is the foundation of kitchen drawer organization. Measure the inside of each drawer and subtract half an inch before buying organizers, and match the organizer type to the drawer: cutlery trays for flatware, dividers for utensils, pegboards for deep pot drawers, small bins for the utility drawer.
Are drawers better than lower cabinets with shelves?
For most kitchens, yes. Drawers pull out so you see everything at once, while shelves hide items at the back where they get forgotten. Deep drawers beat shelf cabinets for pots, pans, plates, and small appliances because nothing stacks invisibly. The one exception is very tall items like stockpots and blenders, which may still need a shelf cabinet.
What should go in deep kitchen drawers?
Heavy and bulky items: pots, pans, and lids filed vertically on a pegboard or between dividers, plus mixing bowls, small appliances, and food containers. Keep daily cooking tools in the shallow drawer above and relegate specialty or seasonal pieces to the lowest drawer. Never leave a deep drawer undivided, since the contents shift and stack into a mess within weeks.
How do I organize a small kitchen with only two drawers?
Assign drawer one to prep (cutlery tray, knives in slot guards, measuring tools) and drawer two to cooking (utensils in dividers, spices in a tiered insert). Add a layered sliding tray inside each drawer to double the usable space, move your three most-grabbed tools to a countertop crock, and enforce the 8-to-12 rule: no duplicates get a vote when space is this tight.
What is the safest way to store knives in a drawer?
In a slot insert or with individual blade guards, blades pointing down or away from your fingers, in a compartment separate from other utensils. Never store knives loose in a shared drawer. An in-drawer knife block also frees the counter space a countertop block would take, which matters in small kitchens.
Why do kitchen drawer organizers slide around, and how do I stop it?
They slide because smooth drawer bottoms offer no friction and the organizer is smaller than the drawer cavity. Fix it with a snug fit first, then a cut-to-size non-slip liner underneath, then silicone bumper pads on the tray’s underside corners. If it still drifts, the tray is too small: size up or switch to an expandable model.
How much do kitchen drawer organizers cost?
Standard organizers run $10 to $35, basic plastic bins cost $2 to $5 each, expandable hardwood inserts run $25 to $45, and custom wood inserts reach $75 to $150 per drawer. Start with the $10 to $35 tier; it handles about 90% of drawers, and custom inserts only pay off in a remodel with a settled layout.
Are inner drawers worth it for cutlery?
Inner drawers (a shallow drawer hidden behind a deeper drawer front) work well for cutlery in handleless kitchens because they add a second storage layer without another visible drawer line. They are a remodel-level decision, though. In an existing kitchen, a layered sliding tray inside your current drawer gives you most of the benefit for under $20.
How often should I declutter my kitchen drawers?
Do a five-minute reset per drawer every week (return strays, straighten dividers, wipe crumbs) and a twenty-minute four-pile declutter every three months. Tools creep back in over time, and the quarterly pass catches the duplicates and broken gadgets before the drawer slides back into chaos.
